Build powerful Spectre Divide loadouts. This guide highlights weapon and ability synergies, focusing on the "Ghost Hunter" build and its acquisition.
Mastering Spectre Divide requires more than just sharp aim; it demands strategic loadout construction and understanding how your gear synergizes. This section delves into highly effective weapon and ability combinations, detailing their strengths, ideal scenarios, and how to acquire key components.
The "Ghost Hunter" Loadout: Precision & Disruption
This loadout excels at eliminating high-priority targets and disrupting enemy formations from medium to long range. It prioritizes accuracy and tactical utility.
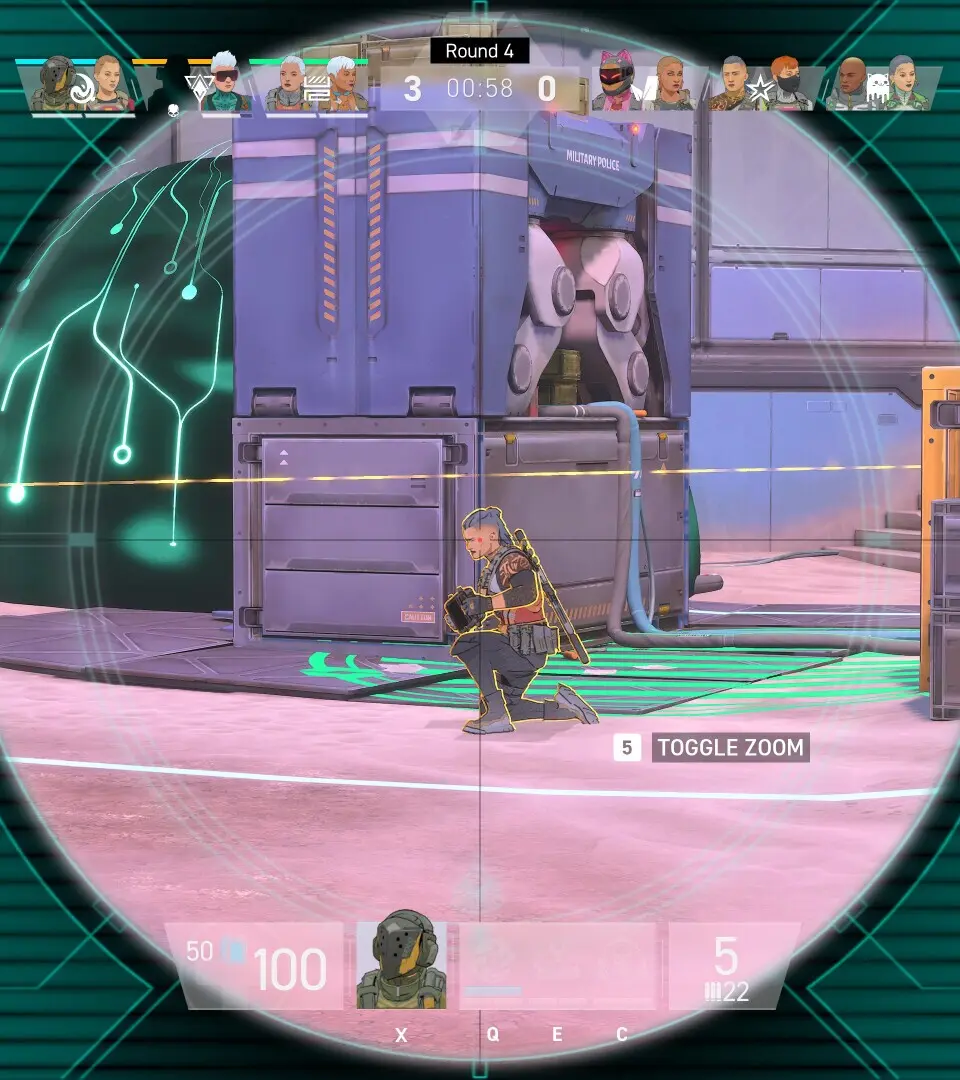
- Primary Weapon: "Whisperwind" Sniper Rifle
- Acquisition: Can be found in the
Sunken Archives during the "Echoes of the Past" mission, specifically within the data core chamber after defeating theArchivist Sentinel . Alternatively, it can be crafted at theBlack Market Armory once you acquire the"Whisperwind Blueprint" from the optional side quest "Silent Strike" in theCrimson Wastes . - Strategy: Utilize its high damage and pinpoint accuracy to eliminate enemy snipers, heavy weapon specialists, and elite units. Pair with the
"Stabilizer Grip" attachment (found in theForgotten Garrison ) to reduce sway.
- Acquisition: Can be found in the
- Secondary Weapon: "Shadow's Kiss" Suppressed Pistol
- Acquisition: Awarded upon completion of the "Undercover Operations" mission in the
Neon District . - Strategy: Perfect for stealth takedowns and close-quarters engagements when your primary is reloading or impractical. Its integrated suppressor maintains your low profile.
- Acquisition: Awarded upon completion of the "Undercover Operations" mission in the
- Tactical Ability: "Phase Shift"
- Acquisition: Unlocked early in the campaign after completing the tutorial mission "First Contact."
- Strategy: Use to quickly reposition, escape dangerous situations, or flank unsuspecting enemies. Synergizes exceptionally well with the Whisperwind, allowing you to take a shot and immediately relocate to avoid counter-fire.
- Grenade Type: "EMP Grenade"
- Acquisition: Purchasable from any
Supply Drop Terminal after reaching Player Level 15. - Strategy: Disable enemy turrets, drones, and disrupt shielded enemies, creating openings for your sniper shots.
- Acquisition: Purchasable from any
The "Frontline Breaker" Loadout: Sustained Firepower & Resilience
Designed for players who prefer to be in the thick of the fight, this loadout focuses on sustained damage output and survivability against multiple threats.
- Primary Weapon: "Rampart" Heavy Machine Gun
- Acquisition: Drops from
Heavy Enforcer enemies in theIndustrial Sector with a moderate chance. Guaranteed drop from the mini-boss"Ironclad" in the "Steel Curtain" mission. - Strategy: Lay down suppressive fire, shred through armored targets, and control choke points. Equip the
"Extended Magazine" (found in theWasteland Outpost ) to maximize uptime.
- Acquisition: Drops from
- Secondary Weapon: "Vanguard" Combat Shotgun
- Acquisition: Available for purchase at the
Quartermaster's Cache in theCentral Hub after completing the "Defensive Measures" mission. - Strategy: Devastating in close quarters, ideal for clearing rooms and dealing with aggressive melee units that close the distance.
- Acquisition: Available for purchase at the
- Tactical Ability: "Kinetic Barrier"
- Acquisition: Unlocked after completing the "Shield Protocol" side quest in the
Research Facility . - Strategy: Deploy a temporary energy shield to absorb incoming damage, allowing you to reload your heavy weapon safely or push through enemy fire. Crucial for maintaining frontline presence.
- Acquisition: Unlocked after completing the "Shield Protocol" side quest in the
- Grenade Type: "Incendiary Grenade"
- Acquisition: Found in weapon crates throughout the
Volcanic Caldera region. - Strategy: Area denial and damage over time. Use to flush enemies out of cover or to create a burning barrier between you and advancing foes.
- Acquisition: Found in weapon crates throughout the
Synergy Spotlight: "Overcharge Protocol"
This powerful synergy isn't a loadout itself, but a combination of specific gear pieces that, when used together, provide a significant combat advantage. It focuses on maximizing ability uptime and weapon damage.
- Armor Mod: "Capacitor Weave"
- Acquisition: Rare drop from
Elite Technicians in theServer Farms or as a reward for completing all challenges in the"Gauntlet" Arena . - Effect: Reduces tactical ability cooldowns by 15%.
- Acquisition: Rare drop from
- Weapon Attachment: "Power Conduit Barrel" (for any energy-based primary weapon)
- Acquisition: Can be purchased from the
Exotic Goods Dealer in theUnderground Market forData Fragments . - Effect: Increases energy weapon damage by 10% for 5 seconds after using a tactical ability.
- Acquisition: Can be purchased from the
- Consumable: "Adrenaline Injector"
- Acquisition: Common drop from most enemy types, also purchasable from
Supply Drop Terminals . - Effect: Instantly resets tactical ability cooldown and grants a temporary movement speed boost.
- Acquisition: Common drop from most enemy types, also purchasable from
How it Works: Activate your tactical ability (e.g.,
100% Human-Written. AI Fact-Checked. Community Verified. Learn how AntMag verifies content