Master Spectre Divide's matchmaking and lobby system to join squads and prepare for deployment swiftly. Get into multiplayer matches faster.
Welcome, Spectre Operative! Navigating the Matchmaking and Lobby System in Spectre Divide is crucial for a smooth and enjoyable multiplayer experience. This guide will walk you through the process, from selecting your game mode to joining a squad and preparing for deployment. Understanding these mechanics will ensure you spend less time waiting and more time dominating the battlefield.
1. Accessing the Multiplayer Hub
Upon launching Spectre Divide, you'll be presented with the Main Menu. To access multiplayer options, navigate to the "Multiplayer" tab, typically located between "Campaign" and "Settings." Press the designated interact button (usually 'E' on PC, 'X' on PlayStation, or 'A' on Xbox) to enter the Multiplayer Hub.
2. Game Mode Selection
Within the Multiplayer Hub, you'll find a carousel of available game modes. Each mode offers a distinct objective and playstyle. Carefully consider your preferred experience before making a selection:
- Spectre Hunt: Our signature 6v6 objective-based mode. Focuses on coordinated team play and strategic objective capture.
- Elimination Protocol: Classic Team Deathmatch, 8v8. High-octane action, pure combat focus.
- Data Breach: A 4v4 competitive mode where teams vie for control of critical data nodes. Requires tactical awareness and precise execution.
- Training Grounds: A low-stakes environment for practicing weapon handling and map knowledge. No matchmaking involved.
To select a mode, highlight it with your cursor or D-pad and confirm your choice. This will initiate the matchmaking process for that specific mode.
3. Understanding the Matchmaking Queue
Once you've selected a game mode, you'll enter the matchmaking queue. The system will then search for other players of similar skill levels to create a balanced match. Key information displayed during this phase includes:
- Estimated Wait Time: A dynamic estimate of how long it will take to find a match. This can fluctuate based on player count and time of day.
- Players Found: Shows how many players have currently been matched for your game.
- Matchmaking Status: Indicates the current stage of the process (e.g., "Searching for Players," "Match Found," "Joining Lobby").
Strategy Tip: If estimated wait times are consistently high, consider trying a different game mode or returning during peak hours for your region. You can cancel matchmaking at any time by pressing the designated "Cancel" button (usually 'Esc' on PC, 'Circle' on PlayStation, or 'B' on Xbox).
4. The Pre-Game Lobby
Once a match is found, you will be automatically transitioned into the pre-game lobby. This is your staging area before deployment. Here, you can:
- View Player List: See the usernames and current ping of all players in your upcoming match.
- Squad Management: If you're playing with friends, this is where you can invite them to your squad or accept invitations. To invite a friend, open the "Friends List" (usually accessed via a dedicated button or tab in the lobby) and select their name, then choose "Invite to Squad."
- Loadout Customization: Access your "Armory" to fine-tune your weapon attachments, gear, and cosmetic items. This is a critical step to ensure you're equipped for the upcoming battle. Make sure your primary weapon, secondary weapon, tactical gear (e.g., Flashbang Grenade, Smoke Screen), and lethal gear (e.g., Frag Grenade, Proximity Mine) are optimized for the chosen game mode.
- Voice Chat: Communicate with your teammates using the integrated voice chat. Ensure your microphone is properly configured in the "Audio Settings" menu.
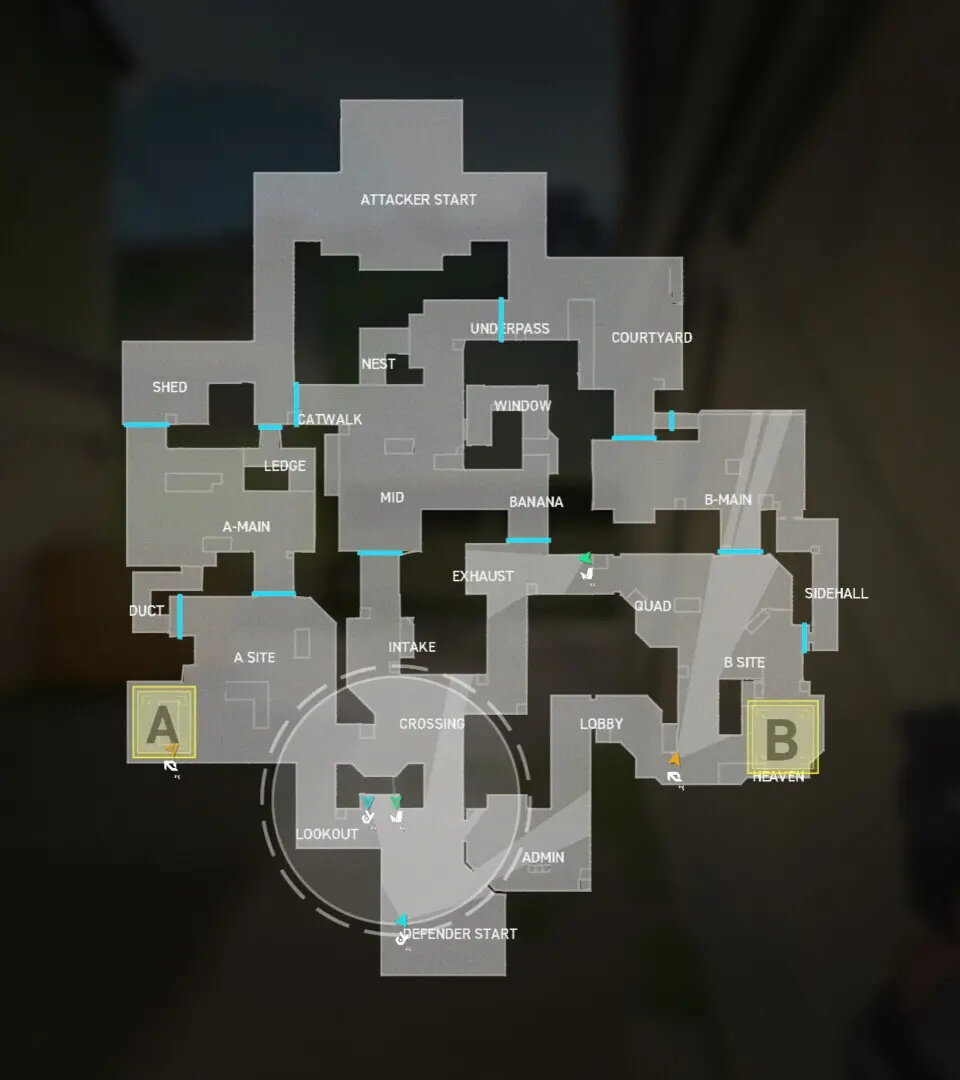
- Map Preview: A small display often shows the map that has been selected for the upcoming match, allowing you to mentally prepare your strategy.
Actionable Step: Before the countdown timer reaches zero, always double-check your loadout. A well-prepared operative is a dangerous operative. Consider having a few pre-set loadouts for different scenarios (e.g., close-quarters combat, long-range engagements).
5. Deployment
As the pre-game lobby timer counts down to zero, the game will seamlessly transition into the match. You'll see a brief loading screen, followed by the deployment sequence. Get ready, Operative – the mission awaits!
100% Human-Written. AI Fact-Checked. Community Verified. Learn how AntMag verifies content