Master Team Fortress 2's advanced mechanics like rocket jumping and sticky jumping with these expert strategies. Elevate your TF2 gameplay beyond the basics.
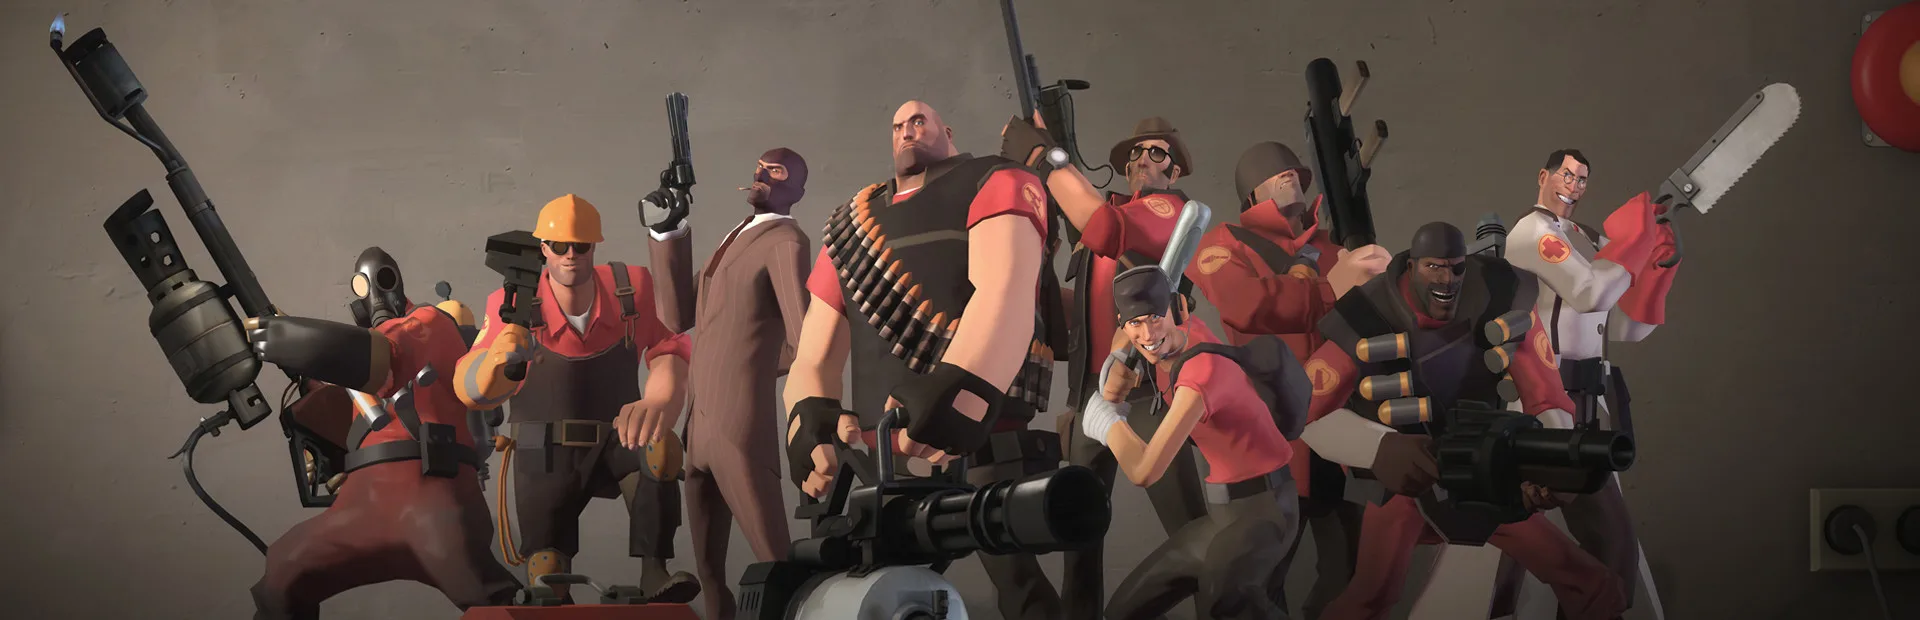
Welcome, seasoned mercs, to the realm of advanced mechanics in Team Fortress 2. This section delves beyond basic movement and class strategies, focusing on intricate techniques that can elevate your gameplay from good to truly exceptional. Mastering these mechanics requires practice, precision, and an understanding of their situational advantages.
Rocket Jumping & Sticky Jumping: Aerial Dominance
The art of self-damage propulsion is a cornerstone of advanced TF2 mobility, primarily for the Soldier and Demoman. These techniques allow for rapid repositioning, flanking maneuvers, and reaching otherwise inaccessible areas.
Soldier: Rocket Jumping
Rocket jumping is a fundamental skill for any aspiring Soldier. It sacrifices a portion of your health for immense vertical and horizontal speed.
- Basic Rocket Jump:
- Equip your primary weapon (e.g., Rocket Launcher, Original, or Direct Hit).
- Look down at your feet or slightly behind you.
- Jump (default: Spacebar) and immediately fire a rocket (default: Mouse1).
- Crouch (default: Ctrl) while in the air to gain extra height and distance.
- Practice in a private server or on maps like Jump_Academy to refine your timing.
- Advanced Rocket Jumps:
- Wall Jump: Fire a rocket at a wall near you while jumping to gain horizontal momentum. Useful for clearing gaps or quickly turning corners.
- Pogo Jump: Continuously fire rockets at the ground beneath you while maintaining a crouched jump. This allows for sustained aerial movement, often used to traverse long distances or avoid ground hazards. Requires precise timing and rocket management.
- Speed Shot: Fire a rocket at your feet while running forward, then immediately jump and crouch. This provides a significant burst of forward speed, ideal for quickly closing distances or escaping.
- Essential Items:
- Gunboats: (Secondary Weapon) Reduces self-damage from rocket jumps by 60%. Absolutely crucial for sustained rocket jumping and minimizing health loss. Found as a random drop or crafted.
- Rocket Jumper: (Primary Weapon) Deals no damage to enemies and greatly reduces self-damage. Excellent for practicing rocket jumps without fear of dying. Not viable in combat.
Demoman: Sticky Jumping
Sticky jumping offers even greater mobility than rocket jumping, allowing for massive distances and heights, albeit with a slightly different execution.
- Basic Sticky Jump:
- Equip your primary weapon (e.g., Grenade Launcher) or secondary (e.g., Stickybomb Launcher, Scottish Resistance).
- Fire a stickybomb at your feet or a nearby surface.
- Jump (default: Spacebar) and immediately detonate the stickybomb (default: Mouse2).
- Crouch (default: Ctrl) while in the air for increased height and distance.
- Advanced Sticky Jumps:
- Double Sticky Jump: Place one stickybomb, jump and detonate it, and while airborne, place and detonate a second stickybomb. This provides unparalleled height and distance, allowing access to almost any point on a map.
- Sticky Trap Jump: Place a stickybomb, lure an enemy over it, and then jump and detonate it, launching yourself while damaging the enemy. A risky but rewarding maneuver.
- Ramp Jump: Utilize inclines or map geometry to amplify the force of your sticky jump, achieving even greater speeds and distances.
- Essential Items:
- Sticky Jumper: (Secondary Weapon) Deals no damage to enemies and greatly reduces self-damage. The Demoman's equivalent of the Rocket Jumper, perfect for practice.
- Ullapool Caber: (Melee Weapon) While not directly for jumping, its explosive damage on hit can be combined with a sticky jump for a devastating surprise attack on landing.
Surfing: Exploiting Knockback
Surfing is the art of manipulating enemy knockback to your advantage, allowing you to avoid damage, reposition, or even gain speed. This technique is highly situational but incredibly effective when executed correctly.
- Execution:
- When hit by an explosive or high-knockback projectile (e.g., Soldier's rocket, Demoman's stickybomb, Heavy's minigun fire at close range), you will be propelled.
- Instead of fighting the knockback, turn your body so that the force pushes you along a surface (like a wall or the ground).
- Hold down your strafe key (default: A or D) in the direction you want to "surf."
- Maintain a consistent angle to the surface to glide along it, minimizing fall damage and potentially escaping danger.
- Situational Awareness:
- Avoiding Fall Damage: If you're launched high into the air, try to surf along a wall or the ground to reduce or negate fall damage.
- Escaping Engagements: A well-timed surf can propel you out of a dangerous firefight, especially against a pursuing Pyro or Heavy.
- Gaining Momentum: In rare cases, you can use enemy knockback to gain a burst of speed, similar to a mini-rocket jump, to reach a health pack or a safer position.
- Practice Tips:
- Practice on "surf" custom maps to get a feel for the physics.
- Pay attention to the direction of the incoming force and adjust your body and strafe accordingly.
- The Scout's Force-A-Nature shotgun can be used to practice self-surfing, as its powerful knockback can be aimed at your feet.
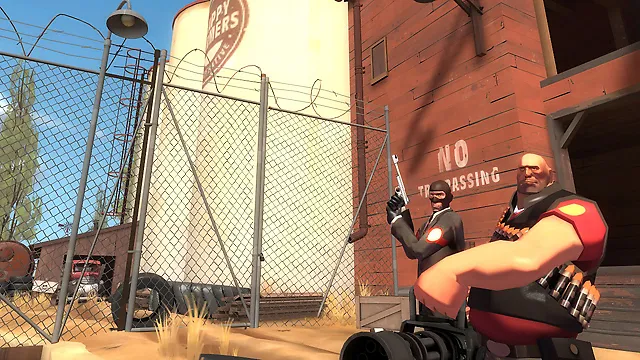
Disguise Management (Spy)
For the Spy, effective disguise management is paramount to success. It's not just about pressing 'B' and picking a class; it's about creating convincing illusions and exploiting enemy perception.
- Strategic Disguise Selection:
- Match the Environment: Disguise as a class that would naturally be in your current location. A Heavy deep in enemy territory is suspicious; a Scout or Soldier less so.
- Mimic Enemy Loadouts: Pay attention to the weapons enemies are using. If you see a lot of Soldiers with the Black Box, disguise as one to appear more authentic.
- Avoid Suspicious Disguises: Never disguise as a friendly Spy or a class that is currently dead or not present on the enemy team. This immediately raises red flags.
- Movement and Behavior:
- Walk, Don't Run: Unless actively pursuing a target or escaping, walk at a pace consistent with your disguised class. Running as a Heavy might seem normal, but running as a Sniper in the front lines is not.
- Mimic Class Actions: If disguised as an Engineer, briefly look at a dispenser or sentry. As a Medic, occasionally look at teammates as if healing. These subtle actions can sell your disguise.
- Avoid Direct Eye Contact: Staring directly at an enemy for too long, especially as a non-combat class, can make them suspicious.
- The "Friendly" Spy: Sometimes, acting like a confused or lost friendly can buy you precious seconds. Walk into a corner, look at a wall, then quickly turn and stab.
- Disguise Refreshing:
- After a Stab: Immediately after a backstab, your disguise will drop. Quickly re-disguise, ideally as a different class, to avoid immediate detection.
- After Taking Damage: If you take damage, your disguise will flicker. Find cover and re-disguise to maintain the illusion.
- Before Engaging: If you're about to decloak for a pick, consider refreshing your disguise to ensure it's still convincing and to reset any damage taken.
- Key Items:
- Your Disguise Kit: (PDA Slot) The core of your deception. Practice quick disguise changes.
- Your Knife: (Melee Weapon) The primary tool for backstabs.
- Your Sapper: (PDA Slot) For disabling Engineer buildings. Sap and then immediately re-disguise to avoid being targeted by the Engineer.
100% Human-Written. AI Fact-Checked. Community Verified. Learn how AntMag verifies content