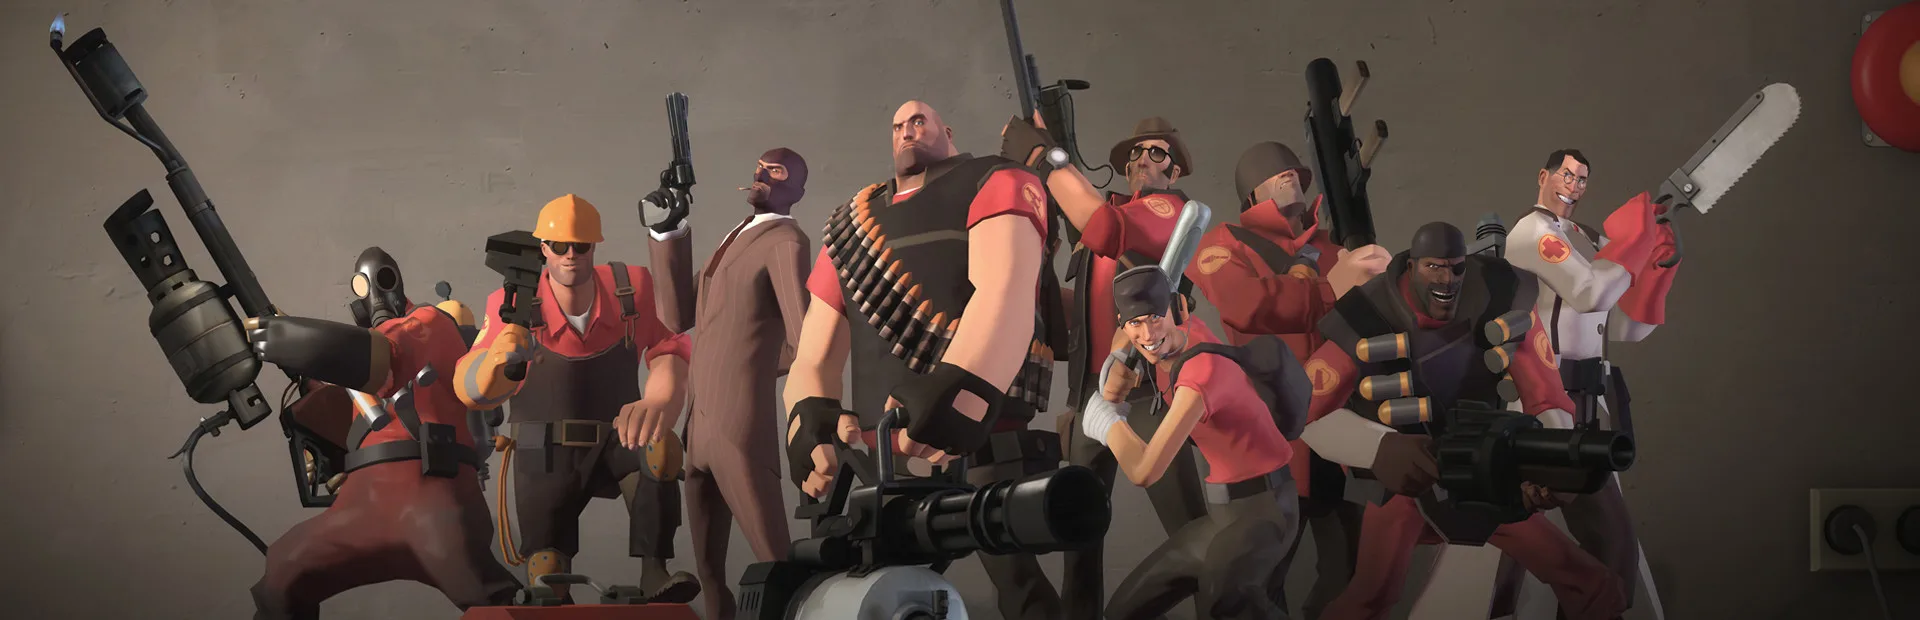
Master Team Fortress 2's push and hold mechanics. Learn coordinated movement, class selection, and battlefield flow for offensive and defensive victories.
Mastering the art of the push and the hold is fundamental to victory in Team Fortress 2. It's not just about raw firepower; it's about coordinated movement, strategic class selection, and understanding the ebb and flow of the battlefield. This section will detail effective strategies for both initiating an offensive push and establishing a resilient defensive hold.
Initiating a Push
A successful push requires a clear objective, concentrated force, and often, an element of surprise or overwhelming power. Communication is key here – use voice chat or quick commands to rally your team.
- The UberCharge Push: This is the classic and most effective push.
- Composition: A Medic with a fully charged Medigun (or Kritzkrieg for offense) paired with a high-damage class like a Heavy, Soldier, or Demoman.
- Execution: The Medic pops the UberCharge (invulnerability) or Kritzkrieg (critical hits) on their pocket, and the duo charges the objective. The protected player should focus on eliminating high-threat targets like Sentry Guns, enemy Medics, or clustered enemies.
- Support: Other teammates should follow closely behind, providing additional firepower and protecting the Medic from flankers. A Pyro can airblast projectiles away from the Ubered pair.
- Target Prioritization:
- Sentry Guns: Essential to remove for map control.
- Enemy Medics: Deny their healing and UberCharges.
- Heavies/Soldiers/Demomen: High-damage threats.
- Snipers/Spies: Less immediate threat to an Ubered pair, but dangerous to the follow-up team.
- Flank Routes & Diversions:
- Scout/Spy Flanks: While the main team pushes a central route, a Scout can use their speed to capture a point or harass enemies from a side route, drawing attention away. A Spy can sap Sentry Guns or pick key targets.
- Demoman Sticky Trap: Before a push, a Demoman can lay a sticky trap on a common enemy path or near a Sentry Gun. Detonating this as the push begins can clear a path or eliminate defenders.
- Engineer Teleporter Advantage:
- Forward Teleporter: An Engineer can build a Teleporter Exit closer to the front lines, allowing teammates to quickly rejoin the fight after respawning. This is crucial for maintaining momentum during a push.
- Safe Construction: Engineers should build their Teleporter Entrance in a safe, secluded spot near spawn, and then carefully move to build the exit, often with a friendly Pyro or Heavy for protection.
Establishing a Hold (Defense)
Once an objective is captured or needs to be defended, establishing a strong hold is paramount. This involves creating chokepoints, denying enemy access, and coordinating defensive fire.
- Sentry Gun Placement: The backbone of many defensive holds.
- Primary Sentry: Place the Sentry Gun in a location that covers the main approach to the objective, ideally with a long sightline and limited enemy cover. Examples include the main corridor leading to the final point on Badwater Basin or the central platform on Dustbowl Stage 1, Point B.
- Secondary Sentry/Dispenser: A second Engineer can place a Sentry Gun covering a flank route or a Dispenser to provide ammo and health for the primary Sentry and defending teammates.
- Engineer Protection: Engineers should always be near their Sentry Gun, repairing it and removing Sappers. A Pyro can provide airblast protection against rockets and grenades.
- Area Denial & Chokepoints:
- Demoman Traps: Lay sticky traps in narrow corridors, doorways, or around corners leading to the objective. Detonate when enemies push through. The Scottish Resistance allows for multiple traps, covering more ground.
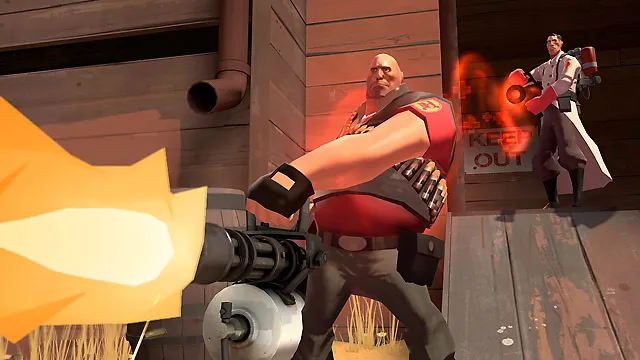
- Heavy/Pyro Frontline: A Heavy can hold a chokepoint, soaking up damage and dealing continuous fire with their Minigun. A Pyro can reflect projectiles, extinguish burning teammates, and push back enemies with airblast.
- Soldier Splash Damage: Soldiers can spam rockets into chokepoints, dealing splash damage to multiple enemies and forcing them to retreat. The Direct Hit is excellent for taking out individual high-priority targets.
- Medic Sustenance:
- Healing Priority: Medics should prioritize healing Engineers maintaining Sentry Guns, Heavies holding chokepoints, and other high-value targets.
- UberCharge for Counter-Push: A defensive UberCharge can be used to repel an enemy push, allowing your team to re-establish control or eliminate a key threat like an enemy Ubered pair.
- Sniper/Spy Counter-Play:
- Sniper Sightlines: A Sniper can hold a long sightline, picking off key enemy players like Medics, Heavies, or other Snipers attempting to disrupt your hold.
- Spy Flanks/Saps: A Spy can bypass the frontline to sap enemy Sentry Guns or assassinate high-value targets, weakening their push before it even reaches your main defense.
100% Human-Written. AI Fact-Checked. Community Verified. Learn how AntMag verifies content