Dominate Team Fortress 2's Mann vs. Machine mode with our MvM strategy guide. Master cooperative play, upgrades, and class synergy against robot hordes.
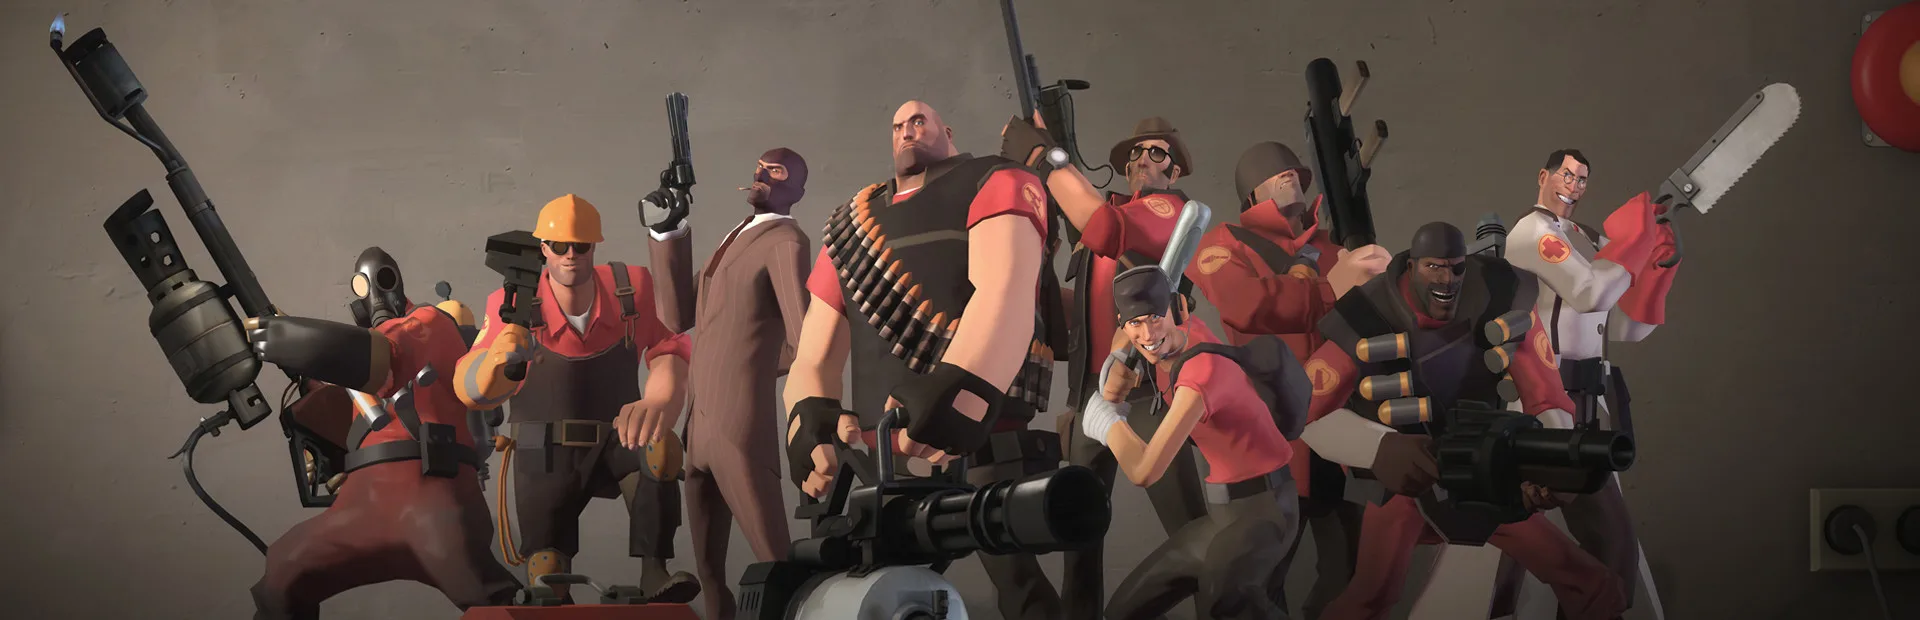
Welcome, mercenary, to the ultimate guide for dominating Mann vs. Machine! This detailed section will equip you with the knowledge and tactics needed to turn those robotic hordes into scrap metal. MvM is a cooperative game mode where teamwork, strategic upgrades, and class synergy are paramount. Forget your casual Deathmatch habits; here, every decision impacts survival.
General MvM Principles
- Communication is Key: Use voice chat or text commands to coordinate targets, call out threats (especially Sentry Busters and Uber Medics), and request healing or ammo. A silent team is a doomed team.
- Economy Management: Every dollar counts. Prioritize upgrades that directly enhance your role and the team's overall survival. Don't splurge on cosmetic upgrades until you're consistently winning.
- Know Your Role: Each class has specific strengths and weaknesses in MvM. Understand what's expected of you and how to best support your teammates.
- Adapt and Overcome: Robot waves vary. Be prepared to adjust your strategy and upgrades on the fly based on the current threats.
Pre-Game Preparation: The Upgrade Station
Before the first wave, and between subsequent waves, you'll visit the Upgrade Station. This is where you spend your collected cash to enhance your abilities. Smart spending is crucial.
Essential Upgrades by Class Role:
- Damage Dealers (Soldier, Demoman, Heavy, Pyro, Scout):
- Projectile Penetration/Explosive Radius: For classes like Soldier (Rocket Launcher) and Demoman (Grenade Launcher, Stickybomb Launcher), this is often a first priority to clear groups of robots efficiently.
- Damage & Firing Speed: Core upgrades for all damage classes. Max out your primary weapon's damage early.
- Reload Speed: Especially vital for Heavy and Soldier to maintain consistent DPS.
- Crit Resistance: A defensive upgrade that can save your life against critical-hitting robots. Consider it after offensive upgrades.
- Support (Medic, Engineer, Sniper, Spy):
- Medic (Medigun):
- Healing Mastery: Max out Heal Rate and Overheal Expert immediately.
- UberCharge Rate & Duration: Crucial for keeping the team alive during tough waves.
- Projectile Shield: A game-changer, allowing you to block incoming projectiles and protect your team. Get this early!
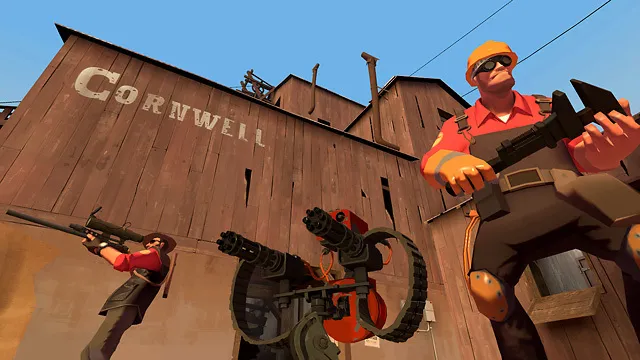
- Engineer (Sentry Gun):
- Sentry Firing Speed & Health: Your Sentry is your primary defense. Max these out.
- Dispenser Range: Allows your team to stay topped up on ammo and health from a safer distance.
- Wrench Attack Speed: For faster repairs.
- Sniper (Sniper Rifle):
- Explosive Headshots: Absolutely essential for crowd control. Prioritize this.
- Damage & Firing Speed: To take down high-priority targets faster.
- Reload Speed: To maintain a consistent rate of fire.
- Spy (Knife, Sapper):
- Sapper Power & Duration: For disabling large groups of robots and Giant robots.
- Attack Speed (Knife): For backstabbing efficiency.
- Movement Speed: To navigate the battlefield and get behind robots.
- Medic (Medigun):
Class-Specific Strategies and Item Recommendations
Scout (Money Collector & Support)
- Primary Role: Collect all dropped cash. Your team relies on you for maximum upgrades.
- Recommended Weapons:
- Primary: Force-A-Nature (for knockback and escape) or Soda Popper (for Hype jumps).
- Secondary: Mad Milk (essential for healing teammates and slowing robots). Upgrade Slowdown and Recharge Rate.
- Melee: Fan O'War (marks targets for death, making them take mini-crits). Upgrade Attack Speed.
- Strategy:
- Stay mobile and scoop up cash. Use your speed to your advantage.
- Throw Mad Milk on large groups, especially Giant robots, to provide significant team healing.
- Mark Giant robots with the Fan O'War for increased team damage.
- Avoid direct combat unless necessary; your primary goal is cash and support.
Soldier (Explosive Damage & Buffs)
- Primary Role: Area-of-effect damage, taking down groups and Giant robots.
- Recommended Weapons:
- Primary: Beggar's Bazooka (high burst damage with practice) or Black Box (for self-sustain). Upgrade Damage, Firing Speed, Reload Speed, and Projectile Penetration.
- Secondary: Buff Banner (essential for team mini-crits) or Concheror (for team healing and speed boost). Upgrade Rage on Hit.
- Melee: Disciplinary Action (for speeding up teammates).
- Strategy:
- Focus on clearing groups of robots with splash damage.
- Deploy your Buff Banner (or other banner) strategically during critical moments, especially against Giant robots or large waves.
- Rocket jump to reposition or escape dangerous situations.
Pyro (Crowd Control & Giant Destroyer)
- Primary Role: Airblast control, pushing back robots, and high single-target damage with crits.
- Recommended Weapons:
- Primary: Phlogistinator (for guaranteed crits after Mmmph charge) or Degreaser (for quick weapon switching). Upgrade Damage, Firing Speed, and Airblast Force.
- Secondary: Flare Gun (for long-range damage and afterburn) or Scorch Shot (for area denial and knockback).
- Melee: Powerjack (for movement speed).
- Strategy:
- Airblast incoming projectiles (rockets, grenades) back at robots.
- Use airblast to push robots into environmental hazards or away from the bomb hatch.
- With the Phlogistinator, build Mmmph charge and unleash critical flames on Giant robots.
- Focus on Pyros and Medics.
Demoman (Massive Area Damage)
- Primary Role: High area-of-effect damage, especially with sticky traps.
- Recommended Weapons:
- Primary: Grenade Launcher (for direct damage and clearing groups). Upgrade Damage, Firing Speed, and Projectile Penetration.
- Secondary: Stickybomb Launcher (your primary damage source). Upgrade Damage, Firing Speed, Reload Speed, and Projectile Penetration.
- Melee: Eyelander (for increased speed and health after kills) or Ullapool Caber (for emergency burst damage).
- Strategy:
- Set up sticky traps at choke points where robots will funnel.
- Detonate sticky traps as large groups or Giant robots enter their range.
- Use your Grenade Launcher for direct damage on targets that bypass your traps or for quick clean-up.
- Be mindful of Sentry Busters; they will target your sticky traps.
Heavy (Tank & Sustained DPS)
- Primary Role: High sustained damage, tanking hits, and blocking the bomb.
- Recommended Weapons:
- Primary: Minigun (stock or Brass Beast for higher damage, Natascha for slowdown). Upgrade Damage, Firing Speed, Reload Speed, and Health on Kill.
- Secondary: Sandvich (for self-healing or healing your Medic/Engineer). Upgrade Recharge Rate.
- Melee: Gloves of Running Urgently (GRU) (for faster movement).
- Strategy:
- Position yourself at the front lines, soaking damage and shredding robots.
- Prioritize Giant robots and Medics.
- Use your Sandvich to heal yourself or a critical teammate.
- Be aware of Sentry Busters and retreat if necessary to avoid their explosion.
Engineer (Defense & Support)
- Primary Role: Area denial with the Sentry Gun, ammo and health supply with the Dispenser, and teleporter for quick team return.
- Recommended Weapons:
- Primary: Rescue Ranger (for repairing Sentry from a distance and retrieving it).
- Secondary: Wrangler (essential for boosting Sentry damage and survivability).
- Melee: Jag (for faster building) or Southern Hospitality (for applying bleed to Spies).
- Strategy:
- Place your Sentry Gun in a strategic location that covers a main choke point but is also defensible.
- Keep your Dispenser close to the Sentry and team, providing constant ammo and health.
- Use the Wrangler to focus fire on Giant robots or to protect your Sentry from heavy damage.
- Be prepared to move your Sentry if it's being overwhelmed or targeted by a Sentry Buster. Use the Rescue Ranger to retrieve it safely.
- Regularly check for enemy Spies and destroy them.
Medic (Healing & UberCharges)
- Primary Role: Keep your team alive, provide crucial UberCharges, and deploy projectile shields.
- Recommended Weapons:
- Primary: Blutsauger (for self-healing) or Crusader's Crossbow (for long-range healing).
- Secondary: Kritzkrieg (for offensive UberCharges) or Medigun (for defensive UberCharges). Upgrade Heal Rate, Overheal Expert, UberCharge Rate, UberCharge Duration, and Projectile Shield.
- Melee: Ubersaw (for building UberCharge quickly).
- Strategy:
- Prioritize healing your main damage dealers (Heavy, Demoman, Soldier) and the Engineer's Sentry.
- Deploy your Projectile Shield to protect your team from incoming fire, especially during intense waves.
- Use your UberCharge strategically: Kritzkrieg for burst damage on Giants, Medigun for surviving overwhelming attacks.
- Constantly build UberCharge with the Ubersaw on downed robots or during lulls.
- Be aware of enemy Spies and Snipers targeting you.
Sniper (High-Value Target Elimination & Crowd Control)
- Primary Role: Eliminate high-health targets (Giants, Medics, Snipers) and provide crowd control with explosive headshots.
- Recommended Weapons:
- Primary: Hitman's Heatmaker (for Focus and faster firing) or Machina (for piercing shots). Upgrade Damage, Firing Speed, Reload Speed, and Explosive Headshots.
- Secondary: Jarate (for mini-crits on enemies). Upgrade Recharge Rate.
- Melee: Bushwacka (for critical hits when Jarate is applied).
- Strategy:
- Position yourself in a safe, elevated spot with a clear line of sight to the robot spawn.
- Prioritize Giant Medics, Giant Snipers, and other high-threat robots.
- Land headshots to trigger Explosive Headshots, clearing groups of smaller robots.
- Throw Jarate on large groups or Giant robots to allow your team to deal mini-crit damage.
Spy (Sapper & Backstab Specialist)
- Primary Role: Disable large groups of robots and Giant robots with the Sapper, backstab high-priority targets.
- Recommended Weapons:
- Primary: Revolver (stock or Ambassador for headshots).
- Secondary: Sapper (your most important tool). Upgrade Sapper Power, Sapper Duration, and Sapper Radius.
- Melee: Kunai (for health on kill) or Big Earner (for speed boost on kill). Upgrade Attack Speed.
- PDA: Dead Ringer (for survivability) or Cloak and Dagger (for extended cloaking). Upgrade Cloak Regen and Cloak Duration.
- Strategy:
- Use your Sapper to disable groups of robots, especially those with Medics, or to slow down Giant robots.
- Backstab high-priority targets like Medics, Snipers, and Heavies.
- Use your disguise and cloak to get behind enemy lines safely.
- Be aware of enemy Pyros, as they can easily reveal and eliminate you.
- Your Sapper is incredibly powerful against Giant robots; keep them disabled as much as possible.
Advanced MvM Tactics
- Sentry Buster Management:
- When a Sentry Buster spawns, the Engineer should pick up their Sentry and retreat.
- The Sentry Buster will follow the Engineer. Lead it away from the team and other buildings.
- Once the Sentry Buster is isolated, the Engineer can redeploy their Sentry and the team can focus fire on it before it explodes.
- Alternatively, a Pyro can airblast the Sentry Buster into a pit or off the map for an instant kill.
- Uber Medic Prioritization:
- Uber Medics are the most dangerous robots. They grant invincibility to their patient.
- Focus all fire on Uber Medics immediately. A Demoman's sticky trap or a Soldier's concentrated rocket barrage can take them out quickly.
- A Sniper with Explosive Headshots can often take out multiple Uber Medics in a single shot.
- A Spy's Sapper is also highly effective at disabling Uber Medics.
- Bomb Carrier Control:
- Prevent the bomb carrier from reaching the bomb hatch at all costs.
- Use knockback (Pyro's airblast, Force-A-Nature) to push them back.
- Slow them down with Natascha or Mad Milk.
- Focus fire on the bomb carrier, especially if it's a Giant.
- Tank Busting:
- Tanks are immune to headshots and critical hits.
- All team members should focus fire on the tank when it appears.
- Demoman's stickybombs and Heavy's sustained fire are particularly effective.
- A Pyro with the Phlogistinator can deal massive damage to tanks with their Mmmph crits.
By understanding these strategies and applying them consistently, you'll be well on your way to becoming an MvM master. Remember, practice makes perfect, and a good team is your greatest asset!
100% Human-Written. AI Fact-Checked. Community Verified. Learn how AntMag verifies content