Master "Perimeter Patrol" in TF2. Learn RED team objectives, defensive strategies, key locations, and recommended loadouts to hold the line.
Mission 5, "Perimeter Patrol," tasks the RED team with securing and maintaining control over a vital perimeter in a contested zone. This mission emphasizes defensive positioning, coordinated responses to enemy incursions, and the strategic use of class abilities to hold ground against relentless BLU assaults. Success hinges on establishing strong defensive lines and reacting swiftly to breaches.
In "Perimeter Patrol," the RED team must establish and defend a critical perimeter against continuous BLU attacks. This mission is a test of defensive endurance and tactical awareness, requiring players to work together to fortify key positions, anticipate enemy attack vectors, and manage their resources effectively to prevent the BLU forces from breaking through and achieving their objectives.
Mission Objectives
The primary objective for the RED team is to hold a designated perimeter for a set duration or until a specific condition is met, preventing the BLU team from advancing or capturing key points within it. This typically involves:
- Establishing Defenses: Upon deployment, players have a short window to set up defensive positions. Engineers are crucial here for building Sentry Guns, Dispensers, and Teleporters.
- Holding Key Points: The perimeter often consists of several strategic locations or chokepoints that must be defended. Players need to spread out and cover these areas effectively.
- Repelling Waves: The BLU team will launch coordinated assaults in waves, attempting to breach the perimeter. Defenders must focus their firepower and abilities to neutralize these threats.
- Countering Infiltrators: BLU Spies and Scouts may attempt to bypass main defenses and attack from the flanks or rear. Players must be vigilant and ready to counter these threats.
- Responding to Breaches: If the BLU team manages to break through a section of the perimeter, defenders must quickly regroup and push them back to re-establish control.
- Sustaining Defense: The mission requires sustained effort. Players must manage their ammo and health, and ensure their fortifications remain operational.
Key Defensive Locations and Strategies
- Chokepoints: Narrow passages or doorways that funnel BLU attackers, making them ideal for concentrated fire and Sentry Guns.
- High Ground: Positions offering a clear line of sight over the battlefield are excellent for Snipers and Soldiers to provide covering fire.
- Flank Routes: Areas that BLU attackers might use to bypass main defenses. These require dedicated defenders or mobile classes to monitor.
- Engineer Nests: Strategically placed Sentry Guns and Dispensers that form the backbone of the RED defense. Protecting these nests is paramount.
- Respawn Areas: Ensuring that Teleporters are functional and that defenders can quickly return to the front lines is vital.
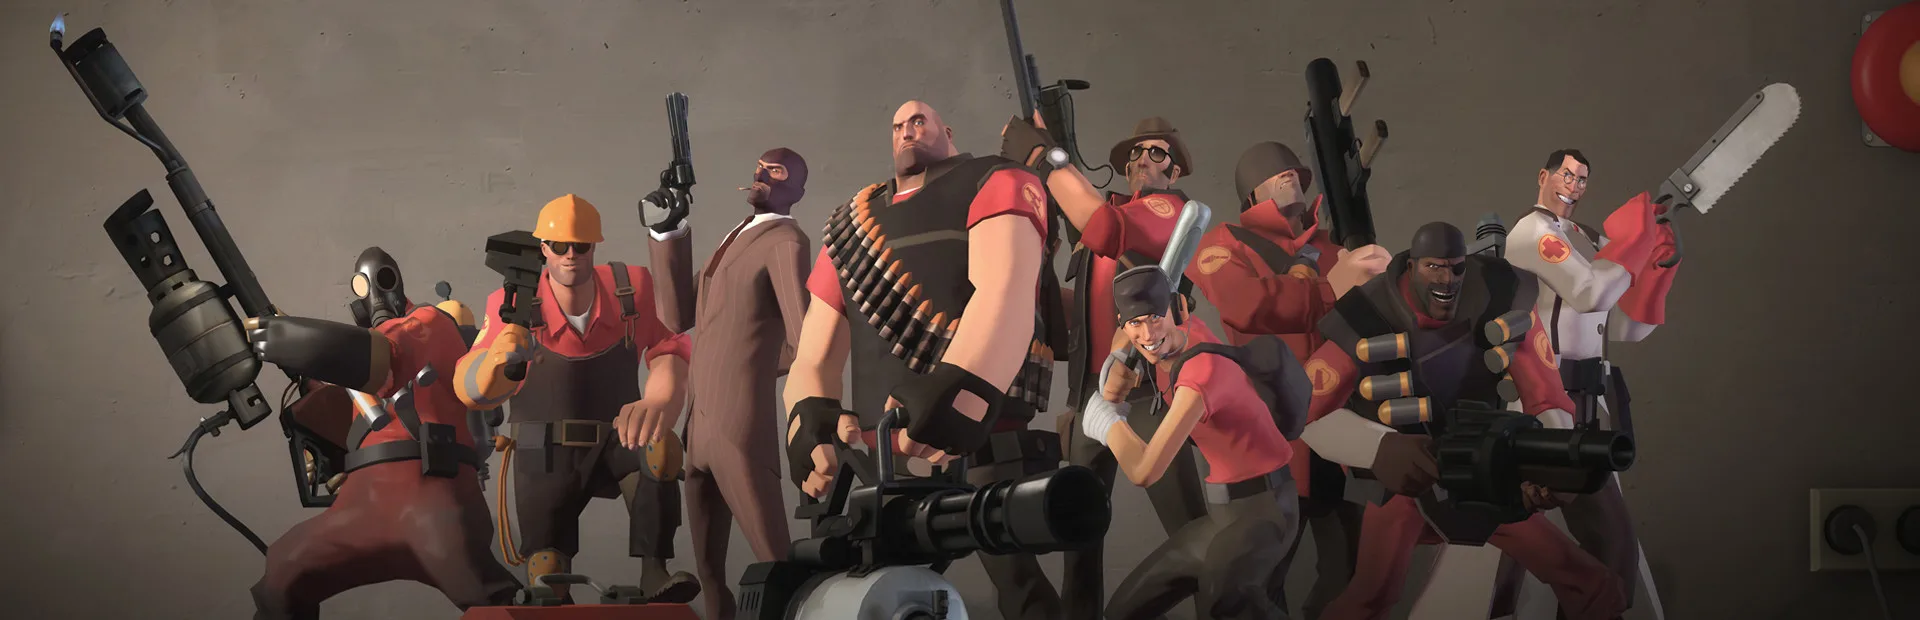
Recommended Loadouts and Class Roles
| Class | Primary Role | Recommended Loadout Focus | Key Contribution |
|---|---|---|---|
| Engineer | Area Denial & Support | Wrench, Sentry Gun, Dispenser, Teleporter | Establishes and maintains defensive fortifications, provides health/ammo. |
| Heavy | Frontline Defense & Damage | Minigun, Sandvich | Absorbs damage, provides sustained suppressing fire, and holds chokepoints. |
| Pyro | Anti-Spy & Projectile Defense | Flamethrower, Shotgun | Airblasts rockets/stickies, checks for Spies, denies close-quarters areas. |
| Soldier | Offensive Support & Area Damage | Rocket Launcher, Buff Banner (optional) | Breaks enemy pushes, provides damage buffs, and can reinforce threatened areas. |
| Medic | Team Survivability | Medi Gun | Keeps key defenders alive, builds ÜberCharge for critical defensive stands or counter-pushes. |
| Sniper | Threat Elimination | Sniper Rifle | Eliminates high-priority targets like enemy Medics, Heavies, and Engineers from a distance. |
Effective communication is crucial. Call out enemy positions, especially flankers and Spies. Coordinate your defensive efforts, ensure your Engineer's nests are protected, and be ready to adapt your strategy as the BLU team changes their attack patterns. A well-coordinated RED team can successfully hold the perimeter and achieve victory.
100% Human-Written. AI Fact-Checked. Community Verified. Learn how AntMag verifies content