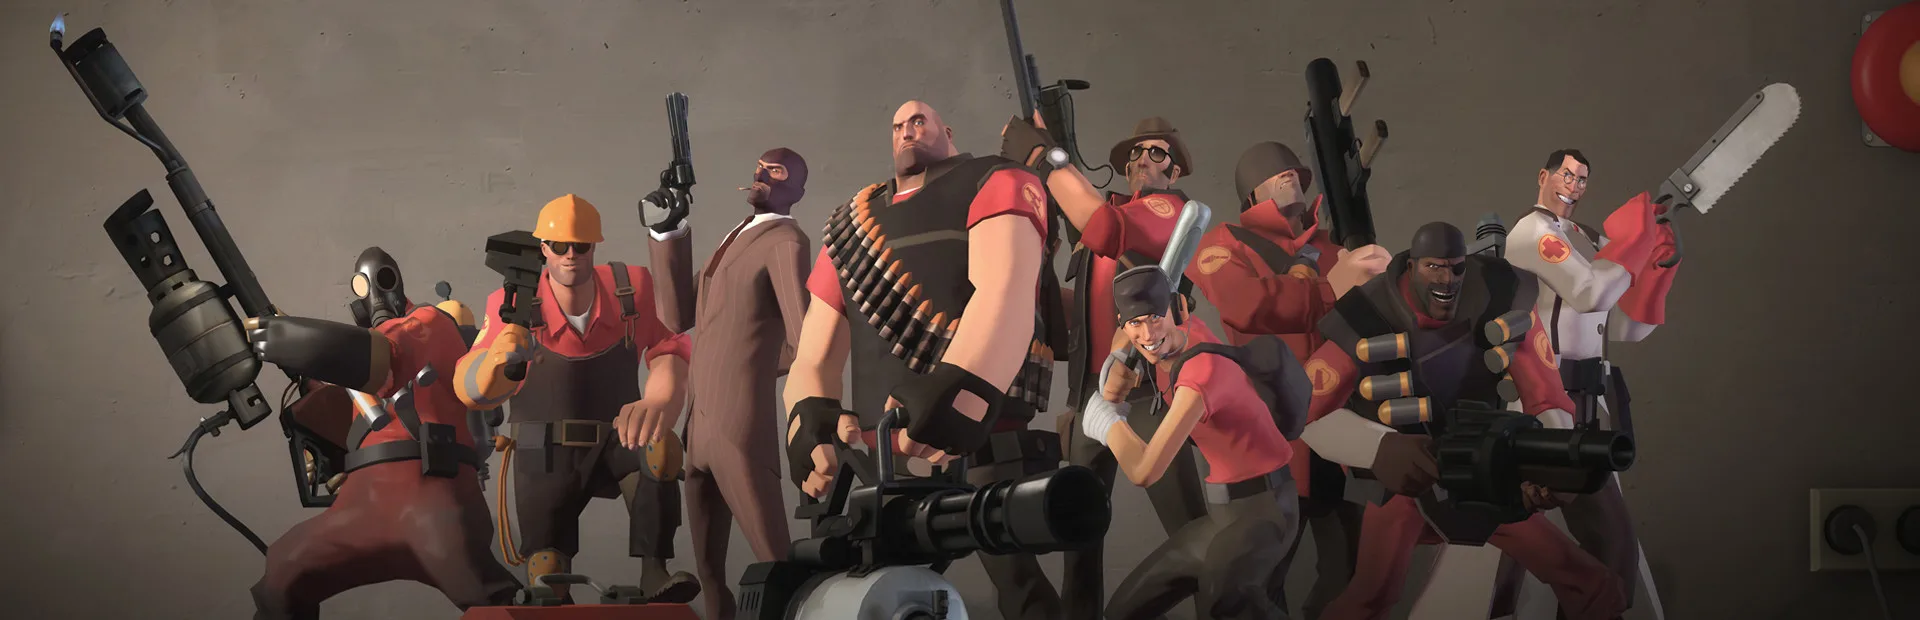
Learn Team Fortress 2 damage calculation and mechanics. Understand base values, critical hits, and how these numbers impact gameplay and loadout optimization.
Mastering Team Fortress 2 goes beyond aim; it requires a deep understanding of how damage is calculated and applied. Knowing these mechanics allows you to optimize your loadouts, predict enemy health, and make informed decisions in the heat of battle. This section will break down the core components of damage in TF2, from base values to critical hits and environmental factors.
I. Base Damage & Falloff/Ramp-up
Every weapon in Team Fortress 2 has a base damage value, but this isn't static. Proximity to your target significantly alters the damage dealt:
- Ramp-up: When you are very close to an enemy, your weapons will deal increased damage. This is particularly noticeable for classes like the Scout with his Scattergun, or the Pyro with his Flamethrower. For most weapons, maximum ramp-up occurs at point-blank range (within 128 Hammer units), granting up to 150% of the base damage.
- Falloff: Conversely, the further you are from an enemy, the less damage your weapons will inflict. This falloff can reduce damage to as low as 50% of the base value for many weapons at extreme ranges (beyond 1024 Hammer units). Snipers, however, have weapons designed to bypass falloff at long distances, and some weapons like the Rocket Launcher have less severe falloff than others.
Actionable Tip: As a Heavy, always aim to engage enemies at close to medium range to maximize the ramp-up on your Minigun. Conversely, if you're a Soldier, try to maintain a mid-range distance to avoid extreme falloff while still landing direct hits with your Rocket Launcher.
II. Critical Hits & Mini-Crits
These damage multipliers can turn the tide of any engagement:
- Critical Hits (Crits): A critical hit deals 300% (3x) of a weapon's base damage, completely ignoring ramp-up or falloff. This means a critical hit from a Rocket Launcher will always deal its maximum potential damage, regardless of distance. Crits are often random, but can be guaranteed by certain conditions or items:
- Random Crits: Most weapons have a small chance to randomly crit, increasing with damage dealt recently.
- Guaranteed Crits:
- Kritzkrieg: A Medic's ÜberCharge from the Kritzkrieg grants guaranteed critical hits to his patient for 8 seconds.
- Frontier Justice: An Engineer's Frontier Justice gains 2 critical shots for every Sentry kill assist and 1 critical shot for every Sentry kill.
- Chargin' Targe/Splendid Screen/Tide Turner: A Demoman's shield charge attack guarantees a critical hit with melee weapons at the end of the charge.
- Backstabs: A Spy's backstab with any Knife is always a critical hit, instantly killing most classes.
- Mini-Crits: Mini-crits deal 135% (1.35x) of a weapon's base damage and also ignore falloff, but still respect ramp-up. This makes them incredibly powerful for mid-range engagements. Sources of mini-crits include:
- Buff Banner: A Soldier's Buff Banner provides mini-crits to nearby teammates for 10 seconds after filling its rage meter.
- Jarate/Mad Milk: Enemies doused in Jarate (Sniper) or Mad Milk (Scout) take mini-crit damage from all sources for a short duration.
- Crit-a-Cola: A Scout consuming Crit-a-Cola gains mini-crits for 8 seconds, but also takes 10% more damage.
- Flare Gun: The Pyro's Flare Gun deals mini-crit damage to burning players.
- Loch-n-Load: The Demoman's Loch-n-Load deals 20% more damage to buildings, which translates to mini-crit damage.
Strategy: As a Medic, coordinating a Kritzkrieg push with a Demoman or Soldier can wipe out an entire enemy team. If you're a Sniper, prioritize targets covered in Jarate to secure quick picks with mini-crit headshots.
III. Headshots & Explosive Damage
Specific damage types require unique considerations:
- Headshots: Only the Sniper's Sniper Rifles (e.g., Sniper Rifle, Machina, Bazaar Bargain) and the Ambassador (Spy's revolver) can deal headshot damage. A fully charged Sniper Rifle headshot deals 450 damage, an instant kill for all but an ÜberCharged Heavy. The Ambassador deals 102 damage on a headshot at close range, making it a potent finishing tool.
- Explosive Damage: Weapons like the Soldier's Rocket Launcher and Demoman's Grenade Launcher deal splash damage. This means damage decreases the further an enemy is from the explosion's center. Direct hits deal full damage, while enemies at the edge of the blast radius take significantly less.
- Self-Damage: Explosive weapons also deal self-damage, which is crucial for rocket jumping and sticky jumping. This self-damage is reduced by 25% for the Soldier and Demoman using their primary explosive weapons.
- Damage Reduction: The Vaccinator (Medic) can provide specific resistance to explosive damage, significantly reducing its effectiveness.
Walkthrough Step: To practice headshots, enter a training map like tr_walkway_rc2 and set bots to stand still. Focus on consistent head-level aiming. For explosive damage, practice aiming rockets at enemy feet to maximize splash damage against clustered opponents.
IV. Damage Resistance & Vulnerabilities
Certain items and conditions modify incoming damage:
- Damage Resistance:
- Vaccinator: As mentioned, the Vaccinator's ÜberCharge provides 75% resistance to a chosen damage type (bullet, explosive, or fire).
- Fists of Steel: The Heavy's Fists of Steel grant 40% resistance to bullet damage when active, but increase melee damage taken by 100%.
- Danger Shield: The Sniper's Darwin's Danger Shield provides 25% fire resistance.
- Damage Vulnerabilities:
- Crit-a-Cola: Scout takes 10% more damage while under its effects.
- Eyelander/Claidheamh Mòr: Demoman wielding these swords has -25 max health.
- Brass Beast: Heavy takes 20% more damage while spun up.
Understanding these modifiers is key to effective counter-play. If an enemy Heavy is using the Fists of Steel, switch to fire or explosive damage if possible. If a Medic is running the Vaccinator, try to coordinate different damage types to break through their resistance.
100% Human-Written. AI Fact-Checked. Community Verified. Learn how AntMag verifies content