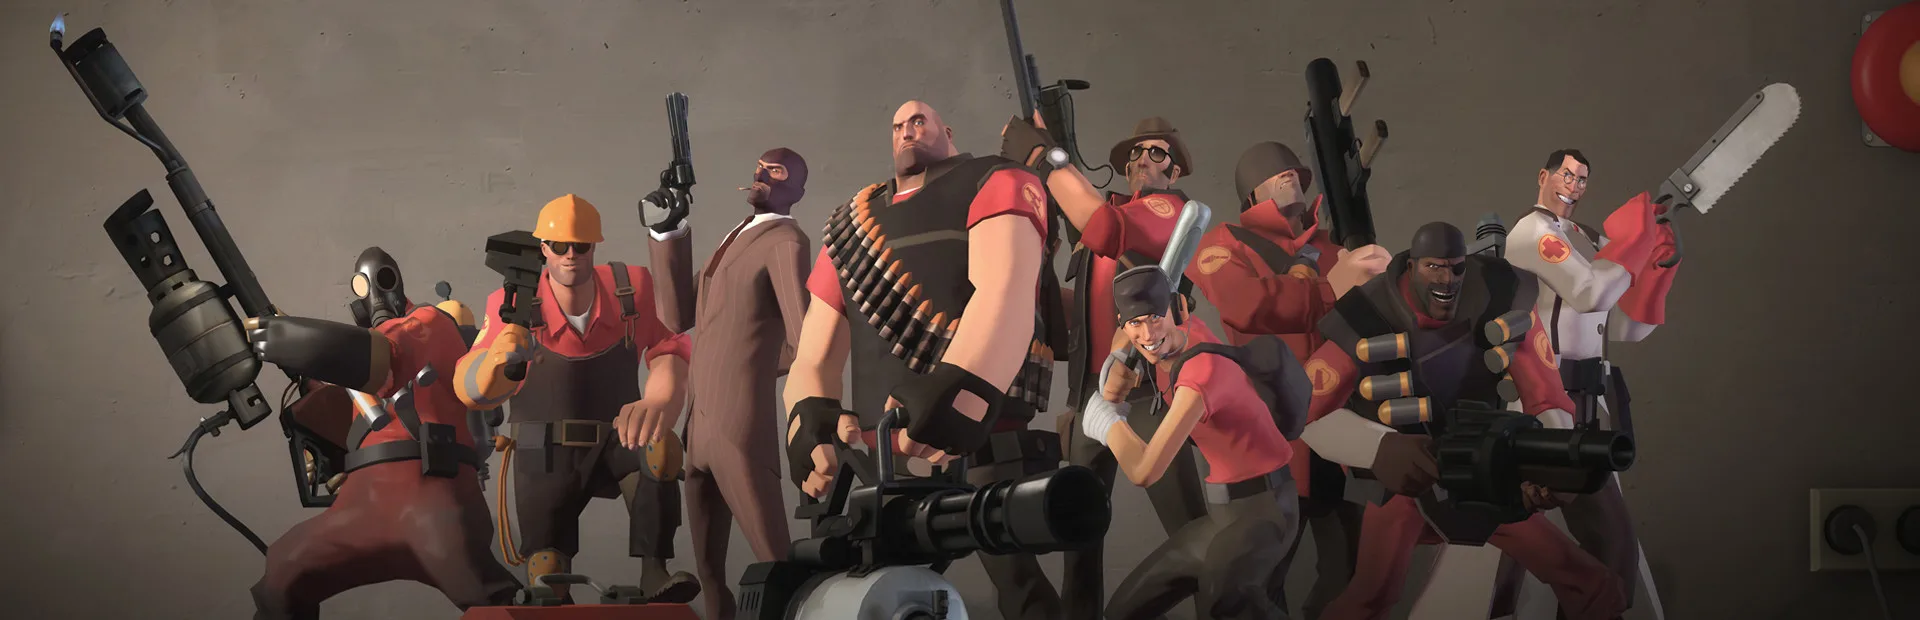
Gain victory in Team Fortress 2 by learning map strategies for popular modes like Control Point, focusing on key locations and class-specific tactics.
Understanding the nuances of each map is paramount to achieving victory in Team Fortress 2. This section will delve into specific, actionable strategies for popular game modes and their associated maps, focusing on key locations, item placements, and class-specific tactics.
Control Point Maps (e.g., cp_badlands, cp_granary)
Control Point maps are all about territorial control, often featuring a central point and two flanking points. Success hinges on coordinated pushes and strong defensive setups.
Initial Push & Mid-Fight
- Scout: Utilize your speed with the Force-A-Nature to quickly flank and harass enemies attempting to reach mid. Grab the small health pack near the side entrance to mid on cp_badlands for quick health regeneration.
- Soldier: Rocket jump with the Rocket Launcher to gain high ground advantage on central points. On cp_granary, aim for the central crates to rain down rockets on unsuspecting foes.
- Demoman: Lay sticky traps with the Stickybomb Launcher on common enemy routes leading to mid. On cp_badlands, the choke point leading from spawn to mid is an excellent spot for a pre-emptive trap.
- Medic: Focus on building ÜberCharge with the Medigun by healing multiple teammates. Prioritize healing Soldiers and Demomen for the initial push. Stay behind cover, utilizing the large health kit usually found near your team's side of the mid-point.
Holding Points & Defense
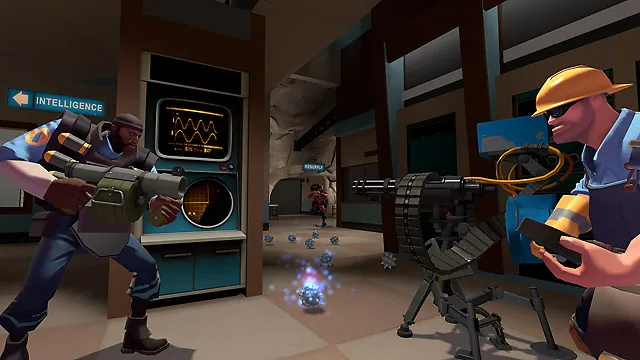
- Engineer: For defensive control points, set up a Sentry Gun in a strategic location that covers multiple entrances but is not easily spammed. On cp_granary, the elevated platform overlooking the final point is a strong defensive position for a Level 3 Sentry. Keep a Dispenser nearby for ammo and health.
- Heavy: Position yourself with the Minigun to suppress enemy advances on the control point. Work with an Engineer's Sentry or a Medic's healing to create an impenetrable front line.
- Sniper: Find long sightlines to pick off high-value targets like Medics or Engineers. On cp_badlands, the high ledges overlooking the final point offer excellent sniping opportunities. Consider using the Machina for piercing shots through multiple enemies.
- Spy: Look for opportunities to sap enemy Sentry Guns or backstab critical targets. On any map, a well-timed sap on a forward Sentry can collapse an enemy defense. Use the Dead Ringer to escape dangerous situations after a successful pick.
Payload Maps (e.g., pl_upward, pl_badwater)
Payload maps involve one team pushing a cart to a series of checkpoints while the other team defends. Understanding the cart's path and key chokepoints is vital.
Offensive Strategies (Pushing the Cart)
- Pyro: Use the Flamethrower to clear out Engineers and Spies around the cart. The Phlogistinator can be devastating for pushing through chokepoints when Mmmph is charged.
- Soldier/Demoman: Provide explosive support to clear out entrenched defenders. Rocket jump or sticky jump over obstacles to flank and create diversions.
- Medic: Stay with the cart as much as possible, as it provides health regeneration. Use the Kritzkrieg for powerful pushes through heavily defended areas, especially on pl_upward's final ascent.
- Heavy: The ultimate cart-pusher. Stay on the cart, revving your Minigun to suppress enemies. A Heavy with a Medic is a formidable force.
Defensive Strategies (Stopping the Cart)
- Engineer: Set up Sentry Guns at key chokepoints or overlooking the cart's path. On pl_badwater, the first point's tunnel exit is a prime location for an early Sentry.
- Sniper: Find elevated positions with clear views of the cart and its pushers. Prioritize Medics and Heavies. The Sydney Sleeper can be useful for marking targets for your team.
- Demoman: Lay sticky traps with the Stickybomb Launcher directly on the cart's path, especially around corners or after checkpoints.
- Spy: Sap forward Sentry Guns or pick off Medics and Heavies who are pushing the cart. A well-placed backstab can halt an entire push.
Attack/Defend Maps (e.g., cp_dustbowl, cp_gorge)
These maps feature one team attacking a series of control points while the other defends. The attacking team has a limited time to capture all points.
Attacking Team
- Scout: Utilize your speed to capture points quickly after a successful push. The Bonk! Atomic Punch can allow you to run through Sentry fire to distract or capture.
- Soldier/Demoman: Focus on breaking enemy defenses, especially Sentry Guns. Coordinate pushes with your Medic.
- Medic: ÜberCharge pushes are critical for breaking through fortified defenses. On cp_dustbowl, a well-timed Über can clear the first point's choke.
- Spy: Sap Sentry Guns and eliminate key defenders. A successful backstab on a Medic can turn the tide of a push.
Defending Team
- Engineer: Set up Sentry Guns in unexpected locations or in positions that cover multiple approaches. On cp_gorge, the high ground overlooking the final point is a strong defensive spot.
- Heavy: Hold chokepoints with your Minigun, preventing the enemy from advancing.
- Pyro: Airblast incoming projectiles and extinguish burning teammates. The Homewrecker is invaluable for removing Sappers from friendly Engineer buildings.
- Sniper: Pick off high-value targets from a safe distance, focusing on enemy Medics or Soldiers attempting to break through.
100% Human-Written. AI Fact-Checked. Community Verified. Learn how AntMag verifies content