Complete walkthrough for Chapter 7: Unspeakable World in Fire Emblem Fates: Revelation. Includes objectives, enemy list, new allies, and tips for seizing the final objective.
Walkthrough
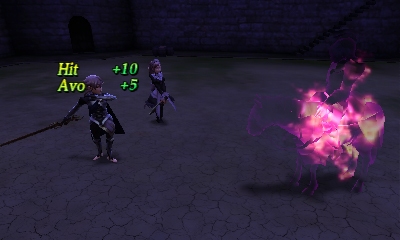
- 1The map's gimmick is darkness, obscuring vision. Move towards the end of tunnels to reveal new areas. Moving to the end of the wrong tunnel will warp you back to the start.
- 2Lead with Corrin, use Azura for singing (refreshing units), and pair Corrin with Jakob or Felicia for healing and adjacent bonuses.
- 3The objective is to Seize a tile directly north, but the map is expansive.
- 4Heading west reveals chests. Collect these for loot and experience. Many enemies near chests carry Chest Keys, as Locktouch is not available.
- 5Utilize the forts in the center of the map for resting and recovering units, preferably using Felicia or Jakob to gain experience.
- 6Continue advancing through the map.
- 7North of your current position, Gunter will be revealed to be alive and join your party. He is controllable immediately.
- 8Gunter is strong and can be used for experience, but it's recommended to pair him with the Avatar in a defensive stance to boost the Avatar's stats for the upcoming boss fight.
- 9Approach the boss, a Berserker. He will not move to attack you.
- 10Gang up on the Berserker. Refresh the Avatar with Azura and heal with Jakob or Felicia as needed.
- 11The Berserker has a high critical hit chance but is low-level with a weak weapon, making him manageable. If playing on Normal difficulty, use Battle Save.
- 12Once the Berserker is defeated, he will reveal the Seize tile.
- 13Move any unit onto the revealed Seize tile and select the "Seize" command from the action menu to end the battle.
- 14After the chapter concludes, you will return to Hoshido. Perform necessary actions in MyCastle before proceeding.
Tips
- Pairing Gunter with your Avatar in a defensive stance will buff your Avatar's stats for the boss fight.
- The Berserker boss has a high critical hit chance but is low-level with a weak weapon, making him less of a threat.
- Consider using Battle Save on Normal difficulty.
- Paralogue 1, "A Tragic Start," which allows recruiting Mozu, will be unlocked after this chapter. It is recommended to complete it soon after to make Mozu less resource-intensive to level up.
100% Human-Written. AI Fact-Checked. Community Verified. Learn how AntMag verifies content