Master custom loop planning and execution in PC Building Simulator 2. Learn to select components, bend tubes, fill systems, and prevent leaks for the ultimate water-cooled PC build.
Walkthrough
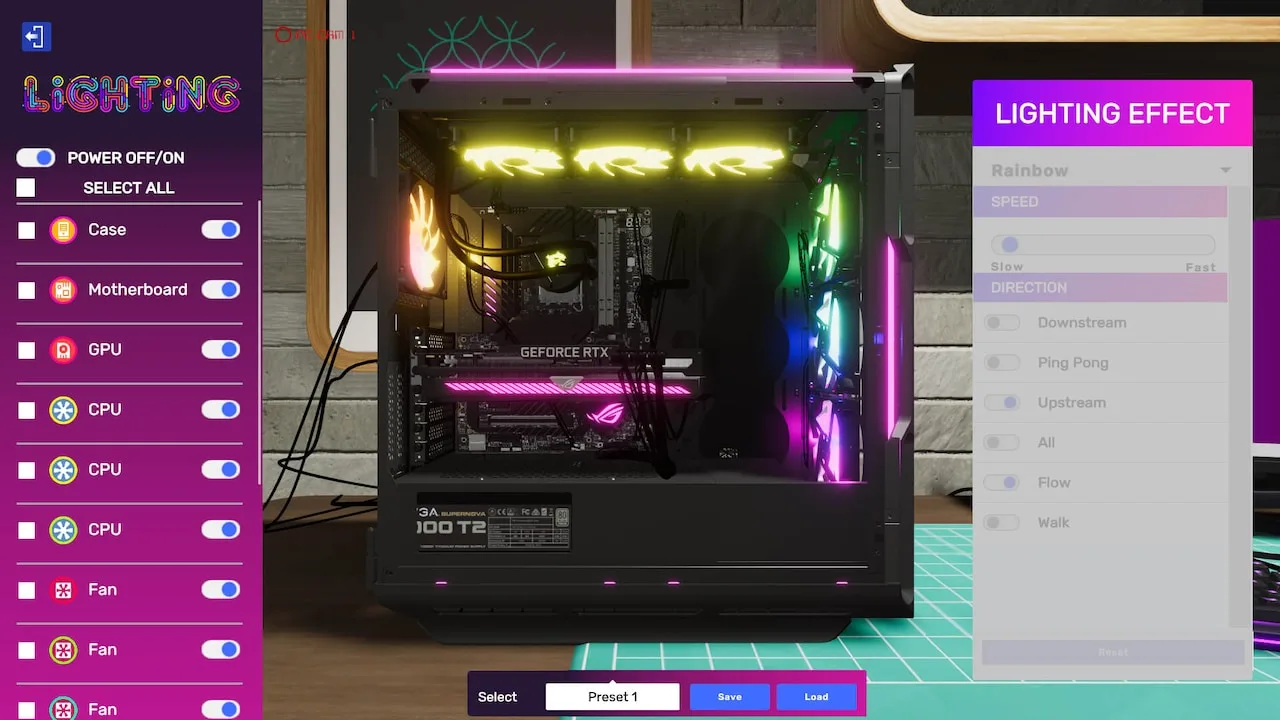
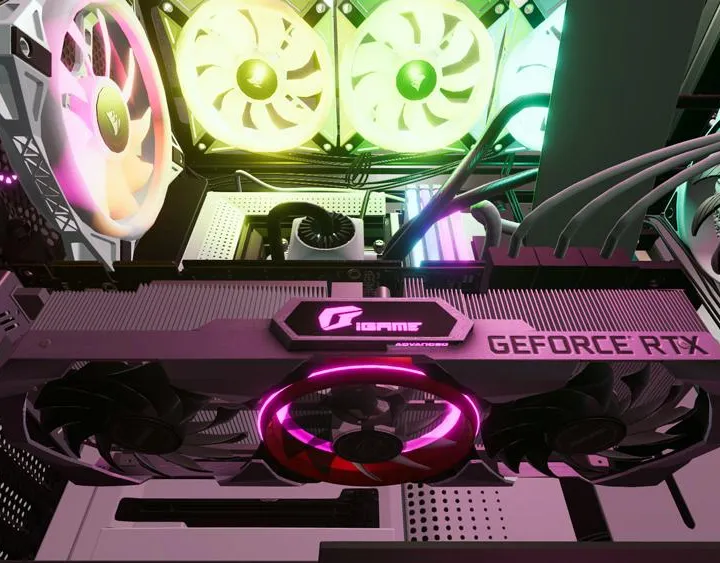
- 1Plan Your Loop: Select compatible components: reservoir, pump, radiators, CPU block, GPU block (if applicable), tubing, fittings, and coolant. Consider aesthetics and airflow.
- 2Install Components: Mount radiators, CPU/GPU blocks, reservoir, and pump according to your plan.
- 3Tube Bending: Use the Tube Bender tool to create precise bends for connecting components. Measure carefully to ensure proper fit and avoid kinks.
- 4Connect Fittings: Attach fittings to components and tubing. Ensure they are securely tightened.
- 5Fill the System: Use the Reservoir Filler tool to slowly add coolant. Bleed air from the loop by running the pump intermittently.
- 6Leak Testing: Run the pump (without powering on the PC components) for at least 15 minutes to check for any leaks. Use paper towels to detect small drips.
- 7Final Checks: Once leak-free, connect all necessary power cables to components and boot up the PC.
Tips
- Always plan your loop on paper or in a digital tool before starting.
- Use soft tubing for easier installation if you're new to custom loops.
- Ensure your radiators are sufficient for your components' heat output.
- Double-check all fittings are tight before filling.
- Run leak tests thoroughly; a small leak can be catastrophic.
100% Human-Written. AI Fact-Checked. Community Verified. Learn how AntMag verifies content