Learn how to find the Casterfell Woods Radio Tower in Atomfall. This guide details its location, Bunker L9, and the Keycard's whereabouts.
Walkthrough
- 1After meeting Joyce Tanner, she'll task you with finding three Radio Towers. This guide covers the Casterfell Woods tower.
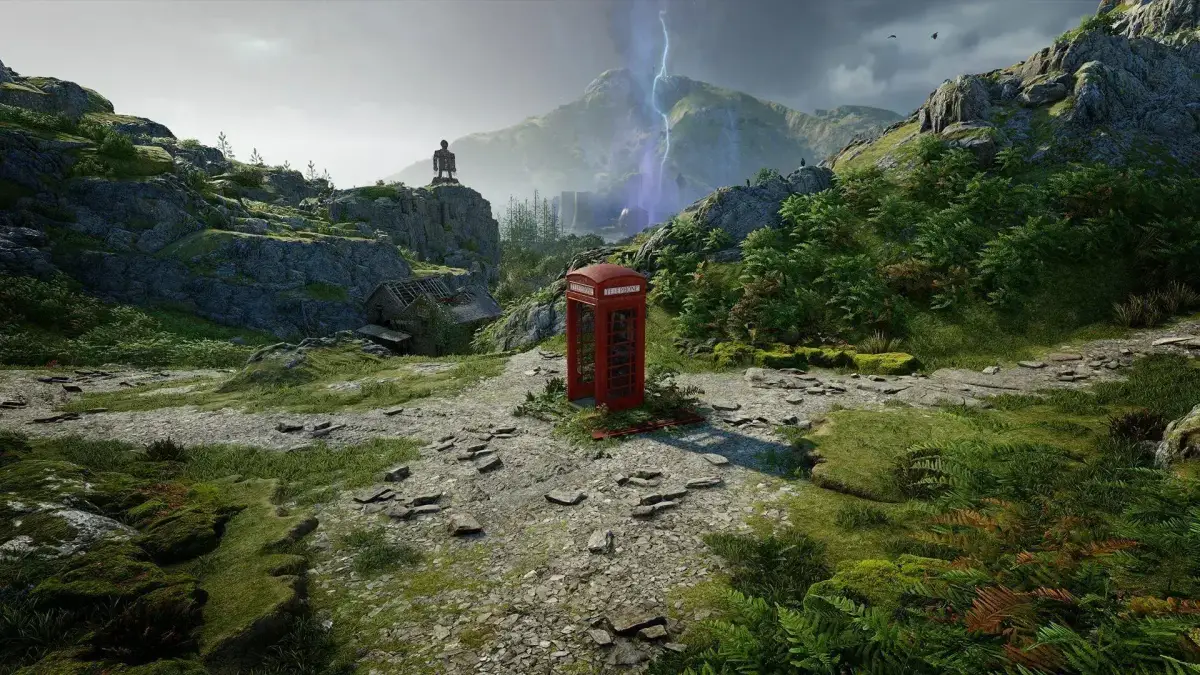
- 2The Radio Tower is located centrally in Casterfell Woods, on a cliff at 24.8E, 89.3N.
- 3The easiest approach is through the Boatyard (crawl under the entrance at 24.7E, 90.0N). Head southwest behind the building to find a ladder leading directly to the tower.
- 4Be cautious of two Outlaws at the tower. Consider using a quiet weapon like a Bow for stealth takedowns to avoid alerting patrols below.
- 5Once the area is clear, find Log: Access to this radio tower near the door. This log provides a hint about Joyce Tanner's location if you found the tower first.
- 6Inside the tower, you cannot activate the console without the Keycard. A note on the wall indicates it's at Bunker L9.
- 7Bunker L9 is marked on your map, located east of the dam at 23.3E, 90.6N. Joyce's note warns of Ferals and poison in the vents, specifically in the room with the keycard.
- 8To reach Bunker L9 from the Radio Tower, head down the slope, ignore the ladder on your right, and continue northwest. Drop from the cliff to avoid patrols.
- 9Locate the Bunker's exterior and find a gap in the fence to squeeze through. Be aware of Ferals waiting to ambush. It's recommended to trigger them and then retreat through the gap to eliminate them safely.
- 10The entrance to Bunker L9 is on the eastern wall (distinct from the dam's open shutter).
- 11Inside Bunker L9, use the Pneumatic Dispenser if desired. Stay crouched and proceed to the main room. Hug the left wall to a smaller room, then turn right to find a gap to squeeze through.
- 12Go through the door, then take the eastern door back into the main room, remaining crouched.
- 13Continue hugging the left wall towards the eastern side of the main room. Ignore the first room on the eastern wall (which has a dig spot but a Feral in the restroom).
- 14Enter the room near the Feral (it won't spot you if crouched). Open the B.A.R.D crate.
- 15Go through the room to the south and climb through an opening on the far wall.
- 16In the crawlspace, find another crawlspace on the right wall. Enter it to reach the control room.
- 17You'll encounter a poison cloud at the top of the stairs. Ensure you have healing supplies or Antidotes. Take out the Feral against the wall (a headshot with the Bow is recommended).
- 18Go upstairs. On the desk to your left, you'll find a Training Stimulant and the Casterfell Woods Radio Tower Keycard.
- 19Drop down the hatch and follow the rooms to exit the Bunker.
- 20Return to the Radio Tower (dealing with the Outlaws again) and use the Keycard to reactivate it, completing this part of the Joyce Tanner Lead.
Tips
- Bring a quiet weapon like a Bow to deal with the Outlaws at the Radio Tower stealthily.
- The Poison Resistance Skill or Antidotes are highly recommended for Bunker L9 due to poison gas.
- If you plan to fight your way through Bunker L9, ensure you have ample ammunition.
- The stealth approach within Bunker L9 is recommended to avoid overwhelming Feral encounters.
- A headshot with the Bow is effective against the Feral in the control room.
- Completion of the Casterfell Woods Radio Tower objective for the Joyce Tanner Lead.
100% Human-Written. AI Fact-Checked. Community Verified. Learn how AntMag verifies content