Navigate the Havenwood Outskirts in Strinova. Push through the Crimson Scourge, secure the communication relay, and overcome dense foliage combat.
Navigating the Initial Gauntlet
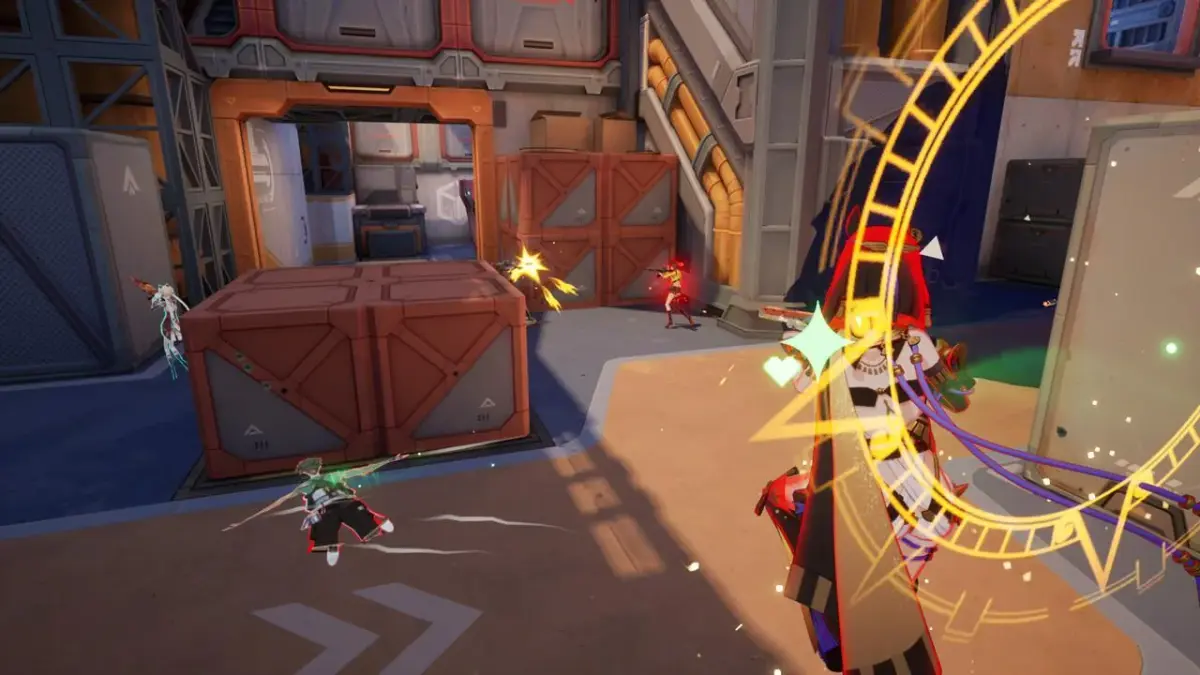
Welcome to the Havenwood Outskirts, the first true test of your combat prowess in Strinova. This area, nestled just beyond the initial landing zone, is characterized by dense foliage, crumbling structures, and a surprisingly aggressive contingent of the Crimson Scourge. Your primary objective here is to push through the enemy lines, secure the communication relay, and establish a forward operating base. Expect frequent ambushes and be prepared to utilize cover effectively. This section will guide you through the most efficient path, highlight key enemy encounters, and point out crucial resource caches.
Key Objectives and Enemy Intel
Your main goal in Havenwood Outskirts is to reach and activate the Crimson Relay Station located at the far end of the zone. Along the way, you'll encounter several enemy types:
- Scourge Grunts: Basic infantry, easily dispatched with headshots. Prioritize them to reduce incoming fire.
- Scourge Enforcers: Heavily armored units with burst rifles. Aim for their exposed power cores on their backs when possible, or use grenades to break their armor.
- Scourge Snipers: Positioned on elevated platforms. Listen for their laser sights and take them out quickly to avoid sustained damage.
The terrain itself offers both advantages and disadvantages. Use the fallen trees and ruined walls for cover during firefights. Be wary of open clearings, as they often serve as ambush points for multiple Grunts.
Path to the Relay Station
- Initial Engagement: As you enter the Outskirts, you'll immediately face a patrol of three Scourge Grunts. Use the large rock formation to your left for cover and eliminate them.
- Forest Ambush: Proceed through the dense forest path. Approximately 50 meters in, a group of two Grunts and one Enforcer will ambush you from the right. Focus fire on the Enforcer first, then clean up the Grunts. Consider using a tactical grenade to stun the Enforcer if you have one.
- Ruined Watchtower: You'll come across a dilapidated watchtower. A Scourge Sniper is usually perched on top. Take them out with a well-placed shot from a distance before engaging the two Grunts patrolling below. Inside the watchtower, you'll find a small cache containing 2x Medkits and 1x Grenade.
- Bridge Crossing: The final approach to the Crimson Relay Station involves crossing a rickety bridge. Expect heavy resistance here: two Enforcers will guard the far side, supported by three Grunts. Use the bridge's structural elements for cover. A well-timed frag grenade can clear out the Grunts, allowing you to focus on the Enforcers.
- Relay Station Activation: Once the area is clear, approach the console inside the Crimson Relay Station and interact with it to activate the relay. This will complete the Havenwood Outskirts objective.
Pro Tip: Conserve your heavy ammunition for the Enforcers. Headshots are crucial for Grunts to save ammo.
100% Human-Written. AI Fact-Checked. Community Verified. Learn how AntMag verifies content