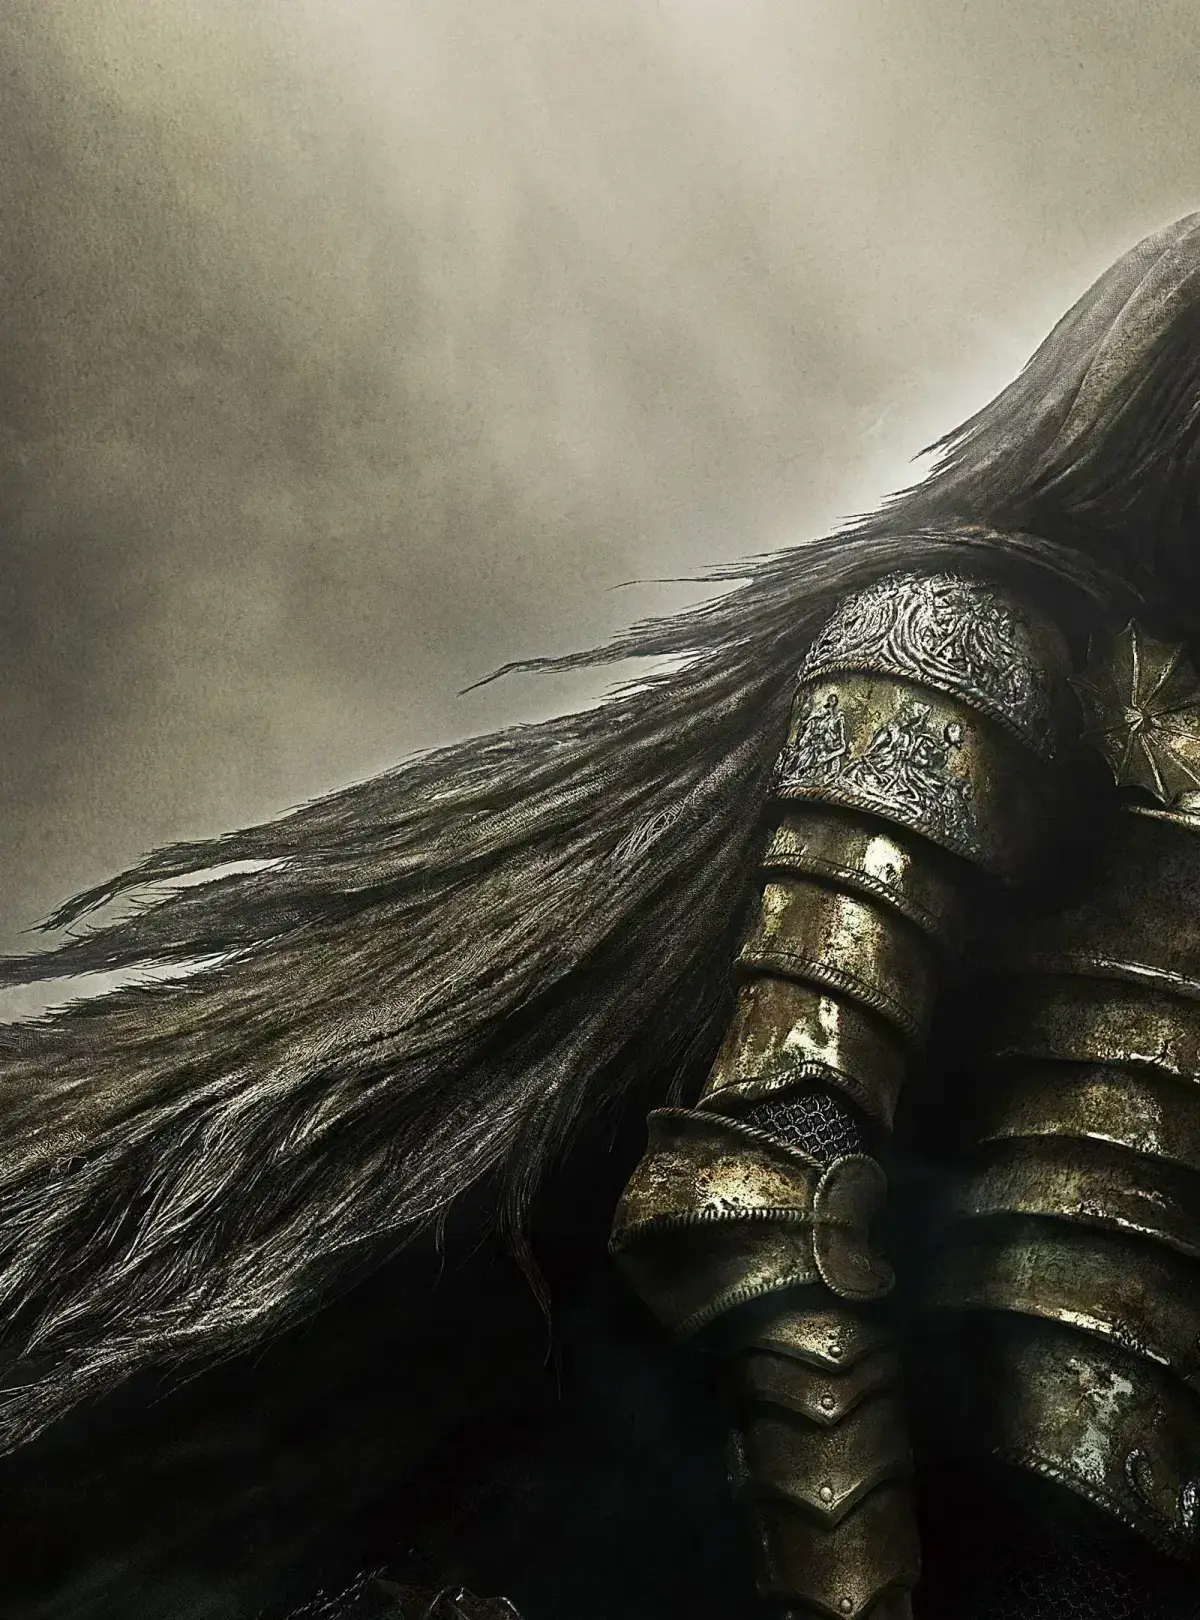
Navigate the early paths of Dark Souls II: Scholar of the First Sin, finding items like the Dagger and Soul of a Nameless Soldier.
Walkthrough
- 1After leaving the hut, head towards the bridge but turn off before crossing to find a hidden path beside a rock.
- 2Follow this path to a ledge under a waterfall and loot a Small Smooth and Silky Stone from a corpse.
- 3Open the door near the fireplace and rest at the first Bonfire (a type of checkpoint (an auto-save point you restart from on death)).
- 4Destroy the nearby wagon and grab the torch from a corpse on the other side.
- 5Head through the tunnel into Things Betwixt.
- 6Enter the misted tunnel to your left, which leads through a gauntlet of reanimated corpses. Time your attacks carefully to defeat them.
- 7Light the nearby sconces (torches mounted on walls) to illuminate the corridors and relight your torch if needed.
- 8Continue uphill along the path. At the cliff's edge, loot a corpse to obtain a Dagger.
- 9Proceed ahead and defeat the archer. Defeat the second archer in the same area.
- 10Move forward into a larger area with another archer and a swordsman. You can lure the swordsman back to the tunnel or defeat the archer first.
- 11Loot a Lifegem from a nearby corpse and head towards the misty exit.
- 12In the next area, you will find a nest that can be used to exchange Smooth and Silky Stones for random gifts.
- 13Kick down the ladder, but instead of climbing it, drop to the ledge below with a sconce and a dead body.
- 14Loot the corpse to get a Soul of a Nameless Soldier, which grants over 800 souls.
- 15Drop down again and enter the mist at the bottom.
- 16Defeat the undead ahead, then leap across the crevice beyond to collect an Amber Herb from a dead body.
- 17On your way back, climb the ladder to the left, drop down, and use a plunging attack (attacking from above) to kill guards. Loot the room through the closed door to find a Cracked Red Eye Orb.
- 18Head back and enter the next misted cave.
- 19Kick down the tree to reach and kill the archer.
- 20Look at the hole below; the fall will cause injury, so using a Lifegem might be wise. You can also attempt a plunging attack on the enemy below.
- 21Defeat the archer in this area. Climb the ladder and kill the archer at the top.
- 22Looping left allows you to kick down another tree to return to the main area of Things Betwixt.
- 23At the water's edge, you will encounter a large cyclops. A second cyclops is hidden in an alcove on the path down to the beach.
- 24Ranged characters can lure them to a narrow door for an easier fight. Melee characters should evade attacks and strike when the cyclops is down. Be cautious of their falling attacks.
- 25Killing each cyclops grants 1000 souls.
- 26The coffin nearby can alter your gender if you rest inside it. Resting in the coffin will respawn (be brought back to life at a checkpoint after death) (cause enemies to reappear) enemies, but not monsters.
- 27Once these areas are clear, head through the gap in the solid rock wall to enter Majula.
- 28Note: If you managed to kill all 3 monsters in Things Betwixt, return to the hut to collect a Ladle from the scullery maid.
Tips
- Light sconces to illuminate dark corridors and relight your torch.
- Use the nest to exchange Smooth and Silky Stones for random items.
- Consider using a Lifegem before dropping into areas where you will take fall damage.
- Lure enemies back into narrow passages for easier combat.
- Be cautious of the cyclops's falling attack, which can deal significant damage.
100% Human-Written. AI Fact-Checked. Community Verified. Learn how AntMag verifies content