Complete walkthrough for Sector 0 HARD in Metroid: Other M, detailing enemy encounters, item acquisitions including Seeker Missile and Missile Tank, and boss strategies.
Walkthrough
- 1Take the elevator to Sector 1. Go right until you encounter two Mighty Griptians. Use a missile, Lethal Strike, or Fast Super Missile on them. Plasma Beam is effective if missiles are slow.
- 2Follow the Deleter and watch for a zooming Mighty Griptian.
- 3Shoot the Gripper, then use the Grapple Point to reach higher ground.
- 4Go left and enter the door. Continue straight until the Deleter closes the bridge. Use Sense View on the broken terminal.
- 5Space Jump across and use the Terminal to raise the bridge. Take the elevator.
- 6Save at the Navigation Booth. Continue forward for a cutscene.
- 7Shinespark through the hall with Blue Kihunters to clear ground growth. You can also Shinespark after the next Navigation Booth when a door opens.
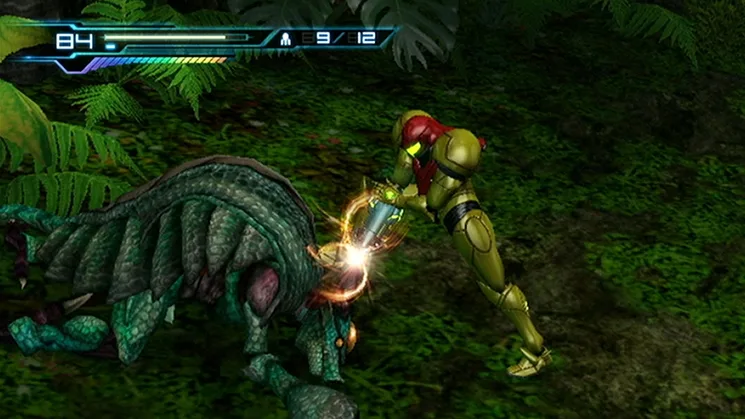
- 8Return to the room with Mighty Griptians and Ghalmanians. Use Sense Move to dodge the Rhedogian's dash attacks.
- 9Use Super Missiles or regular beams (charged after Sense Move) to defeat the Rhedogian. Use a Super Missile for its Redeyed attack.
- 10After defeating the Rhedogian, grab the dropped item: Seeker Missile.
- 11Take the elevator to the Main Sector, then proceed to Sector 2.
- 12Ignore the Baristute and pass the Navigation Booth.
- 13Reach the ice wall outside where Speed Booster and Shinespark were authorized. Start Speed Boosting down the hallway and Shinespark halfway into the lower section.
- 14Run down the hallway. Shinespark left over the Water Tank if possible; otherwise, Space Jump over. Pass the flooded room.
- 15In the next room, defeat the Gigafraug with the Screw Attack. Proceed to the next room.
- 16Ignore the Baristutes ahead and jump up the path to the left.
- 17Use Seeker Missiles to unlock the door.
- 18Gravity manipulation occurs; you are on the ceiling. Jump right, then Space Jump left and enter the door.
- 19Kick climb down the shaft, then go to the left side of the room. Jump to the platform on the right, then walk toward the wall. Space Jump to the blue vent on the left to acquire a Missile Tank.
- 20Jump right, then Space Jump left to another door. Space Jump over the Baristutes.
- 21Gravity will pull you to the floor, making you heavier. Rolling is still manageable.
- 22Go down the hall, shooting or avoiding FG-1000s. Screw Attack the Kyratians ahead and go right. Ignore Zoomers and Baristutes if quick.
- 23Be aware of another enemy jumping down from above. Use the Grapple Point to kick climb up and ignore any remaining Baristutes.
- 24To Space Jump to the other side, press '2' rapidly. Use the Grapple Point to jump right and exit the area.
Tips
- Mighty Griptians can be defeated with missiles, Lethal Strike, Fast Super Missiles, or Plasma Beam.
- Rhedogian is vulnerable to Super Missiles and charged beam attacks after a Sense Move.
- Gigafraug is defeated using the Screw Attack.
- When gravity is reversed, use Space Jump to navigate.
- To clear the gap requiring rapid button presses, press '2' as fast as possible.
Items Acquired:
- Space Jump
- Screw Attack
- Seeker Missile
- Missile Tank
100% Human-Written. AI Fact-Checked. Community Verified. Learn how AntMag verifies content