Paper Mario: Color Splash Part 15 guide covers the fortress, Megasparkle Goomba boss fight, and sticker locations including Shiny Jump and Flashy Jump.
Walkthrough
- 1Exit the current area and consider ditching burdensome stickers like bombs if necessary.
- 2Hit the ?-Block for a [Spiny Helmet].
- 3Return to the apex and hit the block twice.
- 4Head east and hammer the wall to reveal a coin-laden chamber with a [Shiny Jump] ?-Block.
- 5Return outside via the northern exit.
- 6Cross the bridge, dropping to the lower level to paperize (cover (press the cover button to crouch behind walls or objects)) the fans with stickers to block the airflow.
- 7Cross the area above the fans; the stickers will peel off once you reach the other side.
- 8Enter the next tower.
- 9Head to the center and hit the block.
- 10Exit the western flank.
- 11Move quickly through the bomb-fire area, using the bomb explosions to destroy gates and fences.
- 12Collect the stickers in order: [Fire Flower], [Hurlhammer], [Ice Flower], and another [Fire Flower].
- 13Enter the next tower.
- 14The block is flipped; pull off the [Block Switch] and stick it back on to fix its orientation.
- 15Head south.
- 16Grab the [Spike Helmet] in the block.
- 17Peel the tape off to finish the bridge. Save and heal.
- 18Head back out to the bridge and east down the middle bridge.
- 19Defeat the Goombas.
- 20Enter the next area.
- 21In the middle of the staircase, use paperization (cover) in the "zone" to upgrade a sticker to its "Shiny" or "Flashy" level.
- 22Head up the stairs.
- 23Grab the first [Jump] sticker.
- 24Stomp on the Goomba.
- 25Continue up, grabbing the [Slaphammer], [Burnhammer], [Hopslipper], and [Hammer] stickers.
- 26Notice the blue platforms in the circular staircase area. Drop onto the higher one.
- 27From there, land on the block in the foreground, then make it to the lower blue platform.
- 28Peel the [Flashy Jump] sticker off the wall.
- 29Exit the tower.
- 30Outside the tower, pick up the [Trumpet].
- 31Make your way left to reach the top of the fortress.
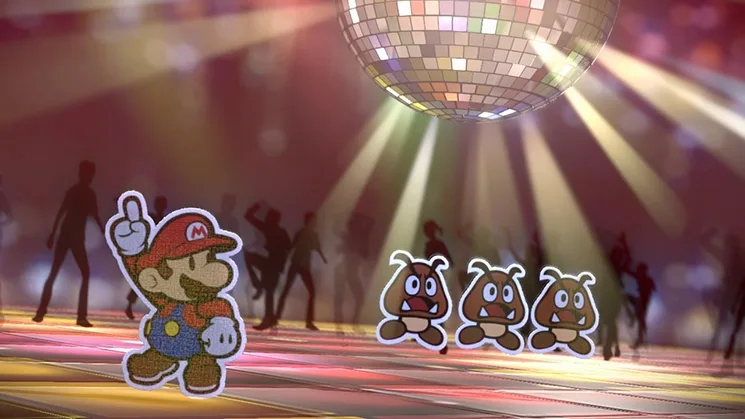
- 32Prepare your stickers for the upcoming battle.
- 33Engage the Megasparkle Goomba.
Megasparkle Goomba Battle Details:
- HP: 90
- Attack: ~5 (3 when blocked)
- Defense: 7
- The Megasparkle Goomba is a significant challenge due to its high defense. Use all your shiny/special/awesome stickers.
- Before it assembles, use strong jump attacks like Shiny Hopslipper or Shiny Slaphammer.
- Once assembled, use Flashy Jump(s), Shiny Jump(s), Scissors, or other powerful attacks. Weak attacks will have no effect.
- The Goomba's attacks include a high jump for ~5 damage, rolling for ~7 damage, and sending shreds for ~3 damage each. These are avoidable.
- Healing will likely be necessary.
- After depleting its health, deal one more point of damage to defeat it.
Tips
- You may need to ditch stickers like bombs if they become too burdensome.
- Use the bomb's overworld explosions to destroy gates and fences.
- The stickers collected on the walkway ([Fire Flower], [Hurlhammer], [Ice Flower], [Fire Flower]) are well worth the extra maneuvering.
- Choose a good sticker to upgrade to "Shiny" or "Flashy" in the staircase zone.
- Be sure to pick up the [Trumpet] outside the tower.
- Make sure your stickers are ready before the Megasparkle Goomba battle.
- DO NOT USE WEAK ATTACKS against the Megasparkle Goomba; they will have no effect.
100% Human-Written. AI Fact-Checked. Community Verified. Learn how AntMag verifies content