Your complete guide to Part 9 of Paper Mario: Color Splash, covering the first level, World 1-1, including sticker locations, Bowser Jr., and the Wooden Bridge.
Alright, welcome to World 1-1! This is where things really start to get going in Paper Mario: Color Splash. Before we dive too deep, let's clear out some of the early clutter and grab some useful items. You'll want to use any 'worn-out' stickers you have right now to make some space in your album, as we'll be picking up a few things.
First things first, let's grab some collectibles. Backtrack a bit to find a Shiny Hammer hidden in a block, a Worn-Out Jump sticker on a fence, and an Eekhammer in the easternmost block. After that, defeat the Goomba you see farther east, then backtrack again. You'll find a Hammer on the side of a fence and a Jump sticker on a sign. Before we move on, here's a pro-tip:
IMPORTANT: Don't forget that you can hit enemies in the overworld before a battle starts! A quick jump or hammer swing might not do much damage, but it can give you a crucial advantage in these early fights.
Now, head back east and look for a hill in the background. You can peel the tape off it to reveal a bunch of coins. Grab 'em! After that, defeat the next Goomba you encounter for a few more coins. Then, give the bush in your path a few hammer swings to clear it and continue east.
A Toad will run by and drop a Scissors sticker. You might need to make space for this one. If your album is full, head into your album, select 'Toss,' and make sure you have an open square. Once you've got the Scissors, get ready for a surprise visitor.
Bowser Jr. shows up! You absolutely HAVE to use your new Scissors sticker on him in the battle. Seriously, don't even try with jumps or other stickers; they just won't cut it against him. After the fight, Bowser Jr. will do that annoying thing where he throws the bridge way up high. Since we can't reach that, we need to head all the way back west to find some Toads who are great at building things. Once you find them, head back east to the hill where the bridge was supposed to be. The Toads will form a staircase for you – climb it to get the Wooden Bridge Thing card. Now, return to where the bridge's silhouette is and use the Wooden Bridge. Kersti will explain the rest, but the important thing is that you can now 'paperize' things whenever you want using the Y button! You'll also find a heart block to restore your health farther east. Grab it and continue eastward.
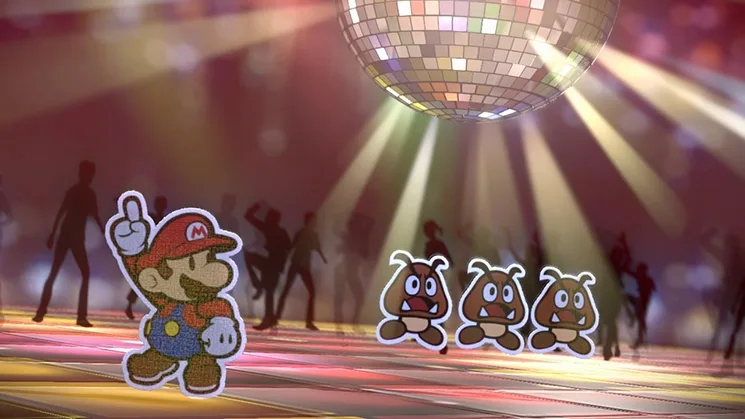
Keep going east until you find another wandering Goomba. Defeat it with whatever stickers you have. After that, hit the three-times block to get three Baahammer stickers. Check the paper hill nearby for a Worn-Out Hammer. There's another Goomba hiding in the bush in the foreground. In the back wall, you'll find a set of 3D scissors that adds the Scissors to the 'Things' section of your album. Head back outside and continue south. You'll find another Worn-Out Hammer and a wandering Goomba. Two more stickers are on the back wall: a Hammer and another Worn-Out Hammer. Continue east and defeat the Goomba down low. The block there contains three Slaphammers. Jump up to get rid of the lone Goomba. Head west and make your way to the upper level. Grab the Hammer on the sign, and defeat the Goomba hanging out up here. The block contains an Eekhammer. Keep heading east to the next area.
In this new section, a bush slightly farther ahead hides a heart that restores 5 HP. You can peel a sticker off the background for a Worn-Out Jump. If you keep going right, Kersti will point out a piece of the Sticker Comet. Before you can reach it, though, you'll have to face some Goombas again. This time, they're paper cones! Just hammer them until they fold. (And yes, I've been saving those paper puns for this game!) Jump up to the goal to finish the level. Don't forget to grab the coins that appear at the goal!
World Map Note: Before you head to World 1-2, it's a good idea to pop back to Decalburg. You can grab some useful stickers like the Line Jump (great for clearing out multiple enemies) and a Mushroom. Then, you're ready for 1-2!
Decalburg Sticker Shop Prices:
| Jump | 3 Coins |
| Hopslipper | 5 Coins |
| Line Jump | 12 Coins |
| Hammer | 3 Coins |
| Eekhammer | 5 Coins |
| Slaphammer | 3 Coins |
| Mushroom | ... |
100% Human-Written. AI Fact-Checked. Community Verified. Learn how AntMag verifies content