Master The Outer Worlds with our comprehensive trophy guide. Learn how to unlock every achievement, including the Platinum Trophy, by completing quests and mastering difficulty settings.
Alright, so you're aiming for that shiny Platinum Trophy in The Outer Worlds, huh? That's awesome! It means you're going to experience pretty much everything this game has to offer. Let's break down how to snag all the achievements, especially the big ones tied to difficulty.
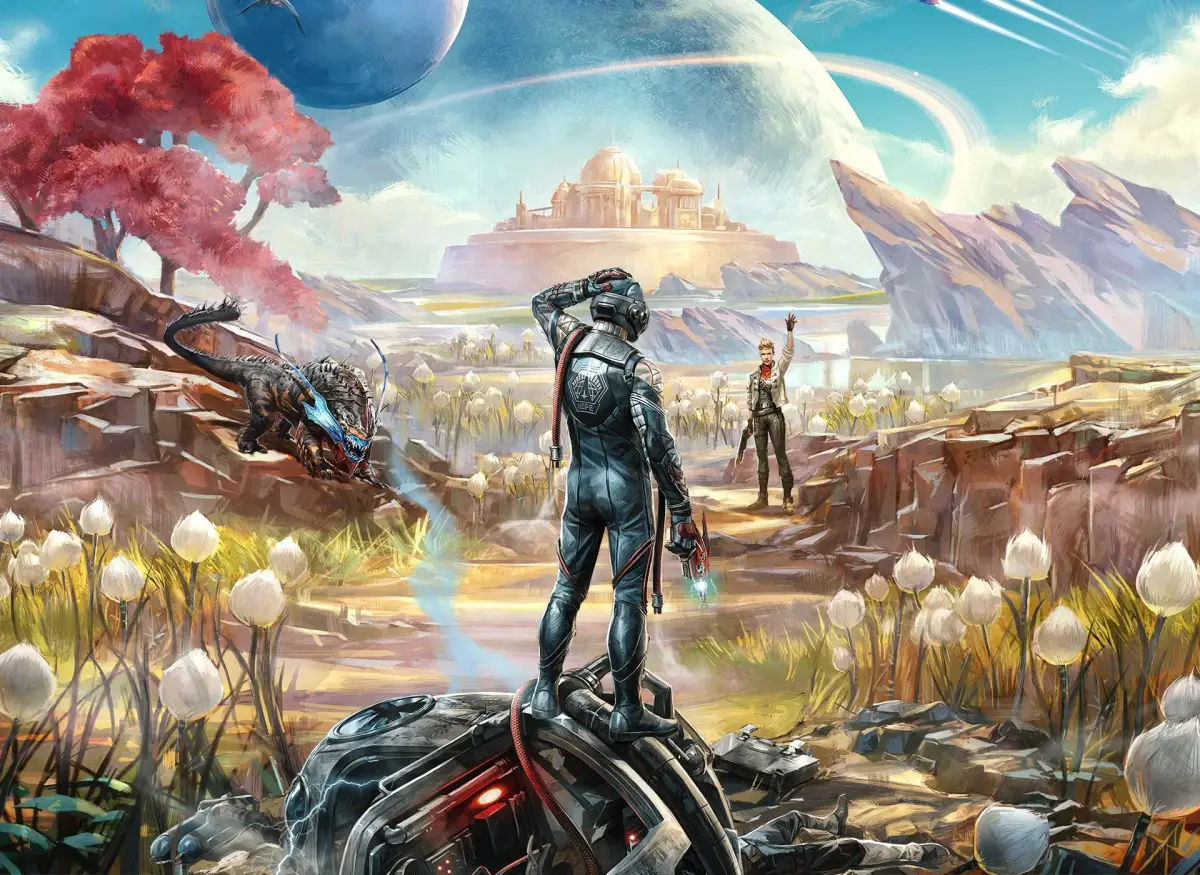
The Outer Worlds (Platinum Trophy)
This one's pretty straightforward: you'll earn the Platinum Trophy once you've collected every other trophy available in the game. So, focus on getting all the others, and this one will pop automatically!
The Outer Worlds (Base Game Trophy)
This trophy or achievement unlocks simply by finishing the main quest Brave New World. You can do this on any difficulty setting, so don't stress about it too much on your first playthrough.
Hard Difficulty Trophy
To get this trophy, you need to complete the quest Brave New World while playing on Hard difficulty. Crucially, you cannot change the difficulty from Hard at any point during your playthrough if you want this trophy to pop. If you happen to finish the entire game on Supernova difficulty, you'll also earn this Hard difficulty trophy.
Playing on Hard means enemies will hit harder and have more health, which can make the early game feel a bit more challenging. But don't worry, the game lets you save anytime, and enemies have specific aggro zones they won't chase you out of. This means you can often sneak up on groups, get a good sneak attack in, finish off one or two with your current ammo or Tactical Time Dilation (TTD), and then retreat to let your health regenerate before going back for more. Just remember, if you run away without finishing off a foe, they'll heal up pretty quickly, so try to take them down one by one in each engagement.
Using elemental weapons can really give you an edge:
- Plasma weapons are great against enemies with light armor (like most marauders, but maybe not their ringleaders) and creatures (except mantids).
- Shock weapons are super effective against automechanicals.
- Corrosive weapons work well against automechanicals and heavily armored enemies (think marauder ringleaders and corporate troopers).
- N-ray weapons don't do as much direct damage, but they ignore armor and are effective against almost everything except automechanicals. If you use them in tight spaces against groups, the area-of-effect damage can clear them out fast.
Honestly, once you get a few levels under your belt and recruit some companions, the game gets a lot easier. Many players find Hard difficulty to be the sweet spot for challenge. Once you leave Emerald Vale, the starting area, and invest in your Stealth, Dialog, and Tech skills, you'll find you can talk your way out of or through most situations, making combat less of a focus.
Enemies on Supernova difficulty have stats pretty similar to Hard, so playing on Hard is excellent practice if you're planning a Supernova run later.
Supernova Difficulty Trophy
This trophy or achievement unlocks when you complete the quest Brave New World while playing on Supernova difficulty. Just like with Hard, you absolutely cannot change the difficulty from Supernova at any point during your playthrough if you want this trophy.
Supernova is the game's ultimate challenge, blending Hard difficulty combat with some light survival mechanics. You'll need to manage Hunger, Thirst, and Sleep Deprivation meters, deal with restricted saving and fast travel, and face permanent companion death.
Save Restrictions
On Supernova, you can only manually save your game aboard your ship, the Unreliable. The game does, however, create autosaves regularly when you enter or leave new areas. You can use this to your advantage: if you want to ensure a save point, just exit and re-enter an area to trigger an autosave. This can significantly ease the difficulty of Supernova. The restricted saving really only becomes a major issue in larger, more open areas like Monarch, where you might have long stretches without fast travel or easy ways to trigger autosaves. However, you can still use hubs like Stellar Bay, Amber Heights, Fallbrook, and Devil's Peak to zone in and out for autosaves.
Fast Travel Restrictions
Similar to saving, fast travel is mostly a concern on Monarch. Most other areas in the game are relatively small, and being able to fast travel back to the Unreliable is quite generous. Expect to do more walking, but since most enemies can be bypassed if you're not looking for a fight, it mostly just adds a bit more time to your journey, especially on Monarch.
Hunger, Thirst, and Sleep
On Supernova, you'll need to keep an eye on three meters: Hunger, Thirst, and Sleep Deprivation. You can refill your Hunger by eating food (look for Carbohydrates and Meats), stave off Thirst by drinking beverages (Caffeine Drinks and Sugary Drinks), and cure Sleep Deprivation by sleeping. The catch? You can only sleep on the Unreliable; other beds won't work in this mode.
Honestly, these meters were only a real issue for us in the first 30 minutes or so. Once you explore Edgewater a bit, you should find enough food and water to last you a good while. Just try not to stand around idly or sleep more than you absolutely have to, as it wastes resources. Looting thoroughly and even stealing can help stock up. If you're really in a pinch, you can always buy food and water from vending machines.
Injuries
Certain attacks can injure your limbs, potentially crippling you. When this happens, you'll need to return to the Unreliable and sleep it off to recover.
Companion Death
This is a big one: if a companion falls in combat on Supernova, they are gone for good. This means you'll likely have to reload a previous save. Since companions aren't the toughest or smartest, this was our most frequent reason for reloading. To avoid this, try to steer clear of quests that put them in excessive danger. Having them navigate traps or deal with prolonged, multi-enemy engagements can be risky (quests like Space-Crime Continuum and Canid's Cradle come to mind). If you want to keep them safe, equip them with the heaviest armor you can find, set their combat distance to 'Far', their weapon preference to 'Ranged', and give them a Heavy Machine Gun or Light Machine Gun. Investing in perks that boost their health and reduce damage taken is also a smart move.
100% Human-Written. AI Fact-Checked. Community Verified. Learn how AntMag verifies content