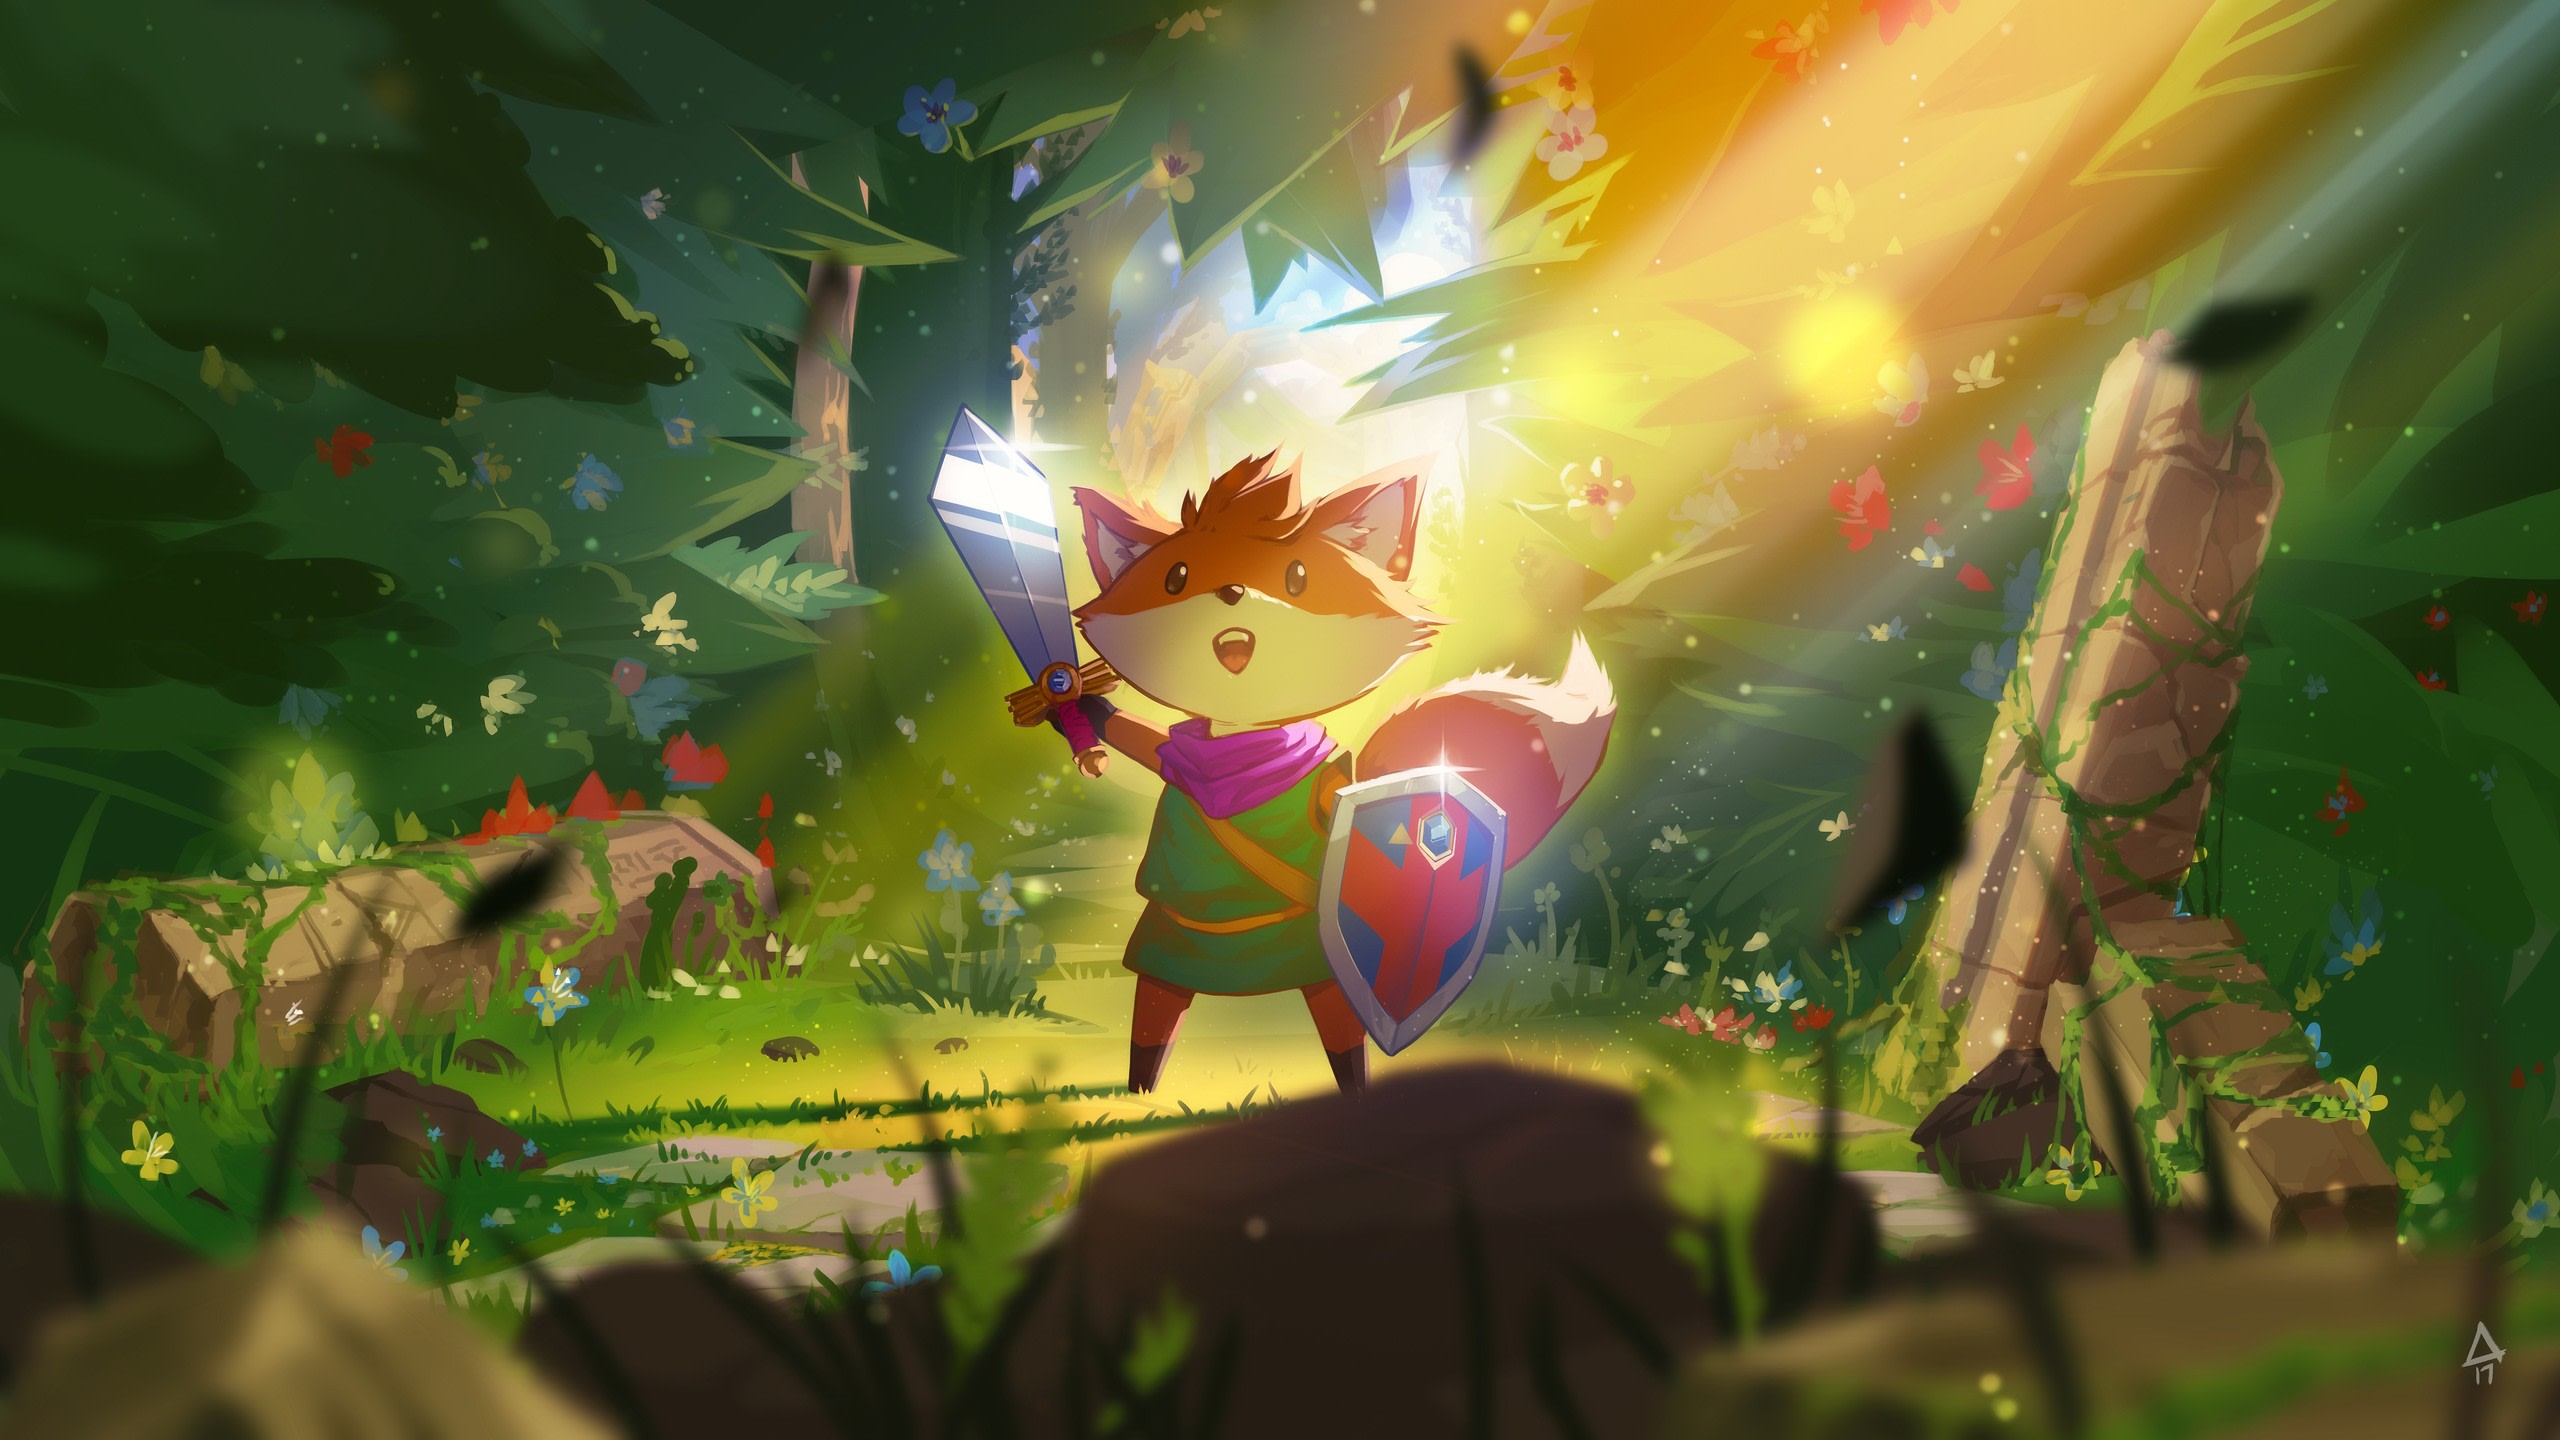
Survive Tunic's dangerous traps by learning to spot pressure plates, darts, and pitfalls. This guide teaches you to disarm or bypass hazards for safe passage.
Traps in Tunic are cunning environmental hazards designed to impede your progress and deplete your health. From hidden pressure plates triggering dart volleys to explosive barrels and pitfalls, vigilance is key. Learning to identify their tell-tale ss and using your tools to disarm or bypass them is crucial for survival and exploration.
Understanding Trap Types
Tunic features several traps, each requiring a different approach to overcome. The most common include:
- Pressure Plates: Often disguised, these trigger various effects like dart barrages, falling rocks, or the activation of nearby enemies. Look for subtle discolorations or slight depressions in the ground.
- Explosive Barrels: Red barrels that detonate when struck by attacks or nearby explosions. They can be used to your advantage to clear out groups of enemies or destroy obstacles, but be wary of their blast radius.
- Pitfalls: Holes in the ground, sometimes disguised with illusions or foliage. Falling into them can result in damage or lead to new, often dangerous, areas.
- Spike Traps: These can emerge from the ground or walls, often triggered by proximity or pressure plates.
- Laser Grids: Found in later areas, these require careful timing and sometimes specific items to navigate.
Strategies for Dealing with Traps
Successfully navigating Tunic's traps relies on observation, timing, and the clever use of your abilities and items.
Observation and Identification
The first line of defense is careful observation. Always scan your surroundings, especially in new areas. Look for:
- Unusual patterns in floor textures.
- Slightly raised or depressed areas.
- Loose rocks or debris that might indicate a trigger.
- The tell-tale red glow of explosive barrels.
Disarming and Bypassing
While not all traps can be disarmed, many can be bypassed or even turned against your enemies.
- Dashing: Your dash ability is invaluable for quickly crossing pressure plates or avoiding projectile traps.
- Shielding: Your shield can block incoming projectiles from dart traps.
- Explosive Barrels: Use ranged attacks to detonate them from a safe distance, or lure enemies into their blast radius.
- Illusions: Some traps are hidden by illusions. The Lantern item can reveal these hidden elements, allowing you to see invisible platforms or disarm hidden pressure plates.
- The Wand: In certain situations, the Wand's projectiles can trigger traps from a safe distance, allowing you to clear a path or set up ambushes.
Notable Trap Locations and Encounters
Traps are integrated into many of Tunic's environments, often serving as puzzle elements or combat challenges.
| Area | Trap Type | Strategy |
|---|---|---|
| The Ruined Temple | Pressure Plates (Darts) | Observe plate patterns, dash across or block with shield. |
| The Forest | Pitfalls, Explosive Barrels | Be mindful of uneven terrain, use barrels to clear paths or enemies. |
| The Sunken Crypt | Spike Traps, Illusory Walls | Use the Lantern to reveal hidden paths and disarm traps. |
| The Grand Library | Laser Grids | Requires precise timing and observation of laser patterns. |
Mastering the art of trap avoidance and utilization is a significant part of becoming a proficient explorer in Tunic. Always be aware of your surroundings, and don't be afraid to experiment with your tools to find the safest and most effective solutions.
100% Human-Written. AI Fact-Checked. Community Verified. Learn how AntMag verifies content