Resident Evil 3: Nemesis Part 22 walkthrough covers 104 Business Street, Shotgun Alley, and Bar Black Jack, including finding the Shotgun and Lighter Oil.
- BOUTIQUE KEY (to access costumes in the Boutique)
- LIGHTER OIL (found in Shotgun Alley, combined with EMPTY LIGHTER)
- EMPTY LIGHTER (found in Bar Black Jack, combined with LIGHTER OIL)
- FUNCTIONAL LIGHTER (result of combining LIGHTER OIL and EMPTY LIGHTER)
Walkthrough
- 1Enter the next door into 104 Business Street. Avoid the five Zombies by ducking into an alcove and using the door.
- 2(Optional) Proceed down the main street to find a wrecked car containing GUNPOWDER B. This item is only accessible later when a Zombie bursts from the car.
- 3Move up the stairs and around the bend in 105 Shotgun Alley to find a conspicuous door.
- 4Open the door and note the man in a yellow vest who runs down an alleyway.
- 5Backpedal and defeat any Zombies that followed the yellow-vested man from the stairwell beyond the newly opened door.
- 6Head down the stairs and clear out any stragglers.
- 7Pick up the LIGHTER OIL on the shelf and the SHOTGUN on a corpse's lap.
- 8Climb back out of the basement and take the concrete path ahead, collecting two GREEN HERBS along the way.
- 9Proceed through the next door into 106 Boutique Street.
- 10Ignore the locked Bar Black Jack.
- 11Enter the Boutique using the BOUTIQUE KEY to access unlocked costumes.
- 12Exit the Boutique and continue down Boutique Street.
- 13Climb the lumber stacks under a fire escape to reach the UPTOWN MAP tacked on a brick wall.
- 14Collect two GREEN HERBS at the top of the fire escape if you have space.
- 15Climb back down and follow the path into another alley, dodging Zombies.
- 16Duck into an alcove and go through the door into 108 Playground Alley.
- 17Move forward, take the stairs on your right, and evade or defeat Zombies.
- 18Follow the mysterious yellow-vested man into the bar's back door into 109 Bar Black Jack.
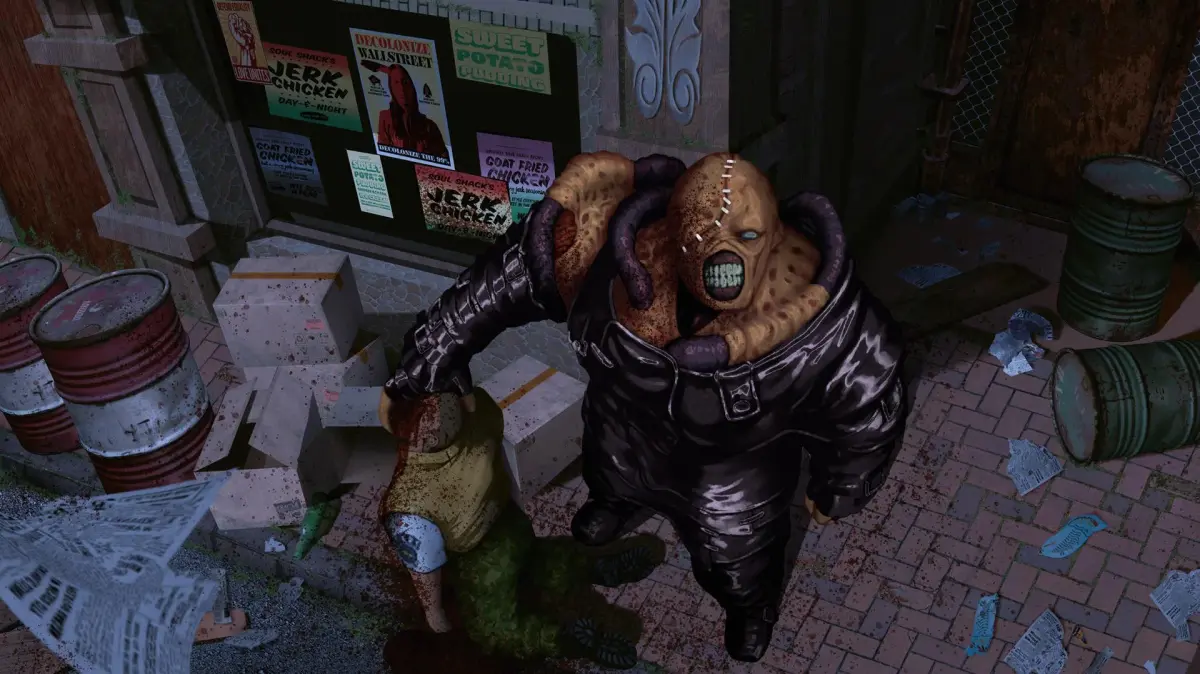
- 19A (cutscene (a non-interactive cinematic the game plays automatically)) plays with Brad. You can help him defeat a Zombie, but he can handle it alone.
- 20In a subsequent (cutscene), Brad gives Jill a warning about something hunting S.T.A.R.S. members.
- 21After Brad leaves, walk towards the glimmer and pick up the LIGHTER on the table next to the pay phone.
- 22Check the LIGHTER to turn it into an EMPTY LIGHTER.
- 23Combine the EMPTY LIGHTER with the LIGHTER OIL to create a FUNCTIONAL LIGHTER and free up inventory space.
- 24The Bar Black Jack's front entrance is to the right of the table.
- 25Before leaving, collect the CLOCK TOWER POSTCARD(#3) on the bar near the rear exit.
- 26Move behind the bar to find a cash register containing H.GUN BULLETS.
- 27Exit through the same door you entered.
- 28Back up the stairs in 108 Playground Alley and make a right.
- 29At the Y-junction, take the path to your left.
- 30Defeat any Zombies or lure them back to the Y-intersection to make a break for the next door.
- 31Walk towards the metal barricade in 110 Barricaded Alley.
- 32Stand in front of the iron gate tied with rope.
- 33Use your FUNCTIONAL LIGHTER from the menu to unlock the gate.
- 34The barricade collapses, and several Zombies appear.
- 35Backpedal to a safe distance from the explosive red barrel.
- 36Target the red barrel with R2 and fire a handgun round to damage as many Zombies as possible with the splash damage.
- 37Mop up or dodge any remaining Zombies.
- 38Check the far end of the alley behind the collapsed barrier for two RED HERBS.
- 39Grab PHOTO A(#4) from a nearby corpse.
- 40Continue through the newly opened door into 111 Blazing Alley.
- 41Run along the alley's curve, avoiding Zombie Dogs.
- 42After passing the fiery junction, hug the wall on your left and quickly enter the side door by holding down the X button.
- 43Enter 112 Blazing Storeroom.
Tips
- You can avoid most Zombies in 104 Business Street by using an alcove and a door.
- The GUNPOWDER B in the wrecked car in 104 Business Street is only accessible later in the campaign.
- The Boutique in 106 Boutique Street allows you to change Jill's outfits if you have unlocked them in previous playthroughs.
- In 109 Bar Black Jack, you can combine the EMPTY LIGHTER and LIGHTER OIL to create a FUNCTIONAL LIGHTER, freeing up inventory space.
- When dealing with the Zombies in 110 Barricaded Alley after the barricade collapses, using the explosive red barrel is an effective way to deal with multiple enemies at once.
- In 111 Blazing Alley, do not stop to engage the Zombie Dogs; keep running.
- GUNPOWDER B (in 104 Business Street, accessible later)
- LIGHTER OIL (in 105 Shotgun Alley)
- SHOTGUN (in 105 Shotgun Alley)
- GREEN HERBS (two in 106 Boutique Street, two at the top of the fire escape in Boutique Street)
- UPTOWN MAP (on a brick wall in Boutique Street)
- EMPTY LIGHTER (in 109 Bar Black Jack)
- CLOCK TOWER POSTCARD(#3) (in 109 Bar Black Jack)
- H.GUN BULLETS (in 109 Bar Black Jack)
- RED HERBS (two in 110 Barricaded Alley)
- PHOTO A(#4) (in 110 Barricaded Alley)
100% Human-Written. AI Fact-Checked. Community Verified. Learn how AntMag verifies content