Complete walkthrough for Part 53 of Resident Evil 3: Nemesis, detailing enemy encounters, item locations, and rewards. Learn how to use Mercenaries mode unlocks.
Walkthrough
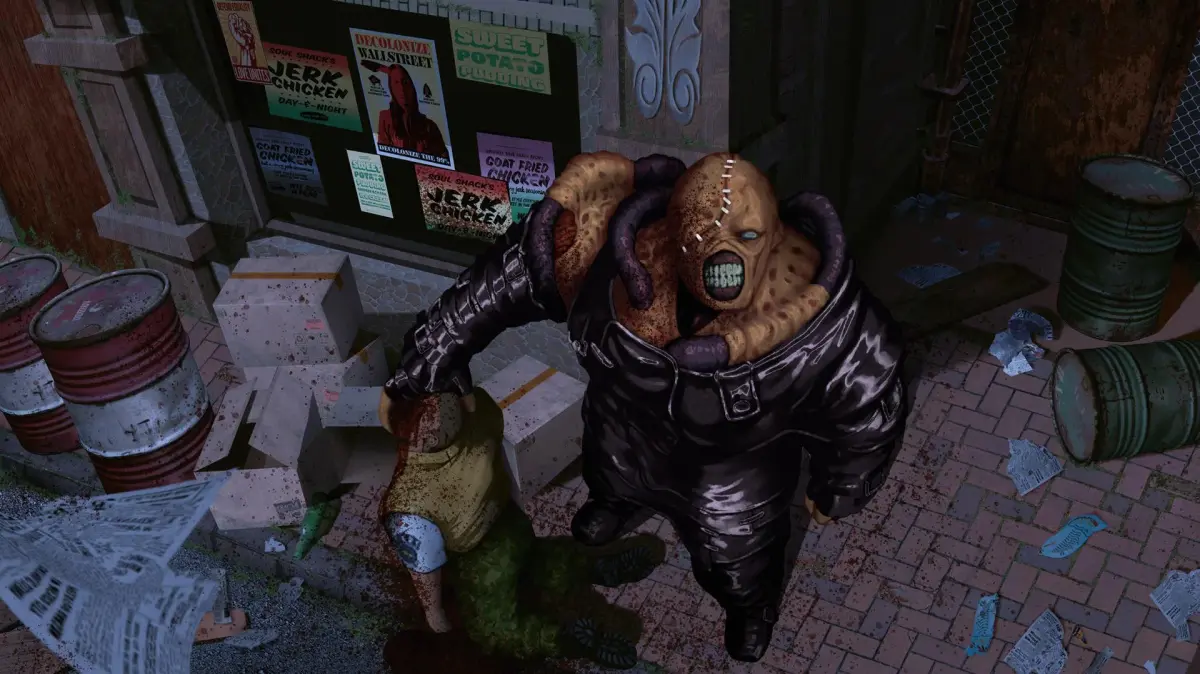
- 1king Lot: Nemesis B, Barrel (3x)
- 2115 Hose Alley: Nemesis A, Zombie (4), Ex.Point #4
- 3114 Zigzag Alley: Drain Deimos (3)
- 4113 Police Avenue: Crow (9)
- 5111 Blazing Alley: Zombie (8), Barrel
- 6110 Barricaded Alley: Sliding Worm (8)
- 7118 Office Patio: Brain Sucker (2)
- 8119 Sales Office: Zombie (8)
- 9120 Office Storage: Hunter Gamma (3), MERC #1 (12 min)
- 10110 Barricaded Alley: Zombie Dog (3), Ex.Point #5
- 11108 Playground Alley: Nemesis A (2), Barrel
- 12109 Bar Black Jack: Zombie (6), MERC #2 (14 min)
- 13106 Boutique Street: Hunter Gamma (3)
- 14105 Shotgun Alley: Zombie (9), Ex.Point #6
- 15104 Business Street: Hunter Gamma (3)
- 16103 Warehouse Access: Crow (7)
- 17101 Warehouse: Zombie (8), Barrel
- 18102 Warehouse Office: FINISH
- Assault Rifle (Infinite Ammo): $2000
- Gatling Gun (Infinite Ammo): $3000
- Rocket Launcher (Infinite Ammo): $4000
- Infinite Ammo (All Weapons): $9999
Both Jill and Carlos can use the three unlockable weapons after purchase. Newly unlocked weapons require a new playthrough to access. The 'Infinite Ammo (All Weapons)' purchase is permanent and cannot be deactivated, significantly altering game balance.
Appendix: Tools & Key Items
- GAME INSTRUCTIONS A: Found in Jill's inventory. Explains game actions and map/event operations. Can be archived as File #1.
- GAME INSTRUCTIONS B: Found in Jill's inventory. Explains bullet creation using Gun Powder and Reloading Tool. Can be archived as File #2.
- RELOADING TOOL: Found in Item Box. Used to combine with Gun Powder to create ammo.
- INK RIBBON: Found near typewriters. Required for saving the game, acquired in stacks of three.
- WAREHOUSE KEY / BACKDOOR KEY: Found in 102 Warehouse Office. Unlocks the exit door in 101 Warehouse.
- LIGHTER OIL: Found in 105 Shotgun Alley. Combine with EMPTY LIGHTER.
- LIGHTER / EMPTY LIGHTER: Found in 109 Bar Black Jack. Combine with LIGHTER OIL to create LIGHTER [FULL].
- LIGHTER [FULL]: Created by combining LIGHTER OIL and EMPTY LIGHTER. Used to burn a rope in 110 Barricaded Alley and a wood pile at 609 Graveyard Shack.
- CARD CASE: Found on Brad's corpse in 201 RPD Courtyard. Checking it yields S.T.A.R.S. CARD [BRAD].
- S.T.A.R.S. CARD [BRAD]: Created by checking CARD CASE. Grants access to the computer in 202 RPD Main Hall.
- S.T.A.R.S. CARD [JILL]: Found in 208 Briefing Room. Grants access to the computer in 202 RPD Main Hall.
- S.T.A.R.S. KEY: Found in locker in 204 Evidence Room. Unlocks the door to the S.T.A.R.S. Office in 210 Office Corridor.
- LOCKPICK: Found in 211 S.T.A.R.S. Office. Used to pick four locks: storage locker in 204 Evidence Room, metal gate at 113 Police Avenue, cabinet inside 306 Restaurant, and park office door at 601 Park Street.
- BLUE GEM / SAPPHIRE: Found in unlocked storage locker in 204 Evidence Room. Used in the clock puzzle with the EMERALD.
- POWER CABLE: A large capacity power cable.
100% Human-Written. AI Fact-Checked. Community Verified. Learn how AntMag verifies content