Follow this Resident Evil 3: Nemesis walkthrough for Part 34, covering objectives like Cache #1 and #2, navigating alleys, and a critical Live Selection.
Walkthrough
- 1112 Blazing Storeroom: Dump all key items into the item box except the SQUARE CRANK. Head for 108 Playground Alley.
- 2111 Blazing Alley: (Optional skip) To skip gathering extra ammo, jump to section [7.4.6].
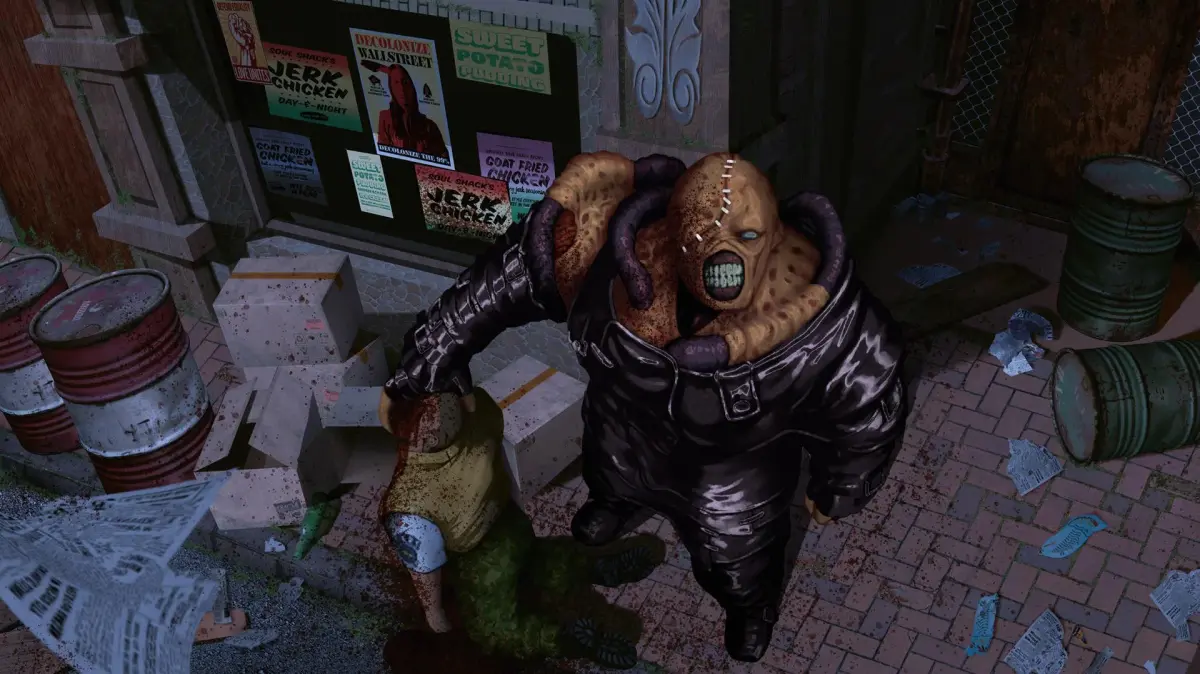
- 3110 Barricaded Alley: Four zombies will emerge from windows. Either push through them before they stand, or climb the lumber stack to eliminate them.
- 4108 Playground Alley: At the Y-junction, turn right and descend before the crows attack. Use the SQUARE CRANK on the round hole to the right of the shutter. Collect three sets of GRENADE ROUNDS. Return up the stairs.
- 5(Optional skip) To skip remaining items (GUNPOWDER and a File), return to 111 Blazing Alley and skip to section [7.4.6].
- 6104 Business Street: Take the left path, dodging any of the five remaining zombies. A young woman may run through here if you entered from 108 Playground Alley or 105 Shotgun Alley. Take the left door in the next alley.
- 7103 Warehouse Alley: If Nemesis was pursuing you from 111 Blazing Alley, you will lose him here. Deal with any lone zombie (which may appear after killing the woman from the previous room) and enter the Warehouse.
- 8101 Warehouse: Ignore the zombies in the office area. Enter the previously closed shipping container to find four GUNPOWDER (two A, two B) and DARIO'S MEMO (#16). The office can be used to prepare for the return trip to the cable car; watch for a prone zombie on the catwalk. Head towards 309 Arcade Storeroom.
- 9104 Business Street: If you saw or heard the screaming woman earlier, a police car door may jiggle as you pass. Re-entering from the west side can trigger a zombie to burst from the car. Check inside for a bottle of GUNPOWDER B.
- 10116 Parking Lot: A murder of eight Crows will fly out of the crashed bus windows. Keep running to the next door to avoid them.
- 11301 Parking Garage: A LIVE SELECTION will occur. After rumbling, the floor drops. As Jill climbs out, boxes from a van slide down.
- CLIMB UP: Jill climbs to safety. Proceed to 302 Parking Office.
- 12JUMP OFF: Jill drops into the sewer. Continue from 325 Parking Sewer.
- 13DO NOTHING: Boxes hit Jill, dealing damage and knocking her into the sewer. Continue from 325 Parking Sewer.
- 14325 Parking Sewer: Run past the large dead creature and dodge five Sliding Worms. Climb the ladder to the Parking Lot. Proceed through the Parking Garage again.
- 15309 Arcade Storeroom: Jill will encounter Nemesis twice and a Grave Digger before the next save point. These encounters do not require fighting, making heavy weapons optional. For players who wish to fight, combining normal GRENADE ROUNDS with GUNPOWDER A and B can create FREEZE GRENADE ROUNDS. Combining GUNPOWDER CCC with six GRENADE ROUNDS yields eighteen FREEZE ROUNDS, useful for boss fights.
- 16To repair the cable car, you will need the FUSE, MIXED OIL (MACHINE OIL + OIL ADDITIVE), and the POWER CABLE (if not installed previously).
Return to the Cable Car:
Proceed through 111 Blazing Alley, 113 Police Avenue, 114 Zigzag Alley, and 115 Hose Alley.
100% Human-Written. AI Fact-Checked. Community Verified. Learn how AntMag verifies content