Progress through Statue Junction and Take-out Alley in Resident Evil 3: Nemesis, and learn how to repair the cable car.
Walkthrough
- 1At Statue Junction (314), Nemesis loses interest. Backtrack to Arcade Storeroom (309) to drop off excess items, but keep the POWER CABLE and RUST HEX CRANK.
- 2Proceed straight ahead from Statue Junction and turn left at the Y-junction to enter Take-out Alley (315).
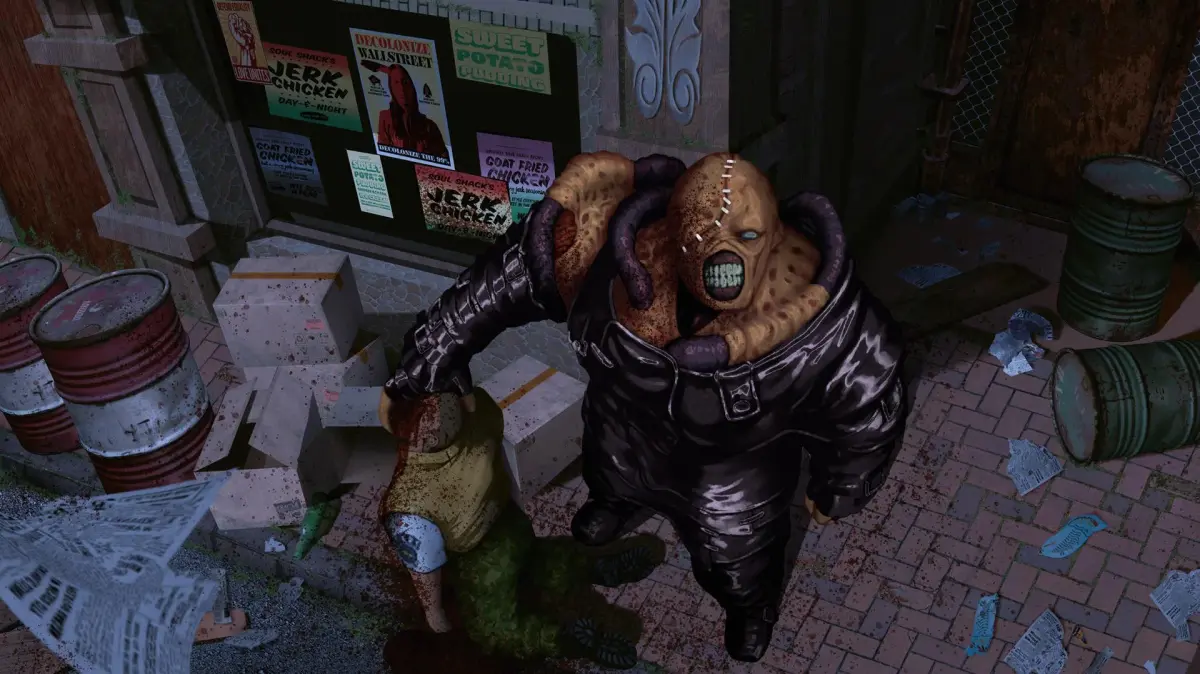
- 3In Take-out Alley, either four Zombies playing dead or five walking/crawling Zombies appear. Neutralize walking zombies or avoid the ones lying down.
- 4Enter Lonsdale Yard (316). Run to the other end. After passing the "Lonsdale Yard" sign and turning a corner, find two GREEN HERBS in a recessed wall on your left.
- 5At the Cable Car Station (317), a group of Zombies or two Dogs will be waiting. Target the explosive red barrel and wait for enemies to approach. Shoot the barrel to hit multiple enemies, then deal with any survivors. A double box of SHELLS is on the corpse near the entrance door.
- 6Climb over stacked pallets. If Dogs are present, a third will jump from the flames. Run to the far end of the second cable car. Use a second red barrel near the second car or dodge enemies to reach the door.
- 7In the Rear Cable Car (318), examine the sparking panel to get the MECHANIC'S MEMO (#13). Use the POWER CABLE on the panel.
- 8Walk towards the front of the car and meet Nicholai. Continue forward to trigger a (cutscene (a non-interactive cinematic the game plays automatically)) with Mikhail. Move into the next car.
- 9In the Front Cable Car (319), another (cutscene) plays. Carlos gives you a SIDE PACK, adding two inventory slots. Pick up the WRENCH on a seat and use it to unlock the door at the front of the car to exit.
- 10Begin heading back towards Downtown to repair the cable car.
- 11Return to Lonsdale Yard (316). If you've already used the POWER CABLE in the cable car, you can see an optional (cutscene) by turning around and going back to the cable car. Mikhail will deal with zombies; if you detonated the barrel earlier, he uses grenades.
- 12Continue back towards Statue Junction (314).
- 13In Take-out Alley (315), a Zombie will emerge from a green car near your entry point. Inside this car is GUNPOWDER B. Grab it and proceed, handling any threats.
Repairing the Cable Car:
Jill has free rein in the Uptown and Downtown map areas. You need to find four items to repair the cable car: the POWER CABLE (already installed), the FUSE, the MACHINE OIL, and the OIL ADDITIVE. These can be approached in any order, but objectives A, B, and C are required.
- A) MACHINE OIL: Found in the Service Shop (321) at the Stagla Gas Station. Requires the RUST HEX CRANK and WRENCH to open the security shutter.
- B) FUSE: Located at Substation Control (324). Requires a BATTERY to access via Maintenance Access (304).
- C) OIL ADDITIVE: Obtained from Office Storage (120) at Umbrella's Sales Office. Requires the FIRE HOSE to extinguish the fire in Blazing Alley (111) to gain access.
- D) Optional Cache 1: In Playground Alley (108), behind a steel shutter opened with the SQUARE CRANK. Reward: 18 GRENADE ROUNDS.
- E) Optional Cache 2: In Warehouse (101), where Dario was located. Reward: Two bottles of GUNPOWDER A, two bottles of GUNPOWDER B, and DARIO'S M
Tips
- The POWER CABLE should have been installed in the cable car before proceeding with these objectives.
- The RUST HEX CRANK is needed for the MACHINE OIL.
- The WRENCH is needed for the MACHINE OIL and to exit the front cable car.
- A BATTERY is required to reach the FUSE.
- The FIRE HOSE is necessary to access the OIL ADDITIVE.
- The SQUARE CRANK unlocks an optional cache.
100% Human-Written. AI Fact-Checked. Community Verified. Learn how AntMag verifies content