Navigate the RPD Courtyard in Resident Evil 3: Nemesis, facing the first Nemesis encounter and making crucial Live Selection choices.
Walkthrough
- 1Head back out towards the Raccoon City Police Department gates.
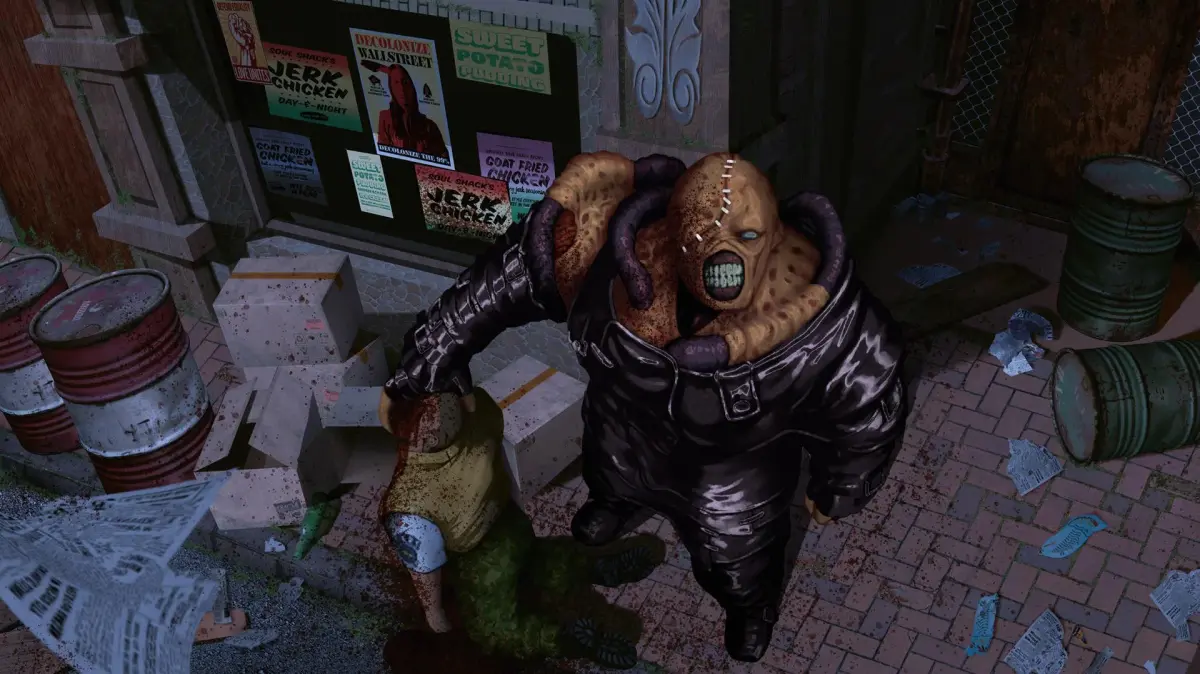
- 2Upon entering the RPD Courtyard, a cutscene (a non-interactive cinematic the game plays automatically) (an in-game cinematic) will play, introducing Nemesis.
- 3After the cutscene, you will be presented with your first Live Selection.
- 4LIVE SELECTION #1:
- FIGHT WITH THE MONSTER: You can attempt to lift the CARD CASE off of Brad's corpse without fighting Nemesis if you are nimble. If you choose to fight, use the SHOTGUN (or heavy weapons unlocked via Mercenaries) and employ stick-and-move tactics. Be prepared to reload your game multiple times. If you defeat Nemesis, he will drop an item case containing EAGLE PARTS A.
- 5ENTER THE POLICE STATION: This option allows you to skip the first Nemesis battle. You will miss out on Brad's CARD CASE.
- 6DO NOTHING: This results in Nemesis attacking Jill at the start of the battle, dealing some damage.
- 7After the Live Selection, proceed into the police station.
- 8In the RPD Main Hall, Nemesis may kick the door in frustration if you escaped without fighting.
- 9To the left of the main entrance are three GREEN HERBS.
- 10Check the reception desk for a box of H.GUN BULLETS.
- 11If you obtained the CARD CASE, use it in the Status screen to reveal a S.T.A.R.S. CARD.
- 12Examine the computer terminal at the reception desk with the S.T.A.R.S. CARD in your inventory to get a four-digit evidence locker access code.
- 13If you do not have the CARD CASE, you will need to find the code through other means.
- 14Pick up the POLICE STATION MAP on the desk between the typewriter (a save point) and the computer.
- 15Move to the open door on the west side of the room and proceed to the Officers' Room (203).
- 16In the Officers' Room, lure or dispose of the zombies.
- 17Enter the small office on the left side of the room and grab MARVIN'S REPORT(#5) off the floor.
- 18You may also find a box of SHOTGUN SHELLS on the desk; if not, they will be in the 208 Briefing Room.
- 19Head towards the next door in the northwest corner of the room.
- 20In the Evidence Room (204), find a BLUE GEM inside an open locker on Jill's left.
- 21Check the gem in the Status screen to discover it is a SAPPHIRE.
Tips
- If this is your first playthrough, it is highly recommended to skip fighting Nemesis as he is extremely tough with standard weapons.
- To attempt to defeat Nemesis with standard weapons, combine 20 SHOTGUN SHELLS by mixing two bottles of GUNPOWDER A to get GUNPOWDER AA, then combine GUNPOWDER AA with GUNPOWDER B to receive GUNPOWDER BAA. Finally, combine the GUNPOWDER BAA with the RELOADING TOOL to get the SHELLS.
- Carry extra H.GUN BULLETS as a backup.
- Your standard loadout for the first third of the game should include your HANDGUN and SHOTGUN, their respective ammo, and a MIXED HERB (RED + GREEN) or FAS (First Aid Spray).
- The amount of time elapsed before choosing a Live Selection option can slightly affect how the subsequent cutscene plays out.
- If you wait until the box around the highlighted option turns red before choosing ENTER THE POLICE STATION, Jill performs an action-roll. If selected while highlighted in blue, Jill ducks under Nemesis' punch.
- Most of the R.P.D. is off-limits in Resident Evil 3: Nemesis, making it a quicker experience than in Resident Evil 2.
- Leave some GREEN HERBS behind if inventory space is limited.
100% Human-Written. AI Fact-Checked. Community Verified. Learn how AntMag verifies content