Follow our step-by-step walkthrough for 'Where the Dead Must Go' in Dragon Age: The Veilguard. Includes tips for defeating the Despair Demon, solving puzzles, and finding all loot.
Walkthrough
- 1After completing the main quest A Warden’s Best Friend, you must choose between bailing out Treviso or Minrathous, which starts either On Deadly Wings or On Blighted Wings, respectively.
- 2Finish the quest Completing the Veilguard.
- 3Talk to Solas, who recommends recruiting a dragon slayer and a fade expert.
- 4Talk to Bellara to start the quest Where the Dead Must Go. This unlocks the Necropolis as a temporary fast travel destination.
- 5After running afoul of Ghilin’nain’s pet dragons, consult with Solas to begin this quest.
- 6Upon arrival, you’ll meet Emmrich, the fade expert. He will escort you through the Lost Watcher’s Wing.
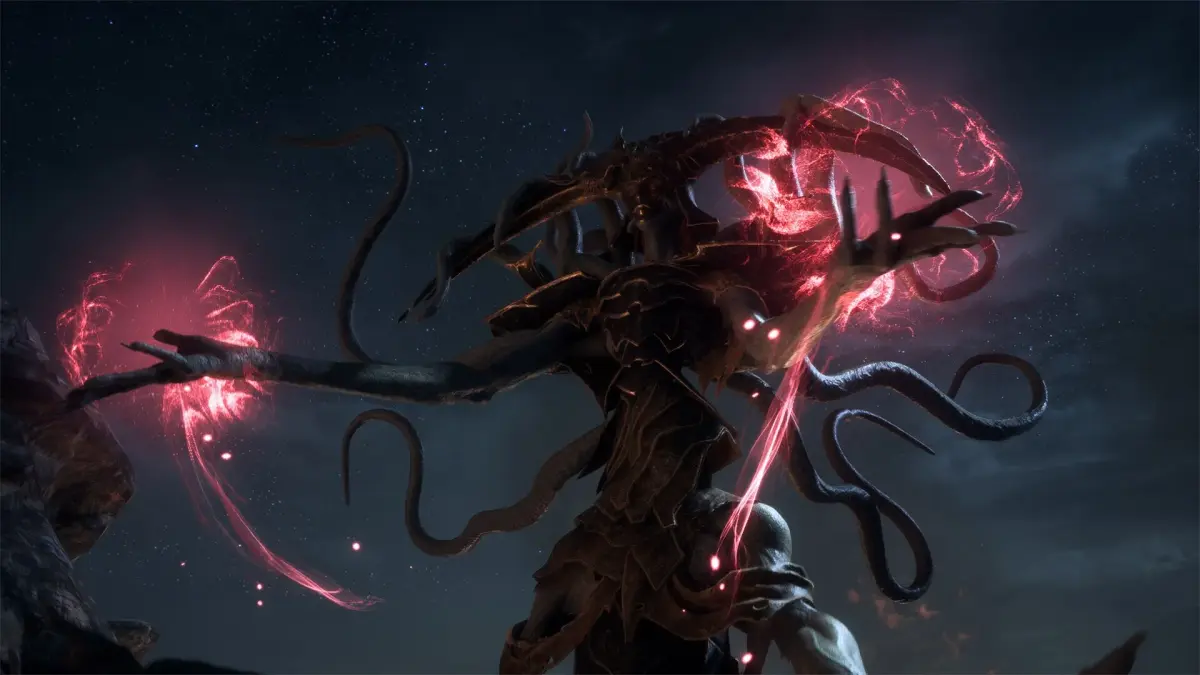
- 7You will encounter a Despair Demon. These foes can shoot frost beams and conjure slow-moving, homing frozen orbs. They also tend to blind your party and teleport frequently.
- 8Defeat the Despair Demon to obtain an Abyssal Helm cosmetic and some materials.
- 9Follow Emmrich south through a doorway. Turn left (east) to find a small chest containing the Shatter rune.
- 10Cross a bridge south to enter the Hollow Belfry, Lower area. This will later become the Necropolis hub.
- 11Evidence of sabotage on the Sunken Star (the bell keeping spirits at bay) will be present.
- 12Defeat the Frenzied Dead mobs that appear.
- 13Follow Emmrich to a door to the northeast. You’ll need to solve a puzzle involving wisps and receptacles. The receptacle near Emmrich is empty.
- 14Turn left (northwest) from the doors to find a chest to loot.
- 15Find the wisp floating in the southwestern corner of the Hollow Belfry. Get close to it until it follows you.
- 16Return the wisp to the receptacle in the northeastern corner of the chamber. Be aware that wisp puzzles are timed, as wisps can grow restless and return to their original location.
- 17Once the wisp is in place, the doors will open. Continue northeast to The Path of Sighs.
- 18Head downstairs and through a doorway into a large, two-story room filled with Undead Warriors, Undead Mages, and lesser undead. Undead Warriors are durable and perform unblockable charge attacks. Undead Mages cast magic from afar.
- 19Defeat all enemies.
- 20Head downstairs and exit via a doorway to the southeast. (Note: A wisp receptacle is near a gate to the northeast, but this puzzle cannot be solved during this visit).
- 21Drop off a ledge to the southwest and turn southeast to reach the Vault of the Beloved.
- 22This chamber contains despair demon auras – swirling frost clouds that spawn Shades and frozen orbs when disturbed. There are no actual despair demons present. Disturbing these auras is not penalized but offers no reward.
- 23Work your way southeast, avoiding or dispersing the auras.
- 24When you reach the second aura, search an alcove to the northeast to find the Ancient Illustration memento (+50 Caretaker Power).
- 25After the third aura, turn southwest to find a sealed door with three receptacles.
- 26Investigate the door, and Emmrich will summon the wisps needed to proceed. You must find and lure these wisps back to their receptacles while dodging the despair demon auras.
- 27The wisps are located as follows:
- At the southeastern end of the chamber, down some stairs. Skirt the aura to the right or climb a ledge to the left, loot a small chest, then drop behind the aura to reach the wisp.
- 28In an alcove up some stairs to the northeast of the third aura.
- 29In an alcove up some stairs to the southwest of the first aura.
- 30With all three wisps in place, the doors will open. Grab a chest just through the door.
- 31Head downstairs, drop off a ledge, and go through a doorway to reach the Cascades.
Tips
- Despair Demons can isolate Rook by blinding the rest of the party and teleporting frequently.
- Be mindful of the timed nature of wisp puzzles; wisps can become restless and return to their starting points.
- Undead Warriors are more durable than Frenzied Dead and can perform unblockable charge attacks.
- The Necropolis becomes a hub area later in the game, but many areas are inaccessible until after this quest.
- Abyssal Helm (cosmetic)
- Shatter rune
- Ancient Illustration (memento, +50 Caretaker Power)
100% Human-Written. AI Fact-Checked. Community Verified. Learn how AntMag verifies content