Don't miss the Green Herb! Learn how to navigate the dangerous Sewer Corridor 2 and 3, avoid flames and steam, and stagger G-Birkin in Resident Evil: Operation Raccoon City.
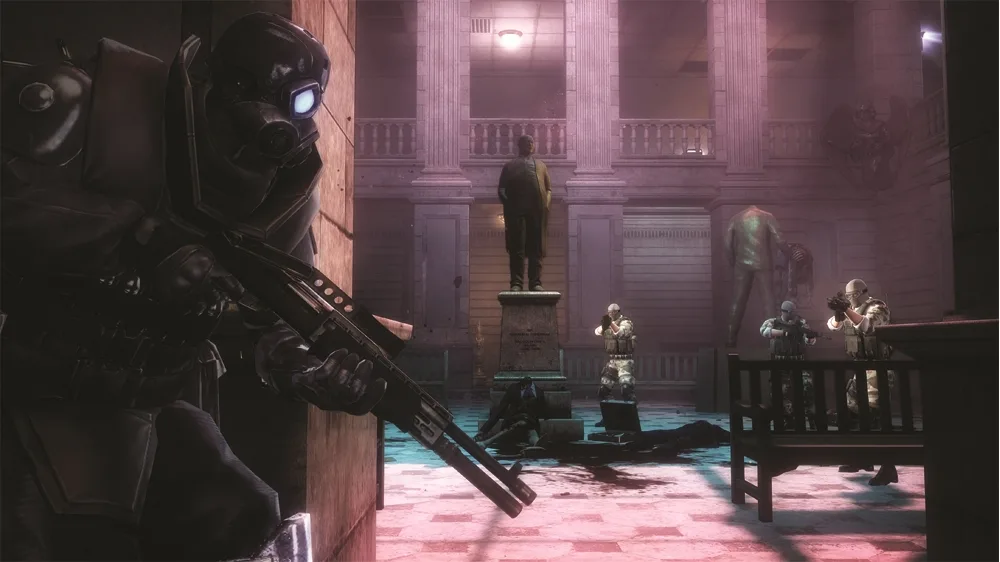
Alright, so you're in Sewer Corridor 2, and HUNK just busted through the door ahead. Your squad's gonna follow him, and right behind you, G-Birkin's gonna smash through the door you just came from. Don't sweat it too much though, he's super slow in this section, so you can totally outrun him.
As you're moving down the corridor, watch out for the pipes on the walls. They'll blast flames and steam, and yeah, they'll burn you. The steam's a bit easier to avoid if you time your moves right, but still try to hug the opposite side of the corridor when you pass by them. Just keep moving towards the doorway at the end.
Once you step through that doorway, you'll hit Sewer Corridor 3 and a cutscene will play. Birkin's gonna do his thing and separate HUNK from the team. Your new objective is to escape G-Birkin.
You need to get to the other end of this corridor and open the door to get away from him. The game's gonna have one of your teammates hang back to try and slow Birkin down. He'll start running at you guys here, so you need to shoot the eye on his right shoulder (which will be on your left). Hitting that eye directly is key to staggering him and stopping his charge. It can be a little annoying if your aim isn't spot on, but you gotta hit that specific spot.
Heads up: you won't be able to turn around right away. You'll need to move back down the corridor a bit first. Face Birkin, aim for that eye on his upper arm, and blast it. Once you've staggered him, you can turn around and run. If you're playing solo, you'll likely have to be the one to stay behind and shoot him until an AI buddy gets close enough to draw his attention. Once an AI is shooting at Birkin, you can turn tail, run to the end of the corridor, and leave that AI partner to deal with him. They'll either stop Birkin or, well, die trying.
Pro-Tip: Try sticking to the left wall. This can sometimes make Birkin move over to that side, and he might get stuck behind some of the junk along the wall, giving you a clear shot.
Keep racing past any lingering flames and steam – just step to the side to avoid them. Eventually, another cutscene will trigger, and Birkin will hit the ground, causing debris to fall behind him. At this point, you should definitely be able to turn around and run. Bolt for the door at the far end of the corridor and interact with it to start it opening. As the door is opening, turn around and blast Birkin's shoulder eye with a long-range weapon – a shotgun works pretty well here too. Once the door is fully open, get through it!
Heads Up: Shooting the explosive barrels scattered around can also stagger Birkin, but weaker weapons like your handgun might take a few shots to set them off.
Important Note: If you or any of your teammates die to Birkin, don't worry too much. Just leave them behind. As long as at least one human player makes it to the next room, everyone will respawn. This applies to all the Birkin encounters you'll have later on too!
Oh, and don't forget! Just before you reach the end of the corridor, you'll see a Green Herb off to the right. Grab it before you escape!
100% Human-Written. AI Fact-Checked. Community Verified. Learn how AntMag verifies content