Learn the Geometry Dash Level Editor basics. Build and place objects like platforms and spikes to craft custom levels and share your rhythmic creations.
Welcome, aspiring Geometry Dash creators! The Level Editor is where your wildest rhythmic dreams take shape. This detailed guide will walk you through the fundamental steps and essential tools to begin crafting your very own challenging and engaging levels.
Accessing the Editor
To enter the Level Editor, navigate to the main menu and tap the "Create" button. From there, select "New" to start a fresh level, or "Load" to continue working on a saved project. Give your new level a descriptive name – you can always change it later in the Level Settings.
Understanding the Interface
The editor interface might seem overwhelming at first, but it's logically organized. Here's a breakdown of the key areas:
- Object Palettes (Bottom): These tabs contain all the building blocks for your level. You'll find categories like "Blocks," "Spikes," "Portals," "Orbs," "Decorations," "Triggers," and more. Tap a tab to view its contents, then tap an object to select it for placement.
- Edit Modes (Left Side):
- Build: The default mode for placing and manipulating objects.
- Edit: Used for selecting, moving, rotating, scaling, and applying properties to existing objects.
- Swipe: Allows you to quickly select multiple objects by dragging a box over them.
- Free: Enables free camera movement without affecting object placement.
- Tools (Top Right):
- Undo/Redo: Essential for correcting mistakes.
- Delete: Removes selected objects.
- Copy/Paste: Duplicates objects or groups of objects.
- Rotate: Rotates selected objects.
- Flip: Flips selected objects horizontally or vertically.
- Scale: Changes the size of selected objects.
- Move: Precisely moves selected objects using arrows.
- Play Test Button (Top Left): The green triangle button. Tap this at any time to test your level from the beginning or from a placed start position.
- Pause Menu (Top Left): The gear icon. Accesses level settings, save options, and exit the editor.
Your First Obstacle: Placing Blocks
Let's start with the absolute basics: creating a simple platform.
- Ensure you are in Build mode (the hammer icon on the left).
- Tap the "Blocks" tab in the object palette (it's usually the first one).
- Select a basic block, like the "Ground Block" (a solid square).
- Tap anywhere on the grid to place the block. You can drag your finger to place multiple blocks in a row.
- To remove a block, select the "Delete" tool (the trash can icon) and tap the block.
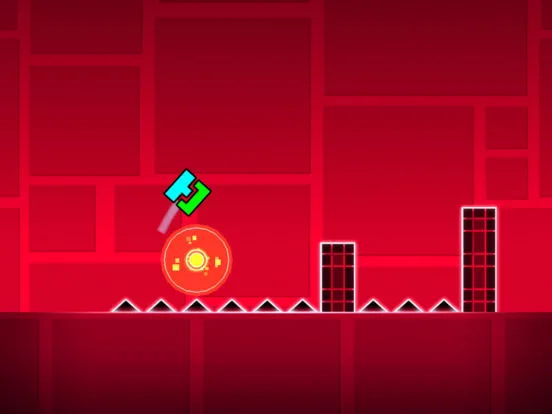
Adding Challenge: Spikes and Orbs
Now, let's introduce some classic Geometry Dash elements.
- Switch to the "Spikes" tab in the object palette.
- Select a standard "Spike" and place it on top of or next to your block to create a hazard.
- Next, go to the "Orbs" tab.
- Choose a "Yellow Orb" and place it above a gap. When You touches this orb, they will jump. Experiment with different orb types (Blue, Pink, Green, etc.) as they have varying jump mechanics.
Using Edit Mode for Precision
The Edit mode is crucial for refining your placements.
- Tap the "Edit" button (the cursor icon) on the left side.
- Tap an object you've placed to select it. It will highlight with a bounding box.
- Use the "Move" arrows (top right) to nudge the object precisely.
- Try the "Rotate" and "Scale" tools to change its orientation and size.
- To select multiple objects, either tap them individually while in Edit mode or use the "Swipe" mode to draw a selection box.
Saving Your Progress
save your work frequently!
- Tap the "Pause" button (gear icon) in the top left.
- Select "Save" from the menu.
- You can also "Save and Play" to immediately test your latest changes, or "Exit" to return to the main create menu.
This covers the absolute basics of the Geometry Dash Level Editor. As you become more comfortable, explore the other object palettes, experiment with triggers, and delve into the advanced editing options to truly unleash your creativity!
100% Human-Written. AI Fact-Checked. Community Verified. Learn how AntMag verifies content