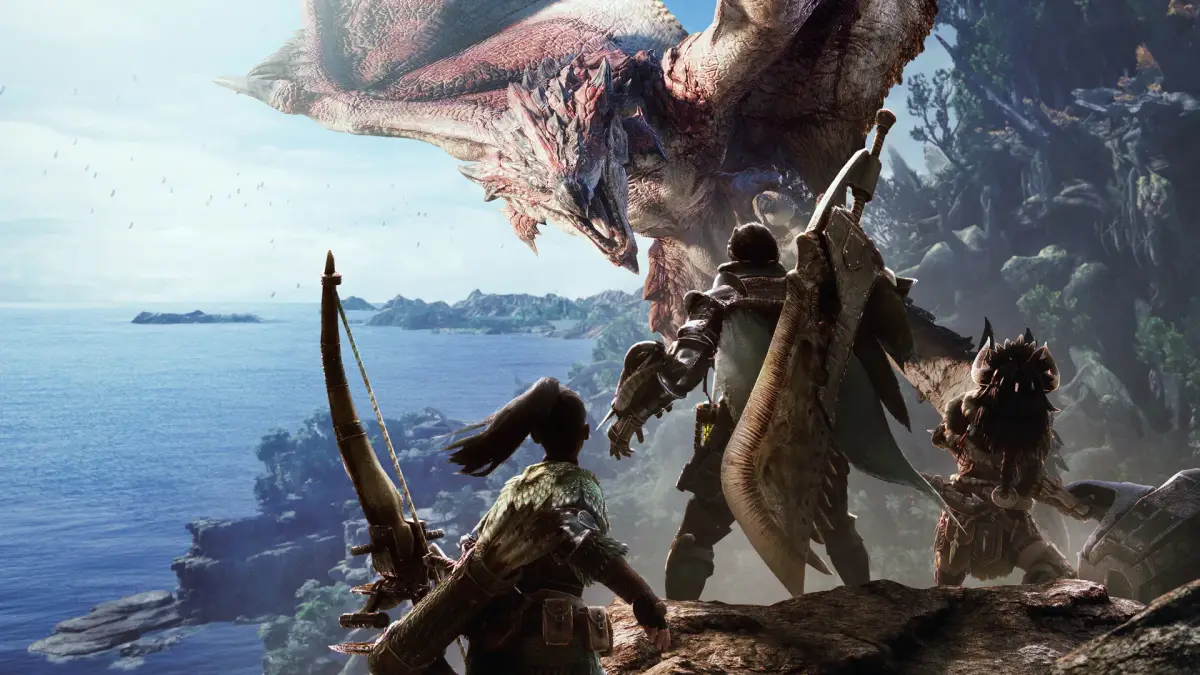
Master the Paolumu fight in Monster Hunter: World! Learn its weaknesses, elemental resistances, and strategies to take down this flying wyvern in the Coral Highlands.
Alright, let's talk about the Paolumu in Monster Hunter: World. This thing's a pretty unique Flying Wyvern you'll find chilling in the Coral Highlands, usually hanging out in AREA 5, but it likes to roam between AREAS 4, 8, and 9. AREA 9 is basically its bedroom. Since it spends so much time airborne, if you're using a melee weapon, you might want something with a bit more reach, or consider bringing a ranged weapon. It's definitely easier when you can reliably hit it while it's up in the sky.
Stats / Weaknesses:
- Elements: Fire (***), Water (X), Thunder (**), Ice (*), Dragon (*)
- Ailments: Poison (**), Sleep (**), Paralysis (**), Blast (***), Stun (***)
- Weak Points: Head, Throat-sac (most receptive)
- Breakable Parts: Wings, Body, Tail (nothing is severable)
When the Paolumu is just on the ground, it's not too bad. It's mostly just doing that annoying 'walk back and forth' thing a lot of Flying Wyverns do, plus some tail sweeps and bites. The real trick is when it starts sucking in air to inflate itself. This lets it stay flying for ages and gives it a great view to rain down attacks.
While it's inflated and airborne, it's way tougher for us ground-based hunters. It's got the height advantage and usually keeps its distance, except when it decides to dive-bomb you. It can also create a wind vortex that'll hold you in place just long enough for it to smash you. This is its nastiest move, so be super careful when it's flying around to avoid getting caught. Plus, while it's in the air, it can spit wind blasts at you, which deal some serious damage. For you ranged folks, an inflated Paolumu is a prime target – just aim for that balloon-like sac and shoot it out of the sky!
Carves:
| Carves | Frequency |
| Paolumu Pelt | **** |
| Paolumu Scale | ***** |
| Paolumu Shell | *** |
| Paolumu Webbing | **** |
| Rewards | Frequency |
| Paolumu Scale | **** |
| Paolumu Pelt | **** |
| Paolumu Shell | *** |
| Paolumu Webbing | ** |
| Monster Bone L | *** |
| Nourishing Extract | *** |
Once you've defeated the Paolumu, make sure to carve it if you can. When the quest wraps up, you'll automatically report back to the Third Fleet Master. You've done your part, and they're ready to get that airship going. There's just one little thing... they haven't actually tested it yet, but hey, they have a great track record with airships, right?
Before you jet off, there are a few other things you can tackle. Chat with the Airship Engineer; he'll mention wanting to install a ropelift in the Coral Highlands to make getting around easier. He's put in a formal request, but if you help gather the materials yourself, it'll go way faster. This kicks off the delivery request The Shortcut to Happiness. To finish it, you need to bring back five Shamos Hides and one Sturdy Bone. You can get the hides by hunting Shamos (grab the quest It’s a Crying Shamos if you need more rewards for gathering them). Sturdy Bones are found by looting bonepiles. Keep an eye out for those!
After that, head back to Astera. More exclamation points await! Find the Smart Biologist on the northwest side of town. He'll have another request: capture a Paolumu. Since you just fought one, this should be a breeze. This unlocks the optional quest White Monster for a White Coat.
Next, make your way to the Tradeyard. You'll find a new quest-giver, a
100% Human-Written. AI Fact-Checked. Community Verified. Learn how AntMag verifies content