Your friendly guide to mastering Resident Evil Outbreak on Easy mode. Learn enemy patterns, item locations, and survival tips to conquer the Raccoon City outbreak.
Resident Evil Outbreak: Your Easy Mode Survival Guide
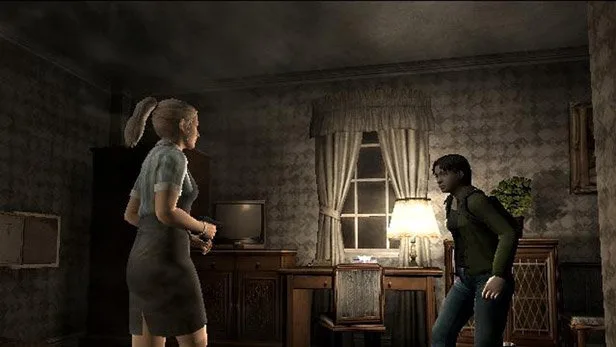
Hey there! So you're diving into the chaos of Raccoon City with Resident Evil Outbreak on Easy mode? Smart move. This is a great way to get a feel for the game, its characters, and the sheer panic of it all without getting overwhelmed. Think of me as your buddy who's been through this before, here to give you the lowdown.
Getting Started
Easy mode is designed to be more forgiving. You'll find more ammo, health items will be more plentiful, and enemies will be a bit less aggressive. It's perfect for learning the maps, understanding the objectives for each scenario, and getting comfortable with the controls and mechanics.
Key Mechanics to Master
- Item Management: Even on Easy, you can't carry everything. Learn what items are crucial for survival and what you can leave behind. Always keep an eye out for healing items like the First Aid Spray and ammo for your current weapon.
- Saving Your Game: Look for the Typewriter icons on the map. These are your save points. Make sure to save often, especially after clearing a tough section or before entering a new, potentially dangerous area.
- Character Abilities: Each character has unique skills. For example, Kevin is good at dodging, while Cindy has a healing ability. Knowing these can make a big difference.
- Cooperation: If you're playing with others, stick together! Communication is key. Help each other out with items and cover each other's backs.
Scenario Tips (General)
While each scenario has its own unique challenges, here are some general pointers for Easy mode:
- "Outbreak" (Scenario 1): Your first goal is to escape the J's Bar. Focus on finding the key items to unlock the exit. Don't linger too long; the zombies here are slow but can swarm you.
- "Bagley" (Scenario 2): This scenario introduces more complex environments. Pay attention to the objectives given. You'll often need to find specific items to progress.
- "The Hive" (Scenario 3): Expect a lot of zombies and some tougher enemies. Use your environment to your advantage – sometimes you can lure enemies into traps or bottlenecks.
- "Hell" (Scenario 4): This one ramps up the difficulty a bit. Keep your health up and be mindful of your ammo.
- "Decisions, Decisions" (Scenario 5): This scenario often involves making choices that affect the outcome. On Easy, focus on survival and completing the primary objective.
- "Don't Be Scared" (Scenario 6): You'll encounter some truly unsettling moments here. Stay calm and focus on the task at hand.
- "Underground" (Scenario 7): Lots of tight corridors and potential ambushes. Move carefully and be ready to fight.
- "The 4th Survivor" (Scenario 8): This is a challenging one, even on Easy. Conserve your resources and prioritize reaching the extraction point.
Enemy Encounters
On Easy, most standard zombies can be taken down with a few shots. However, don't get complacent. A horde can still overwhelm you. Aim for the head if you can, but body shots will work too. If you're low on ammo or health, sometimes it's better to just run past them. Remember, you don't have to kill everything!
Final Thoughts
Easy mode is your playground to learn the ropes of Resident Evil Outbreak. Don't be afraid to experiment, make mistakes, and learn from them. The most important thing is to have fun and survive the outbreak. Good luck!
100% Human-Written. AI Fact-Checked. Community Verified. Learn how AntMag verifies content