Master the Swordmaster Asterisk in Bravely Default. This guide details Kamiizumi's weaknesses, phases, and the best strategies to defeat him, including item and ring locations.
Walkthrough
- 1Floors 2 & 3: Head downstairs. Find a room with treasure chests containing an Ice Charm, Bacchus’s Wine, and Dragon Fang. Exit via the stairs below. On the third floor, turn right at junctions to find an X-Potion.
- 2Floor 4: Go upstairs. Follow the corridor to find stairs leading down. Collect a Courage Ring from a nearby chest. Return to the third floor's top-left corner and head right towards the top-right corner for stairs leading upstairs. On the fourth floor, follow the corridor down to find a chest with a Kunai and stairs leading upstairs. An event will trigger.
- 3Floors 5 & War Room: Head right to find stairs leading down. Collect a Turbo Ether from a chest. Return to the fifth floor and follow the corridor clockwise to find a chest with Power Bracers. Continue right to find the Adventurer and stairs leading up. Past the stairs is the Swordbearer’s war room where Kamiizumi awaits.
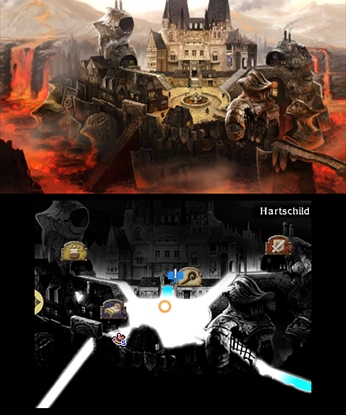
- 4Boss Battle: Approach Kamiizumi to initiate the boss battle.
Tips
- The Safety Ring protects against instant-death attacks.
- Kamiizumi's counters: Nothing Venturerd (physical), Before Swine (magical), Know Thine Enemy (massive damage, high KO chance).
- To minimize damage from counters, avoid using Brave for multiple attacks; save Brave points for later.
- When Kamiizumi KOs a character, he will Brave twice and unleash three attacks, leaving him vulnerable for two turns. Default to survive this onslaught.
- After surviving, revive fallen allies and unleash powerful moves.
- When Kamiizumi reaches critical HP, he stops using counters and Braves twice, making the battle more straightforward.
- Consider bringing a Salve-maker for efficient party revival. Compound a Phoenix Down and a Potion for best results.
100% Human-Written. AI Fact-Checked. Community Verified. Learn how AntMag verifies content