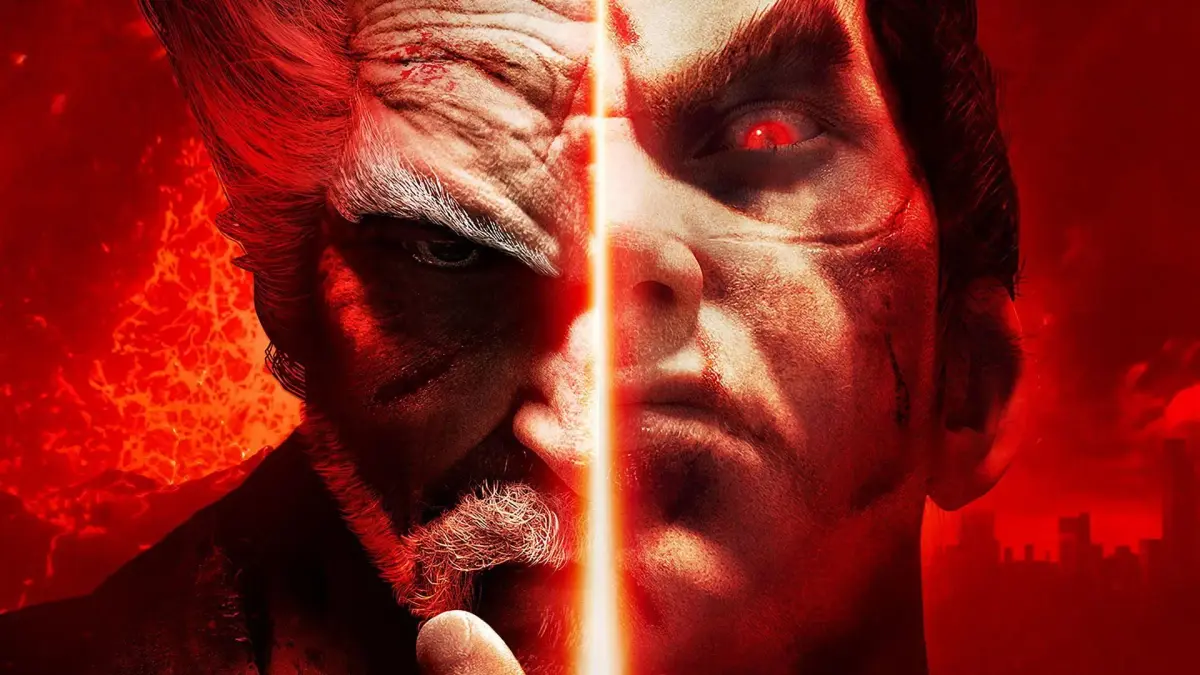
Master Heihachi Mishima's grappling and combat techniques in Tekken 7. Learn commands for moves like Neck Breaker, Stonehead, and Shining Fists.
Grappling Techniques:
Heihachi has several throws that can be initiated from the front, left, right, or back positions. From the front, you can perform the Neck Breaker with (1+3) or (f+1+3), escapable with 1 or 2. The Powerbomb is also a front throw, executed with (2+4) or (f+2+4), escapable with 1 or 2. The Broken Toy throw is QCF+1+3, escapable with 1. Stonehead is f,f+1+2, escapable with 1+2. Headbutter is f,f+1+4, escapable with 1+2. Firestarter is d/f+2+3, escapable with 2.
From the left side, the One Hand Slam is (1+3) or (2+4), escapable with 1. From the right side, the Tile Guillotine is (1+3) or (2+4), escapable with 2. From the back, the Atomic Drop is (1+3) or (2+4), with no escape option listed.
Combat Techniques:
Heihachi's combat moves include jabs, punches, kicks, and special strikes. The Jab (1) is a fast high attack. Stringing jabs together can lead to moves like Double Jab (1,1) or Shining Fists (1,1>2), which causes a knockdown (KD). The 2 Punches (1>2) is a high-high string, and further inputs can lead to Backfist (1>2,2) or Chi Palm (1>2,(2~1)), also a KD. The Chi Palm can be faked with (u_d) for a Palm Fakeout Step. A delayed version, Delayed Chi Palm, can be performed with (1+2) or (2~1) from a neutral stance.
Other notable moves include Midkick (1>2,4), which causes KD. Punch, Gutpunch (1>b+2) leads to Thunder Godfist (1>b+2,1) or Slice Kick (1>b+2,4), both causing KD. Stun Splitter (b+1) is a high attack, which can be followed by DECAPITATOR (b+1,2), a high-high string that causes a stun (S!) and knockdown. Funkei Shout (b+1,2~1+2) is a mid-high string causing KD, with a feint option (u_d).
Tile Splitter (d+1) is a mid attack, followed by Splitter, Deathpalm (d+1,2) which also causes KD. Piston Lift (d/f+1) is a mid attack, leading to Palm Strikes (d/f+1,1) or Hammer Destiny (d/f+1,2), the latter causing KD. Quick Iron Fist (WS+1) is a mid attack from a while-standing (WS) state, causing KD. Thunder Godfist can also be performed from a forward, neutral, down, down-forward input (f,N,d,d/f+1), a mid attack causing KD. Omen Thunder Godfist (f,N,d/f+1) is a mid attack that causes a juggle (JG).
Chi Palm (1+2) or (2~1) is a mid attack causing KD. Hibachi Head (f+1+2) is a high attack causing KD. Double Tiger Fists (b+1+2) is a mid attack, leading to Shattering Palms (b+1+2,1+2), a mid-mid string causing KD. Deity Slayer (b,b+1+2) is a powerful mid attack causing KD. DEMON PALMS (d+1+2) is a mid attack causing KD. DEMON WINGS (d/f+1+2) is a mid attack causing a pushback-crouch (PC). Dark Smash (d/b+1+2) is a mid-mid string with some pushback.
The Straight Punch (2) is a fast high attack. Backfist (2,2) is a high-high string. Canceling into Chi Palm (2,2~1+2) results in a mid-high string causing KD. Palm Cancel, Sidestep (2,2~1+2,(u_d)) is a high attack. Delayed Chi Palm can also be accessed here.
Backfist (f+2) is a high attack. Canceling into Chi Palm (f+2~1+2) is a mid attack causing KD. Palm Cancel, Sidestep (f+2~1+2,(u_d)) has no listed effect. Delayed Chi Palm can also be accessed here, with a higher frame advantage.
TENKURURU BREAK (f+2,3) is a high-mid string causing KD. Demon Godfist (f,f+2) is a mid attack causing JG. RASHOMON (b+2) is a mid attack causing KD and is a wall-splat (WB) and special counter (STc). SPINNING STONEHEAD (b+2,1+2) is a mid-high string causing JG and is a red-dark (RD) move. Laser Elbow (b,f+2) is a mid attack. Celestial Annihilate (b,f+2,1) is a mid-high string causing KD. Celestial Surrender (b,f+2>2) is a mid-mid string causing JG. ROUNDHOUSE LAYOUT (b,f+2,3) is a mid-high string causing KD and a stun (S!).
Eisho Mon (d/b+2) is a low attack. Deathpalm (QCF+2) is a mid attack causing KD. DARK THRUST (WS+2) is a mid attack causing a stun (S!) and STc. Kidney Smasher (SS+2) is a mid attack. Kidney Crush (SS+2,1) is a mid-mid string causing ST. Uppercut (d/f+2) is a mid attack causing JGc. Wind Godfist (f,N,d,d/f+2) is a mid attack causing JG. Electric Wind Godfist (f,N,d~d/f+2) is a mid attack causing JG and has significant frame advantage.
KILLER CURSE (d+2+3) is a special move with a high startup frame count (62) and causes KD.
Highkick (3) is a high attack. Monzenbarai (3,4) is a high-high string causing STc. Lightning Crush (f+3) is a mid attack causing KD and STc. Jichinsai Kick (d+3) or (d/f+3+4) is a mid attack causing KD. Slice Kick (f,N,d,d/f,N+3) is a mid attack causing KD. Low Slice Kick (f,N,d,D/F#+3) is a low attack causing KD. Left Axe Kick (f,f+3) is a mid attack causing JG. High Snap (b+3) is a high attack. CRESCENT HOOK THRUST (b+3,2) is a high-high string causing STc. Crescent Hook Stomp (b+3,3) is a high-mid string causing KD.
Screw Blade (u/f+3) is a mid attack causing KD. Blade Hunting Hawk (u/f+3,4) is a mid-mid string causing a stun (S!) and KD. Holy Kick (WS+3) is a mid attack. Holy Demon Cross (WS+3,1+2) is a mid-mid string causing KD. Leaping Jumpkick (RN+3) is a mid attack causing KD.
Raijin Charge (f+3+4) is a stance that can be canceled into a forward (f) or backward (b) movement, or a sidestep (u_d).
- Experiment with different throw escapes (1 or 2) to learn which ones are most effective for each throw.
- Pay attention to the move levels (h, m, l) to understand how to counter them. High (h) attacks can be ducked, mid (m) attacks can be blocked, and low (l) attacks must be blocked low.
- Moves marked with 'KD' (Knockdown) can lead to follow-up attacks if timed correctly.
- 'JG' (Juggle) indicates that the move can be used to extend combos.
- 'S!' (Stun) means the opponent can be stunned, opening them up for further damage.
100% Human-Written. AI Fact-Checked. Community Verified. Learn how AntMag verifies content