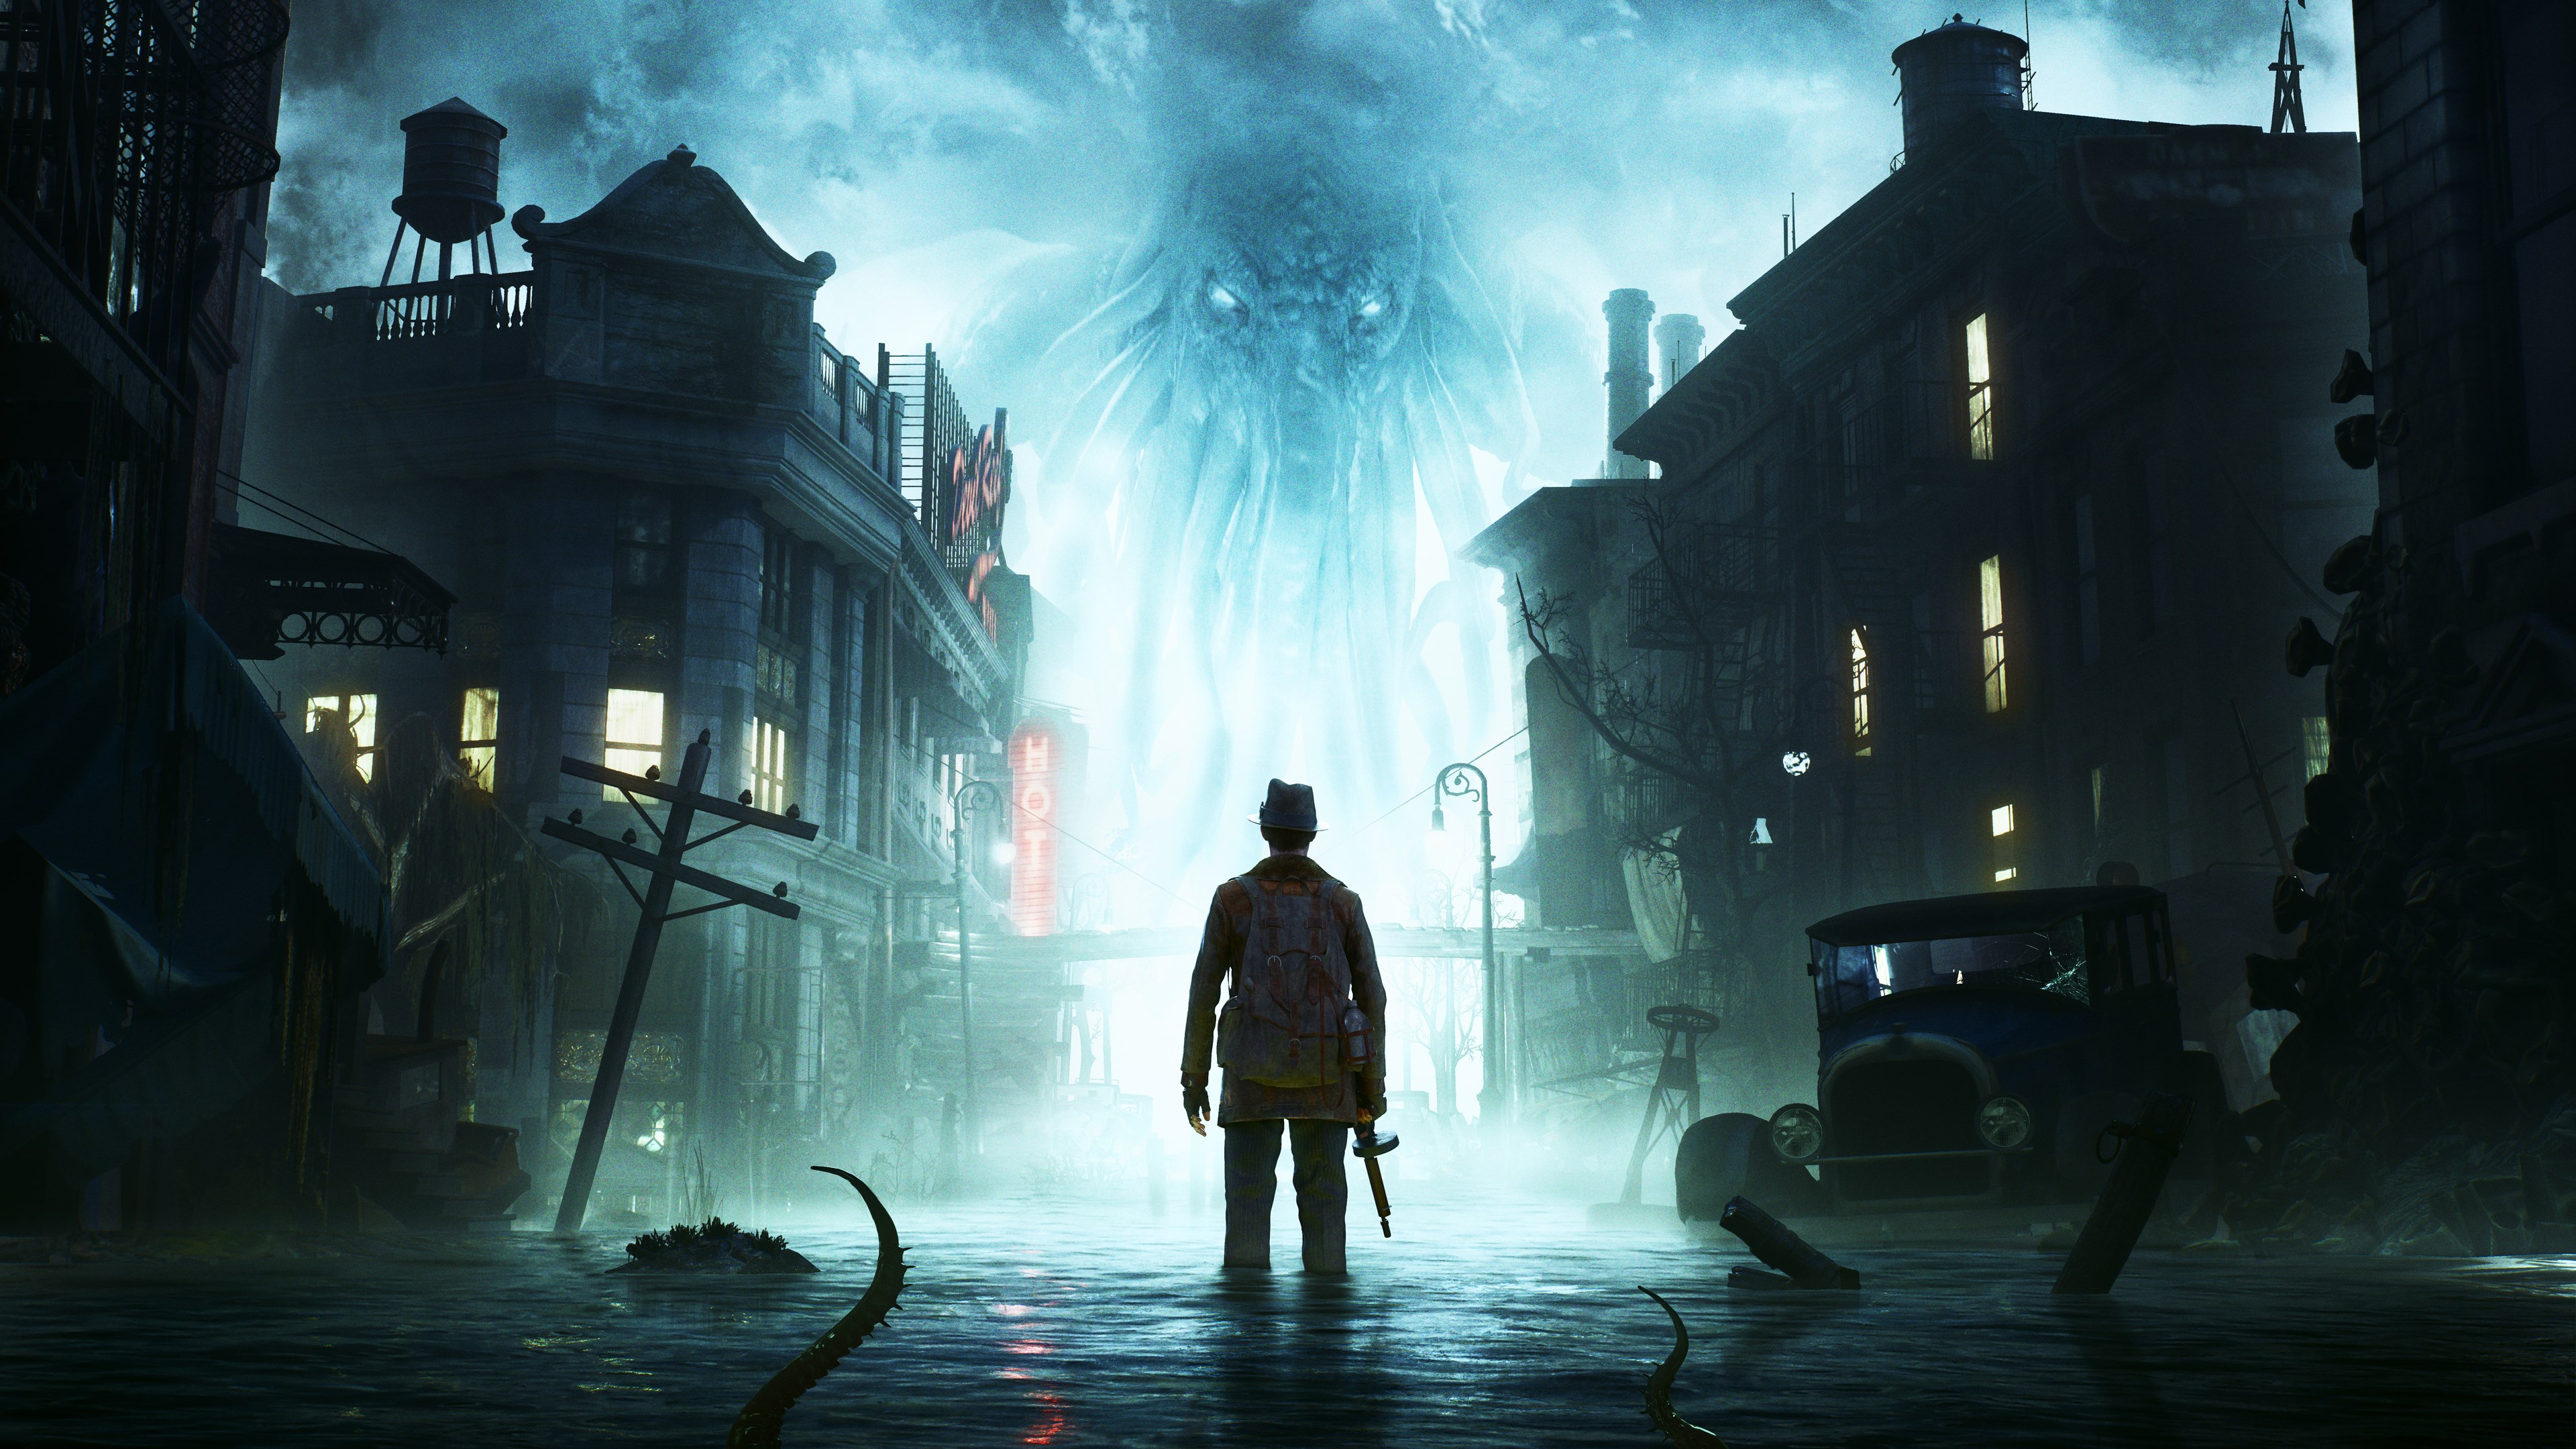
Follow our comprehensive guide to navigate Oakmont City Port (2) in The Sinking City 2, detailing key evidence, optional objectives, and NPC interactions for a complete walkthrough.
Walkthrough
- 1The "Charon" Ship: This is your first investigation location. Collect the following key evidence: your belongings on the table (briefcase, camera, pistol). To collect the pistol, pick it up, rotate it until an "eyeball" symbol appears on the handle, and press X to examine. You will receive 6 .38 pistol rounds.
- 2Additional Evidence on Ship: Take a photo of the mounted fish with your camera and examine the flyer on the desk to the left of your belongings.
- 3Lootables: Search the locker to the right of the desk. Lootable contents are randomized and can be reset by leaving and returning to the area.
- 4Exit the Ship: Climb onto the dock by pressing Triangle.
- 5Johannes van der Berg Conversation: You will automatically start a conversation with Johannes van der Berg. To advance the game, select the following dialogue options: "About my problem.", "Where is Robert Throgmorton?", "I need somewhere to stay.", "How do I get to Devil's Reef?", "Goodbye.". Choosing these options will lock out other optional dialogue branches.
- 6Find Robert Throgmorton: Proceed north along the pier and turn right at the sign pointing to the bar and exit. Go up the stairs to start a conversation with Robert Throgmorton.
- 7Robert Throgmorton Conversation: To advance the game, select the following dialogue options: "What happened to your son?", "Who are the Innsmouthers?", "What do you know about the visions?", "I can try to find Albert.", "Tell me more about the case.", "I'll be going.". Other dialogue options are optional.
- 8Optional: Lifeboat Titania Investigation: Return to the sign that pointed to the exit. Go left down a path, then left toward the sea. The lifeboat is beyond police barricades.
- 9Evidence at Lifeboat Titania: Inspect the lifeboat name "TITANIA", examine the "Diving Helmet" (rotate and search the front faceplate, be mindful of sanity drain), and collect "Albert Throgmorton's will" from a seat. You may need to climb inside the lifeboat (Triangle) to collect evidence.
- 10Return to Robert Throgmorton: After finding Albert's Will, return to Robert Throgmorton to unlock an optional conversation.
Tips
- If you have the Necronomicon Edition or DLC, you receive a Submachine Gun and 30 .45 ABP rounds. Use this ammo sparingly as it depletes quickly.
- Consider investing a Skill Point into "Absolute Clarity" for a 5% XP bonus.
- Lootable objects can be searched repeatedly and reset after leaving and returning to the area.
- The Diving Helmet in the Titania Lifeboat will slowly drain your sanity; do not hold it for too long.
- The Lifeboat Titania investigation is optional but provides an extra 140 XP and an additional conversation with Robert Throgmorton.
- Collecting all evidence on the "Charon" ship grants an additional 140 XP.
- Completing the optional Lifeboat Titania investigation grants an additional 140 XP.
100% Human-Written. AI Fact-Checked. Community Verified. Learn how AntMag verifies content